What you will need to create (or burn) a CD
- CD/DVD drive (Internal or External)
- Audio file(s) (such as .mp3)
- Blank CD
How to use Roxio to create an Audio CD
First things first! If you're using an external CD/DVD drive, plug that in now. No need to put your blank CD in yet.
1. Click on the Roxio Easy CD & DVD Burning icon, pictured below.

2. In most cases, the main Roxio Home window opens. You will see the names of several project categories.
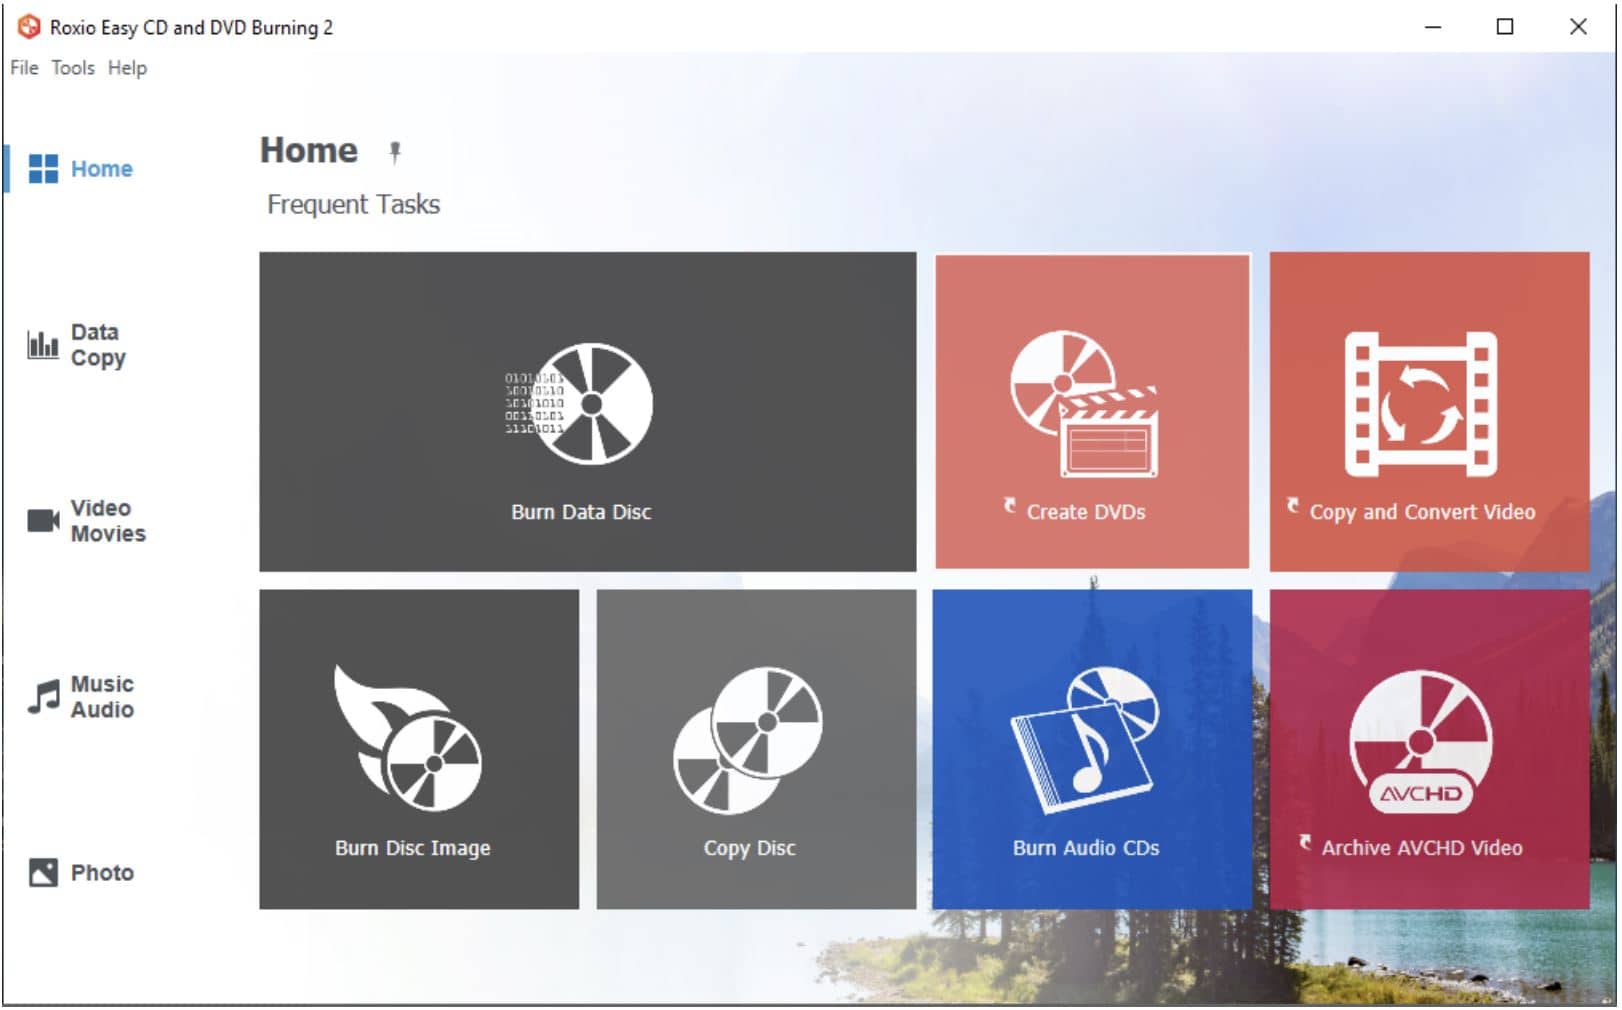
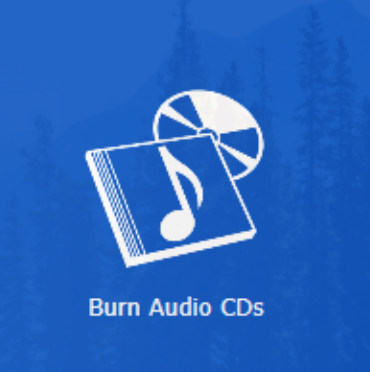
3. Since you are going to be making a CD, click the "Burn Audio CDs" box.
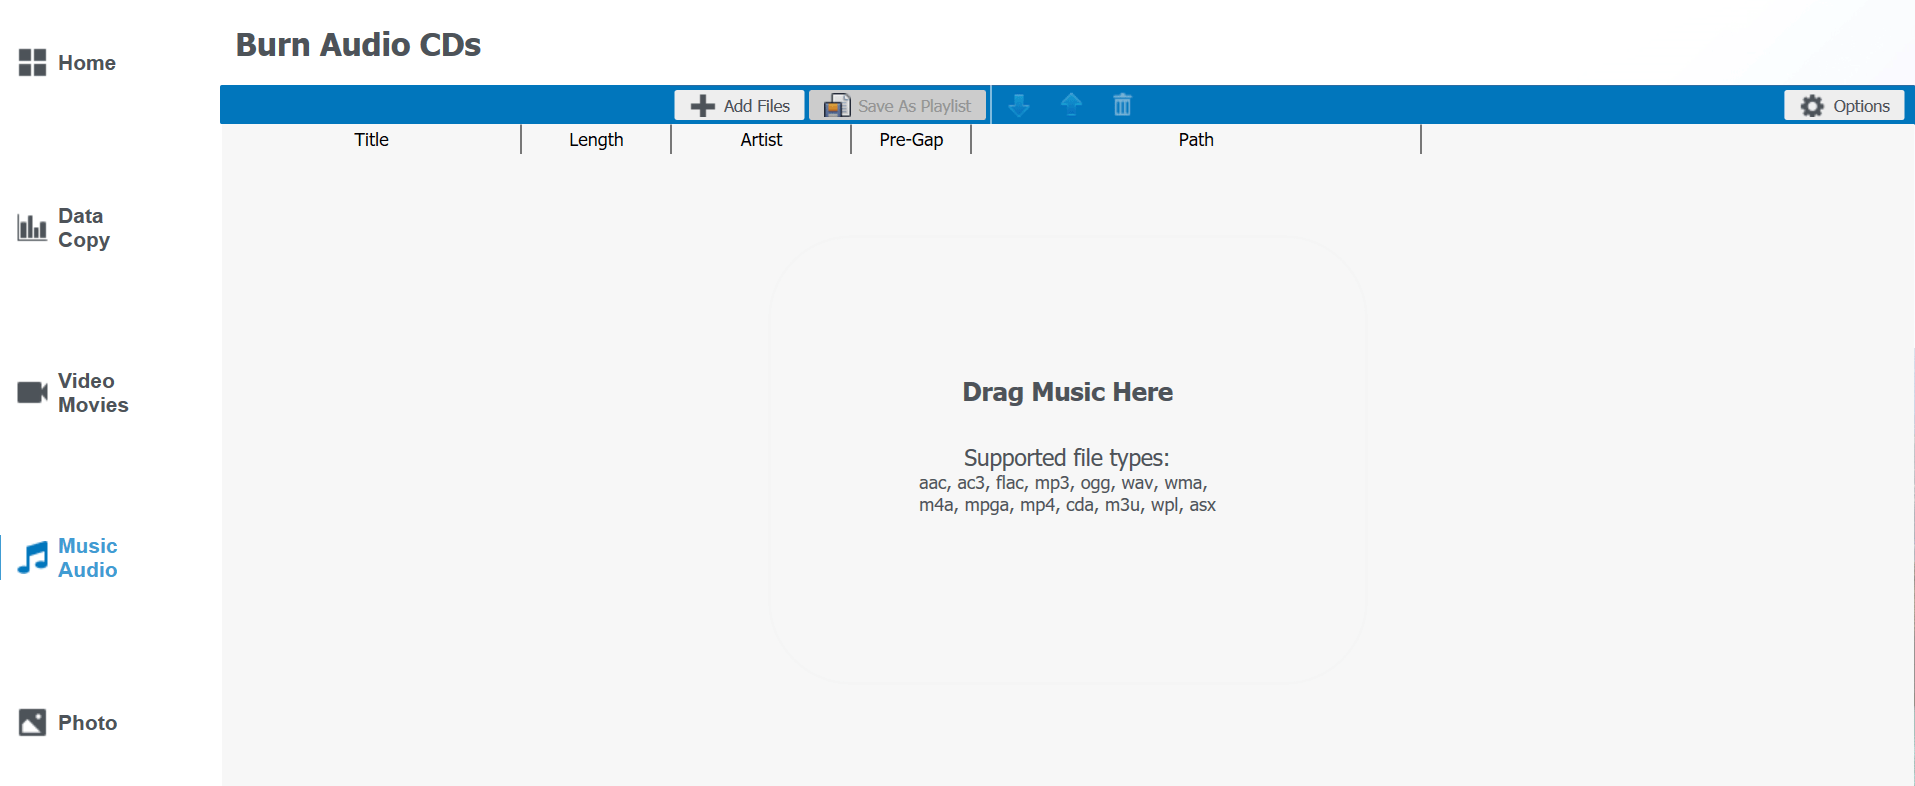
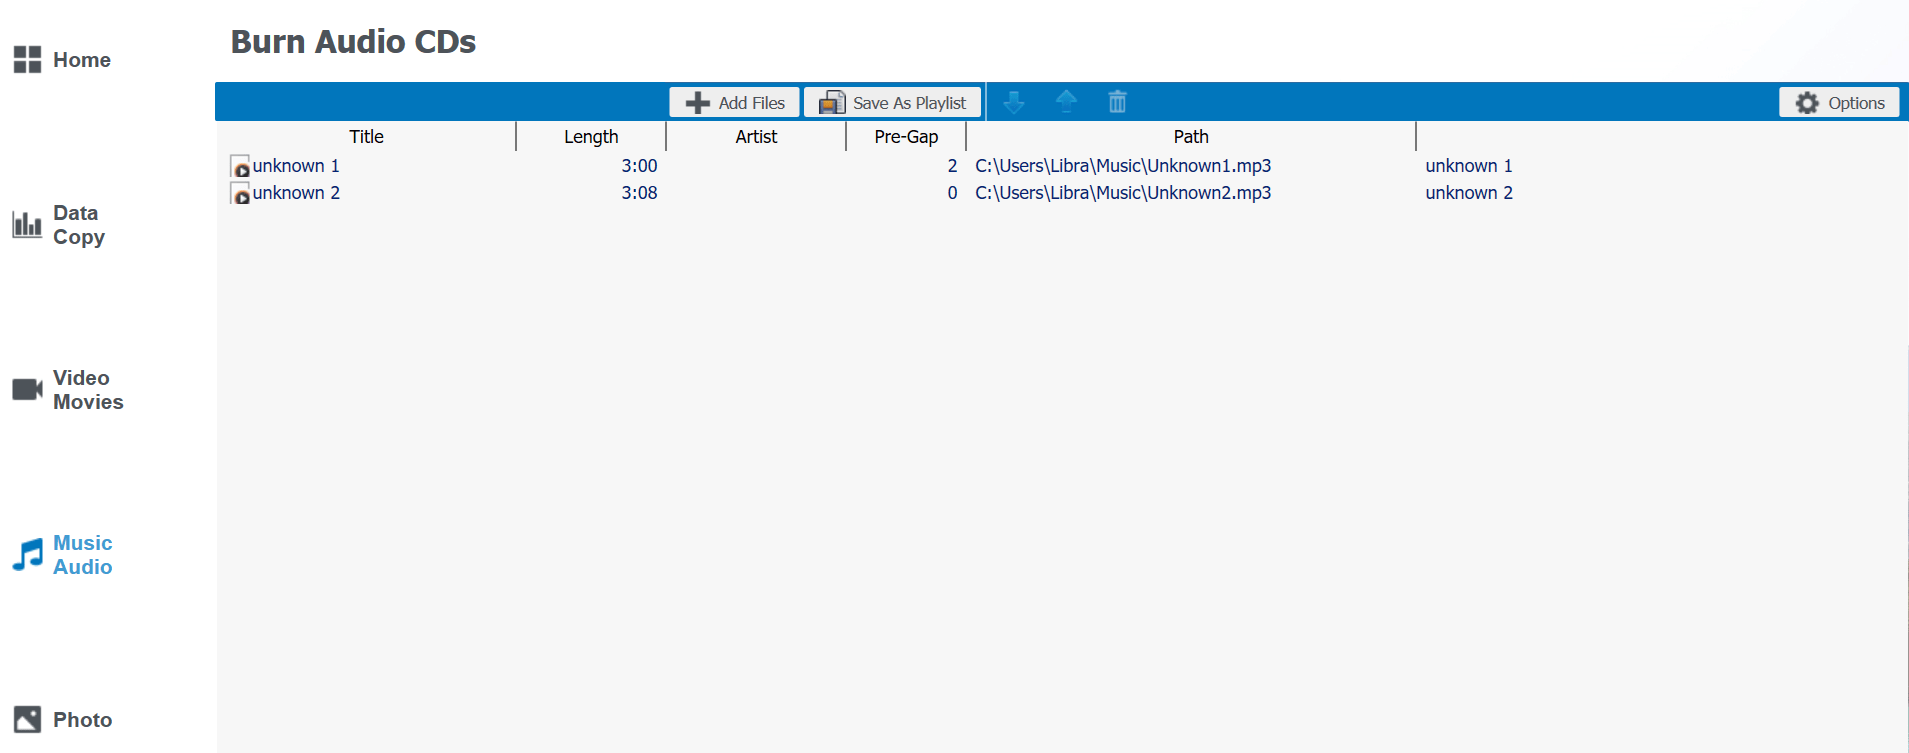
4. You'll then import your MP3 files from wherever you have them stored, such as in your music folder or on a flash drive. You have the option of either dragging and dropping the MP3 files or using the "+Add Files" button.
5. In the example below, the two MP3s are located in the Music folder. You can highlight both files to drag and drop them together or drag and drop one at a time.
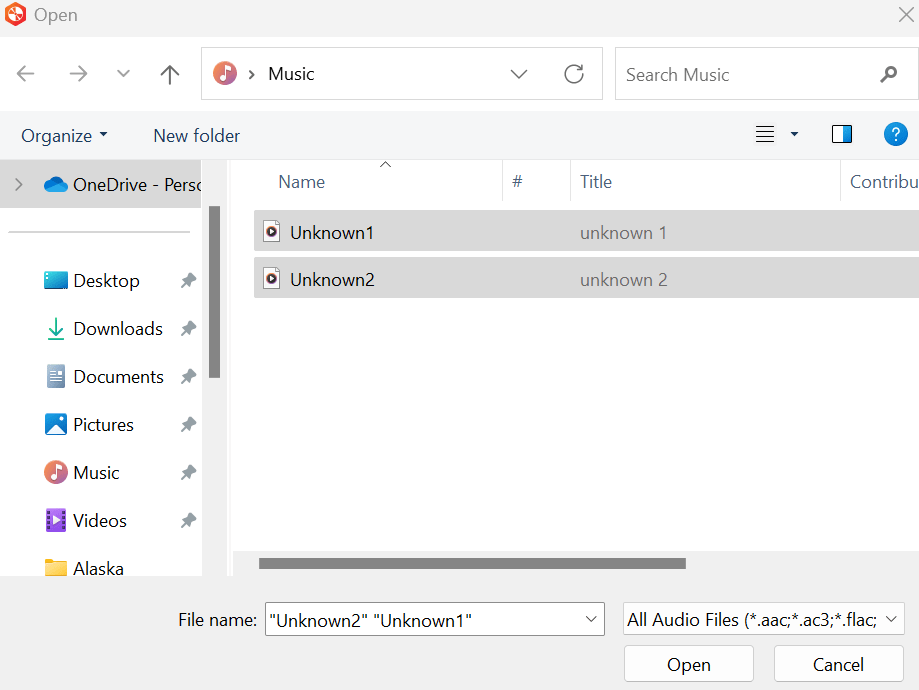
6. After dragging and dropping the two music files into Roxio they are ready to burn.
7. Now you can place the blank CD into the CD/DVD drive.

8. Roxio will show a CD/RW blank disc ready to go. Now you can click on the right-facing arrow button.

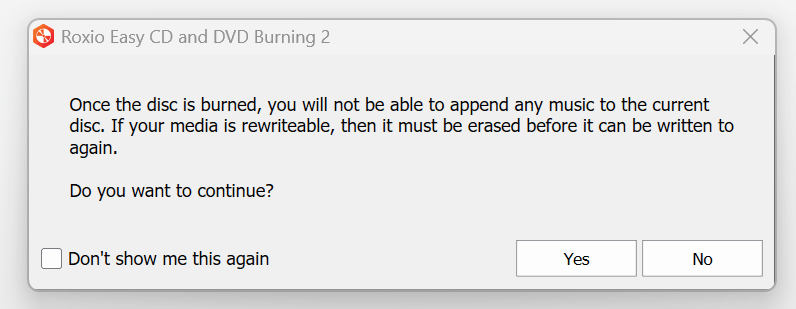
9. This message might pop up. If so, click Yes to continue.
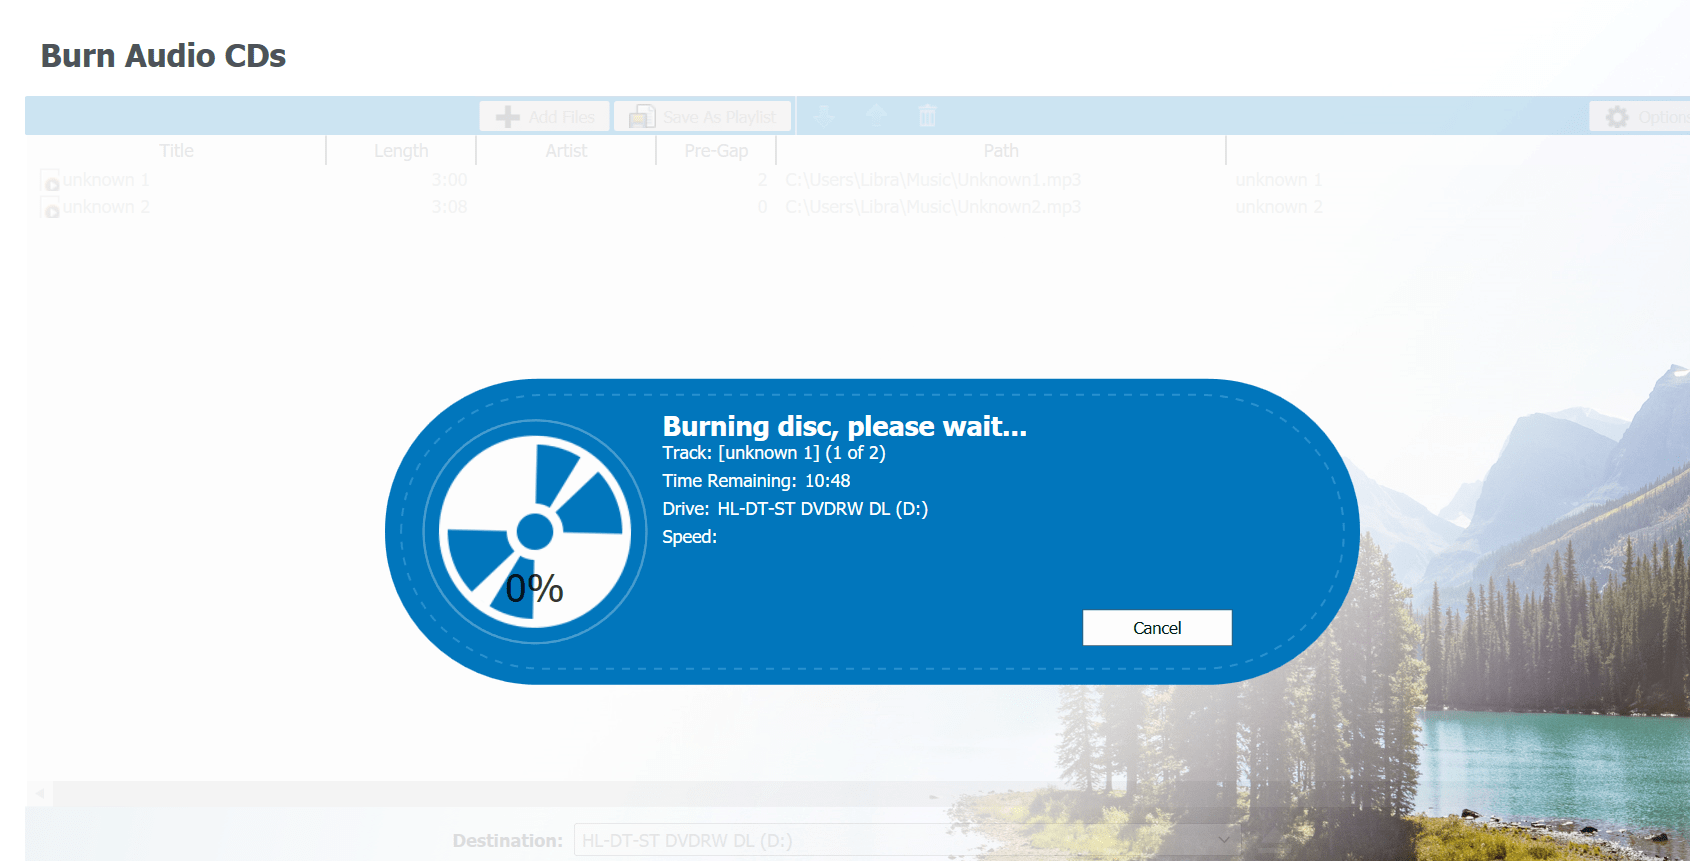
10. The CD-burning process will then begin.
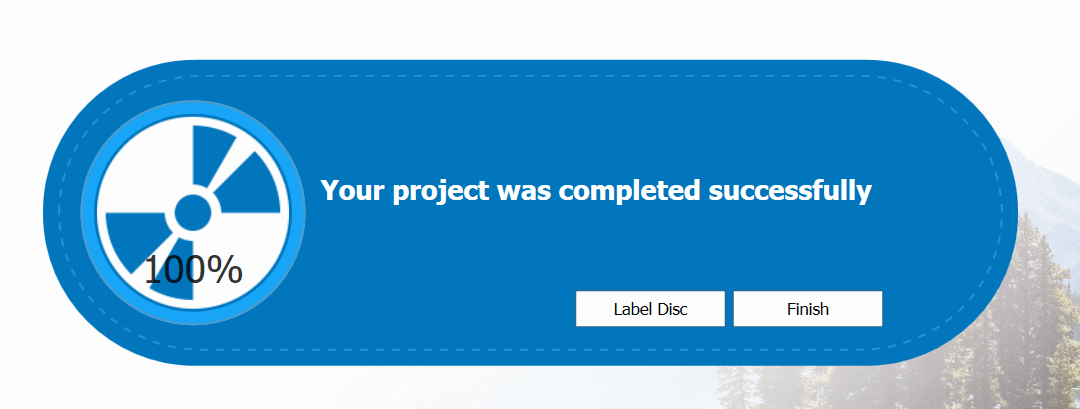
11. Once the process is fully completed, the following message will pop up and your CD will eject. Click on the Finish button.
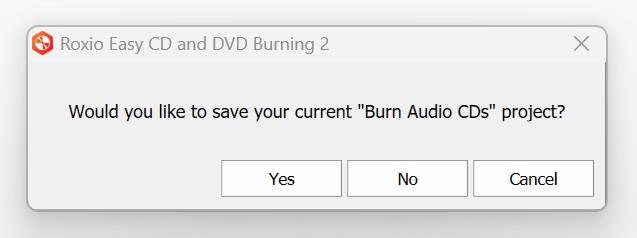
12. You can then close Roxio by clicking on File in the top left. When you get this pop-up, click No.
13. Roxio will then close and you're all done!


Add a comment to: Create an Audio CD with Roxio