
Check out our other Adobe Premiere Rush, opens a new window blogs for more information.
Are you interested in using Adobe Premiere Rush to edit and polish your mobile videos? In this tutorial, we'll be covering how to upload, cut and export your project using software offered at the Digital Media Stations.
Upload
To start an Adobe Premiere Rush project, first open Adobe Creative Cloud by clicking on the Creative Cloud icon (as shown below) on the desktop.![]()
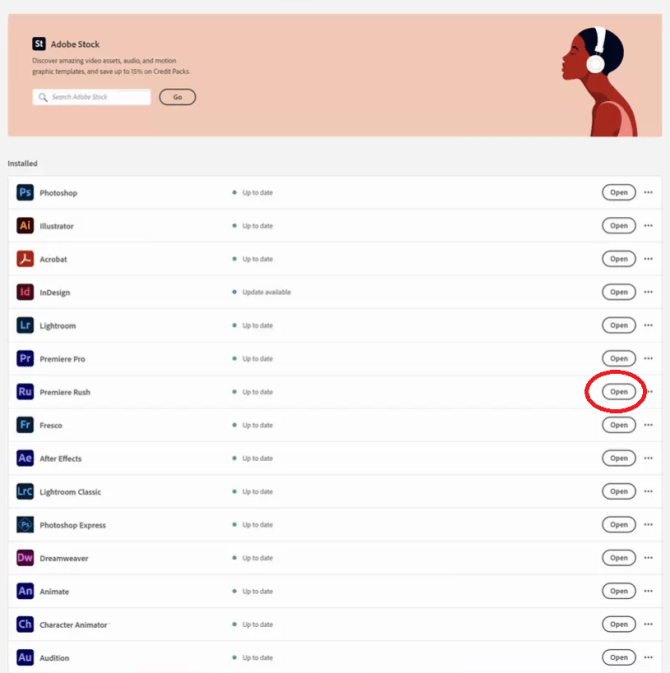 You'll see a list of the various apps that are available in Adobe Creative Cloud. Locate Adobe Premiere Rush and click on "Open" (circled in red.)
The following image will appear while Premiere Rush opens. 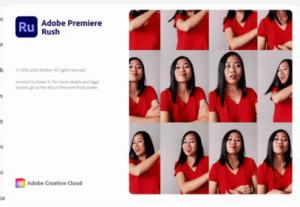
You might then get the screen below. If so, click on "Let's Go" at the bottom of the screen. 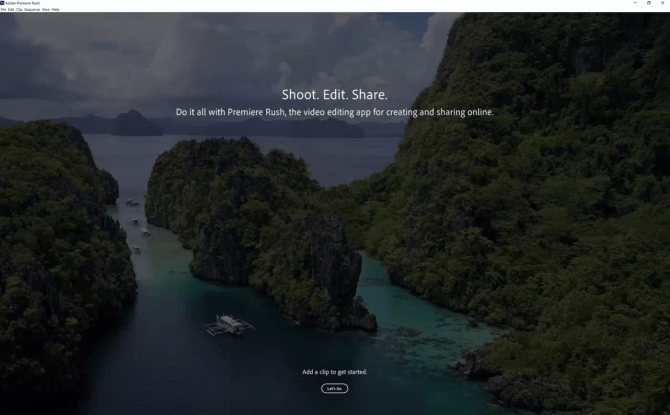
You'll then get to the next screen.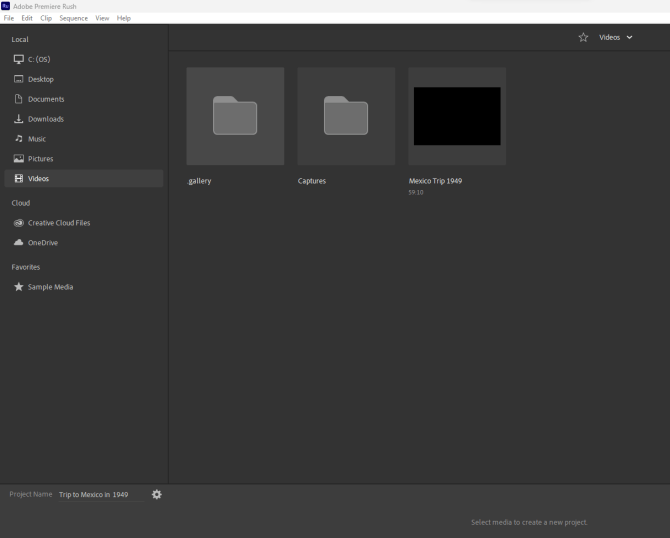
My screen shows that I'm in the Videos folder (in the left column). And it shows that I have a video in that folder called "Mexico Trip 1949."
If you know your video is on the desktop or maybe in the documents folder or on a flash drive attached to the computer, then choose that option from the left-hand column.
When you see your video file, click once on it. It will turn blue and show the number 1.
If you have more than one video you want to include in your project, click those videos as well. You'll see them get numbered in the order you clicked on them. That's how they will be organized in the timeline.
In my example, I only have one video.
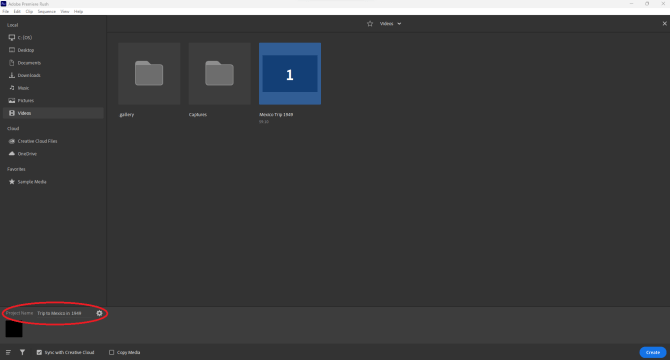
Now look at the bottom left of the screen where you have to the option to name your project (circled in red.)
 After naming your project then click on "Create," located on the bottom right of the screen (circled in red.)
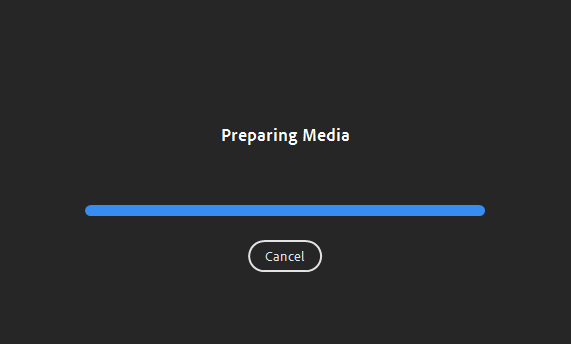 You'll then get the "Preparing Media" message.
Then the timeline of the video will appear. 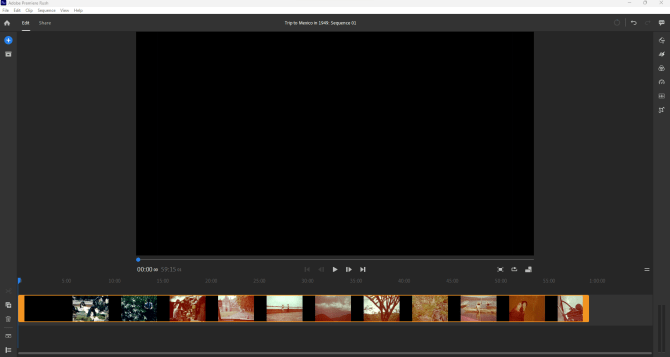
Cut
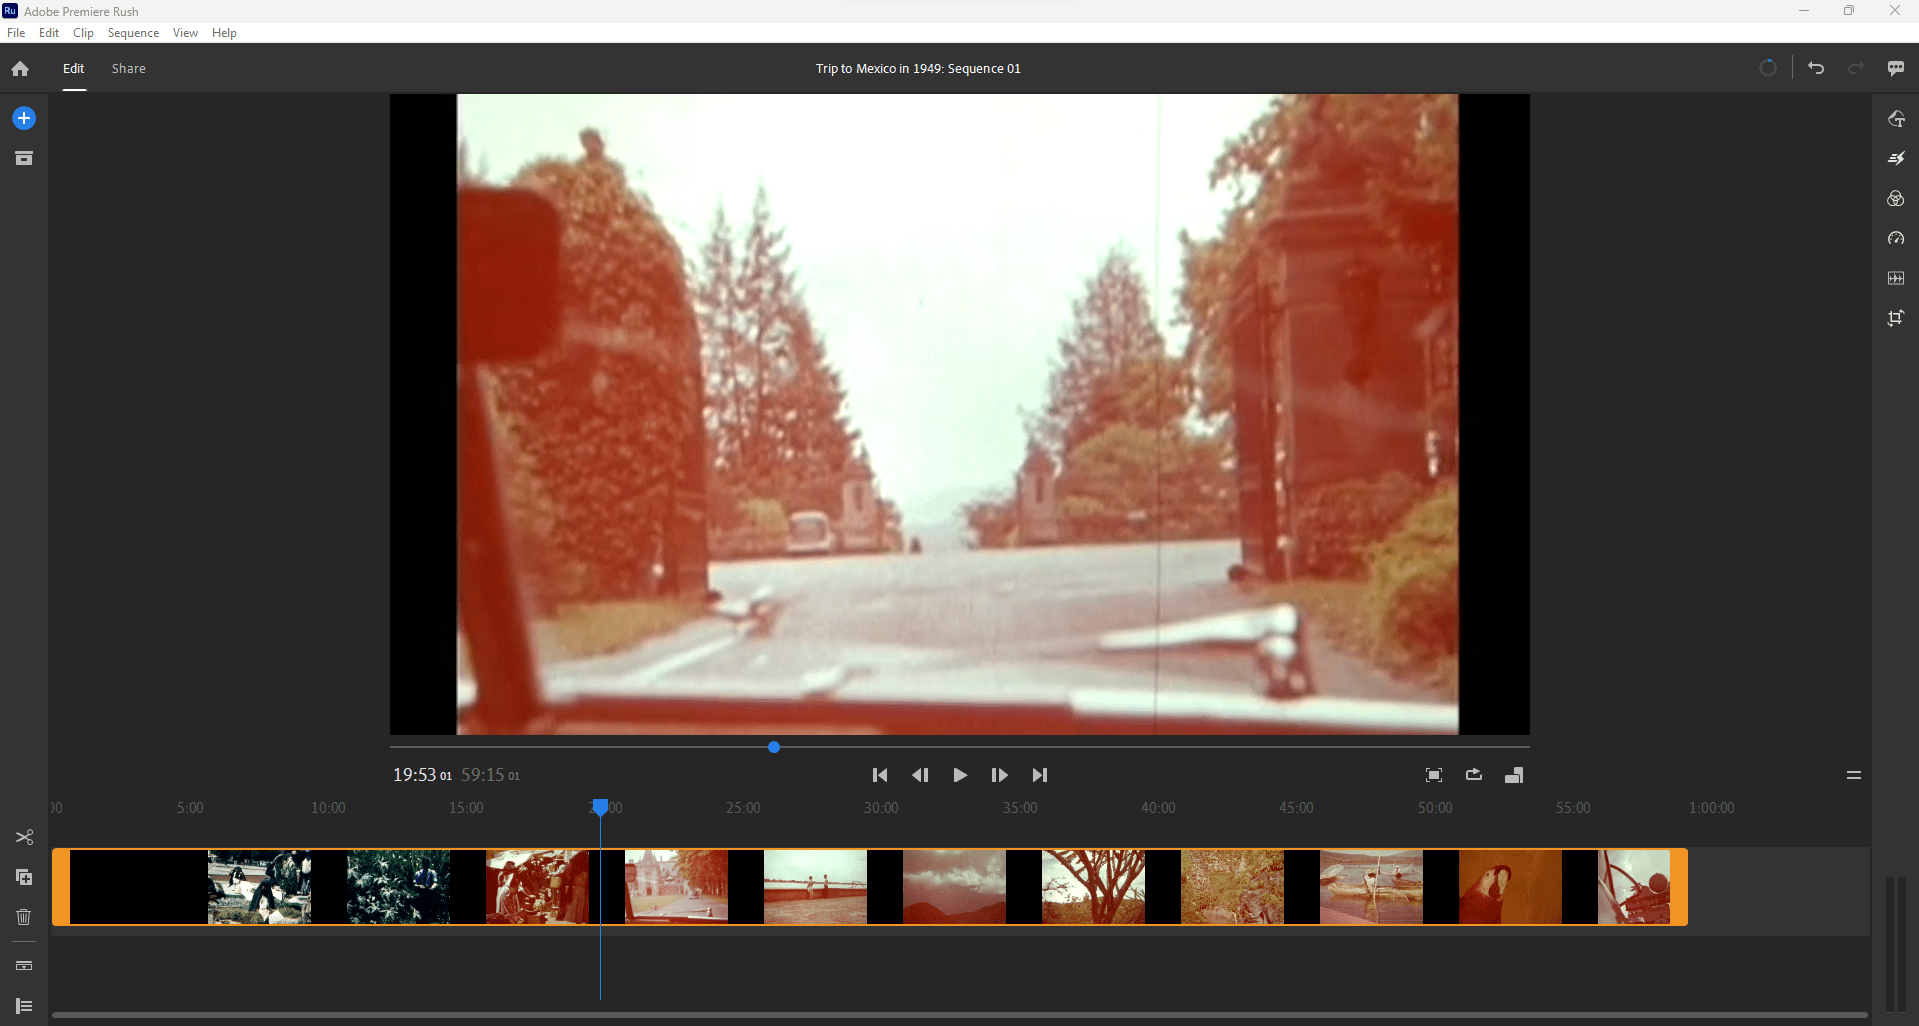
For this example, I plan to edit out the section of the film between 20 and 25 seconds.
First I click on the film at the 20-second mark (below the image where the vertical blue line is).
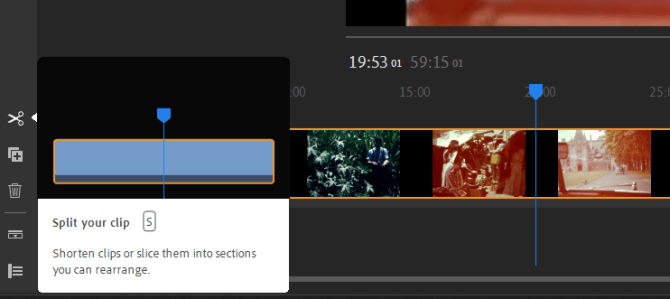 Click on the scissor icon on the left side of the screen.
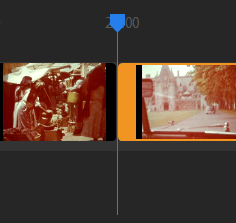 The slice appears in the film. You can see in the close-up image below that the film is cut. Note the rounded corners of the film.
 Click to select the 25-second mark in the film and then click again on the scissor icon.
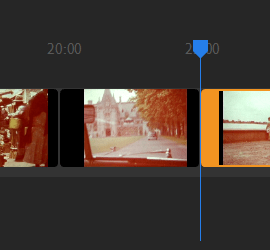
 Click on the portion of the film between the 20 and 25-second mark. The selection will be bordered in orange.
Then click the delete key on the keyboard.
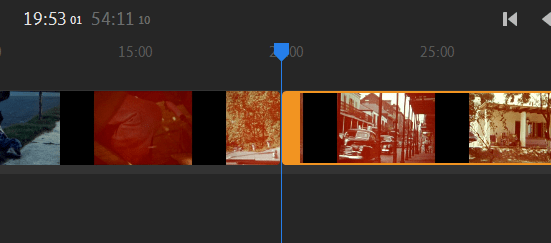 The section is now gone and Premiere Rush pulled the remaining sections of the film back together.
Export
 Now, I'm ready to export the film.
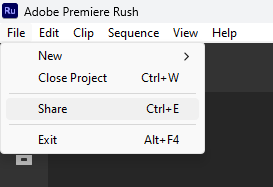
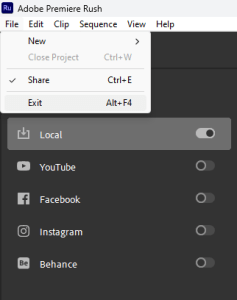
Go to "File" in the top left of the screen and a drop-down menu will appear.
Click "Share."
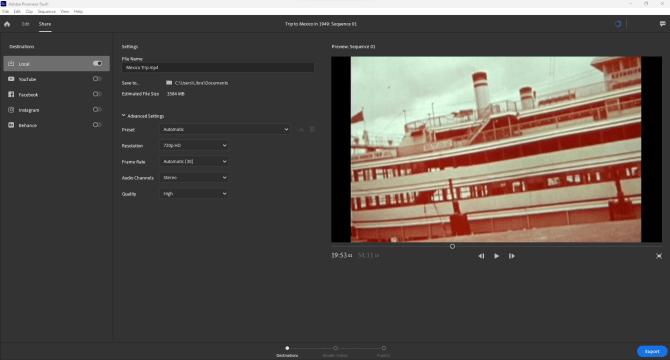 You the option to name the file and decide where you want to save it.
For my example, I'm saving my project to the Documents folder.
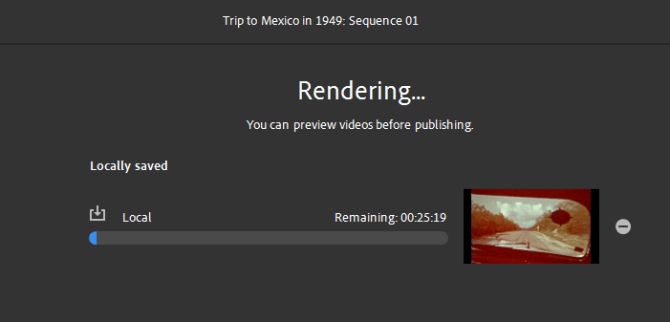 Click on the blue "Export" button at the bottom left of the screen. Adobe Premiere will start rendering the film.
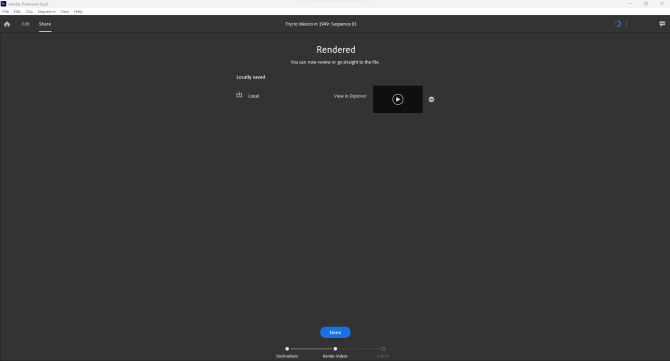 When completed, a message will appear saying the "Rendered."
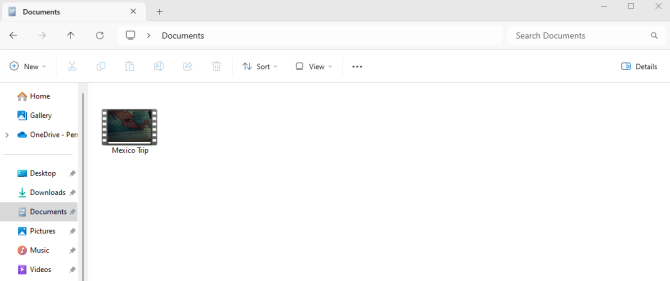 Now, check the location or on the device where you chose to save your file. In my case, it was the Documents folder.
You may also want to click on the file to make sure it plays.
If the file is saved in the right location and opens properly, click on the blue "Done" button at the bottom middle of the screen in Premiere Rush.
 You will be taken back to the following screen so you have the option of making additional changes and can export again, if needed.
 When you are done, click on "File" in the top left corner to open the drop-down menu and click on "Exit."
Premiere Rush will close.
That's it! You're all done!

Add a comment to: Adobe Premiere Rush: Upload, Cut (Slice) and Export (Share)