
This tutorial provides the very basics of cutting video in Adobe Premiere Pro. Check out our other Adobe Premiere Pro , opens a new windowblogs for more information.
Getting Started with Adobe Premiere Pro
- Click on the Adobe Creative Cloud (CC) icon.

- Locate Premiere in the list of Adobe CC apps. Click on the Open button to the right of the app.
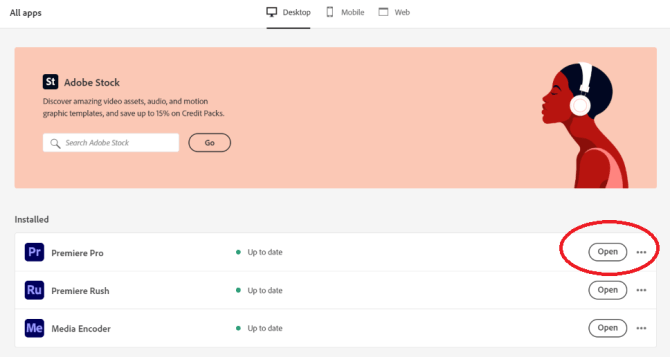
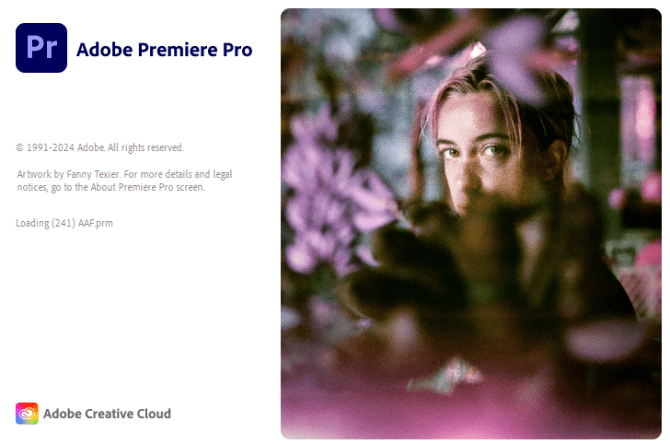
- Adobe Premiere Pro will start to load.
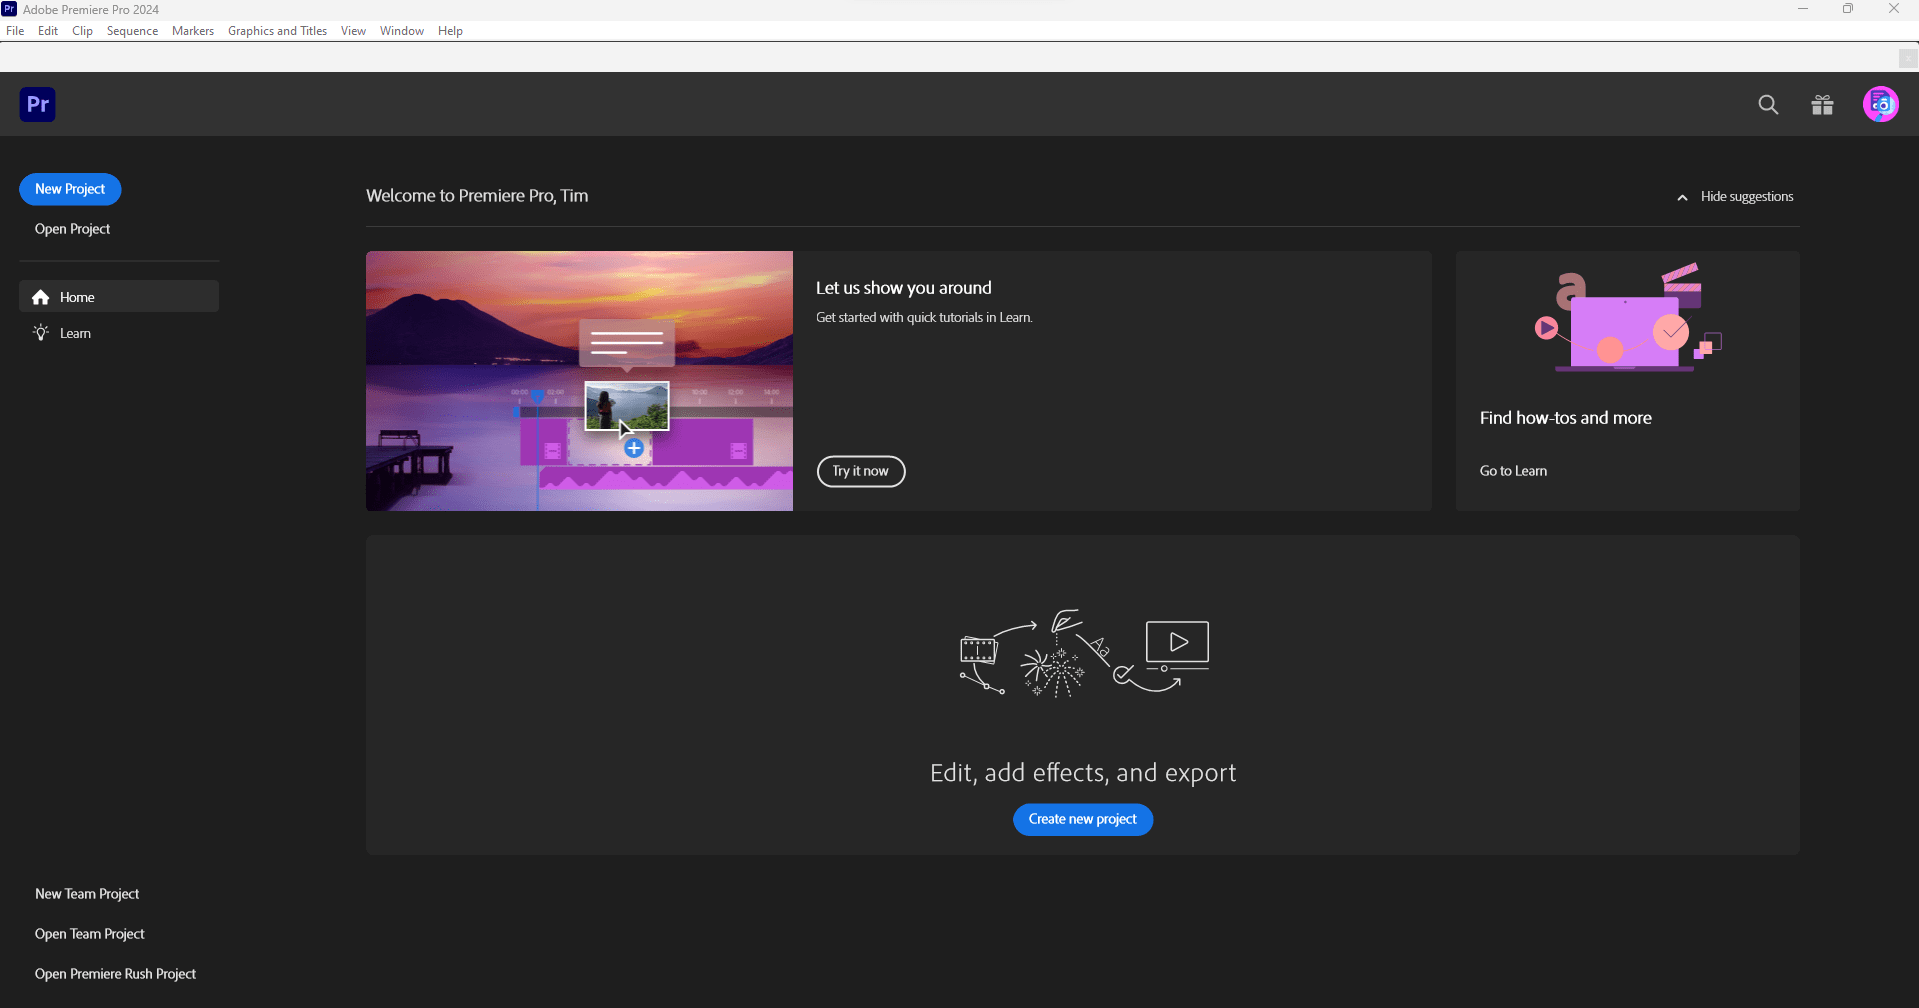
- The Premiere Home page will open. Click on the blue Create New Project button.
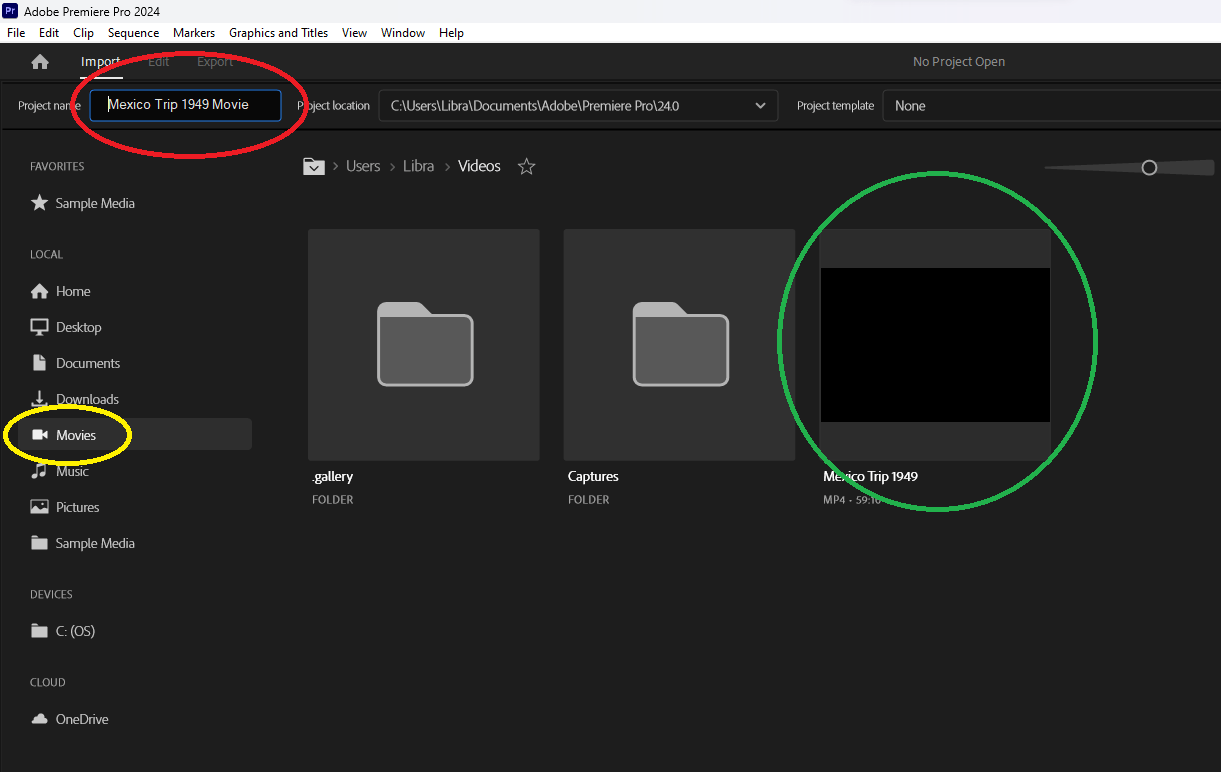
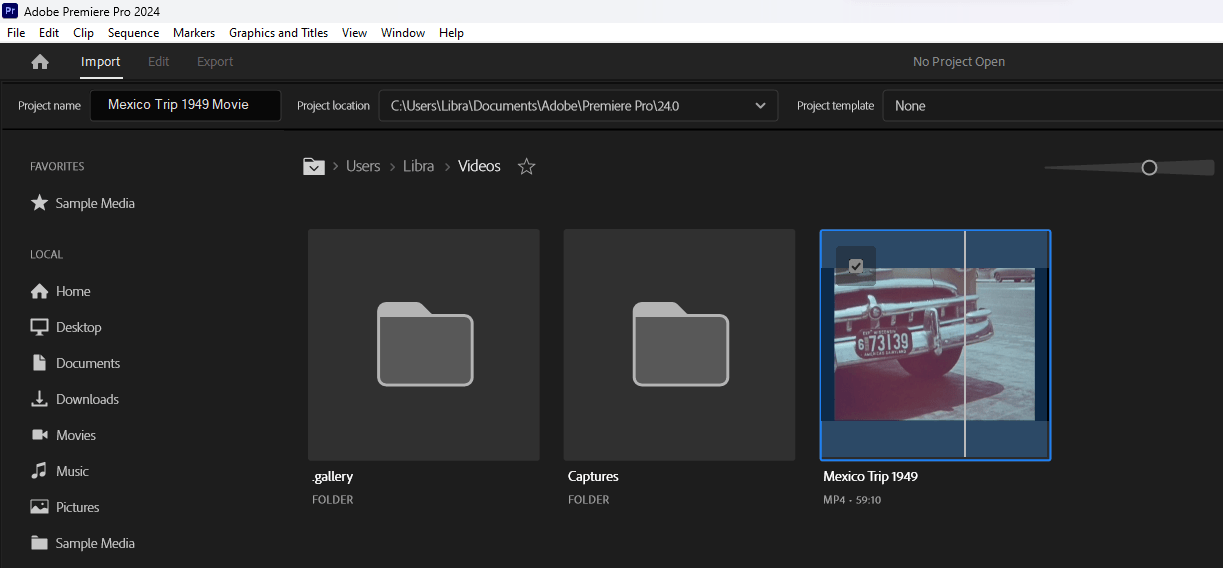
- On the next page, you can name your project (red circle). Use the left-side menu to locate your video file. Mine was in Movies (yellow circle).
- The movies in the Movies folder will appear. I only have one movie called Mexico Trip 1949 (circled in green).
- Click on your video(s) and it will highlight in blue, as seen in the image below.
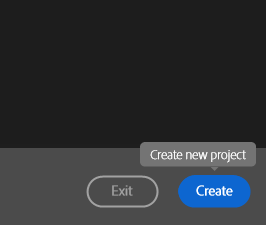
- Then click on the blue Create button in the bottom right corner of the screen.
NOTE: When Premiere imports your video, it imports a copy of your video file. Your original file will not be changed in any way by anything you do in Premiere.
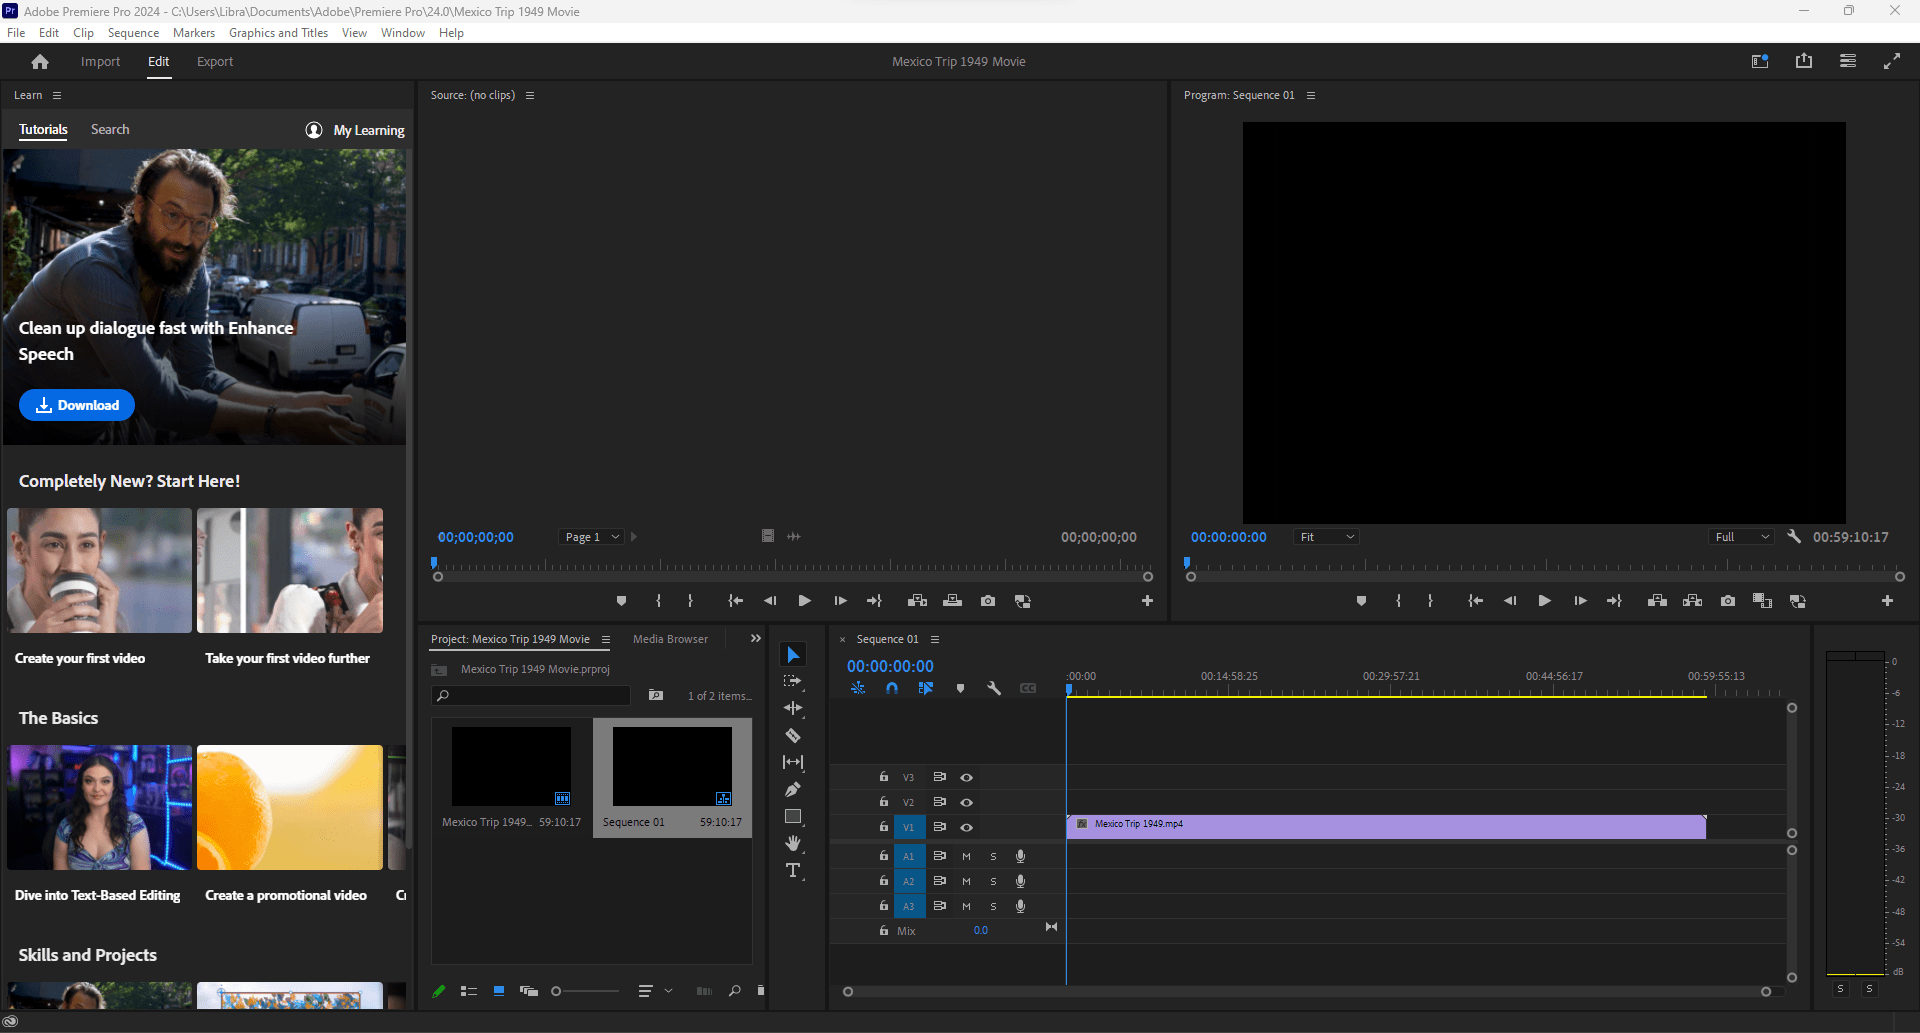
- This is how my page opened and is likely similar to how yours will open. Everything looks good except I want to close the My Learning panel of images on the left.
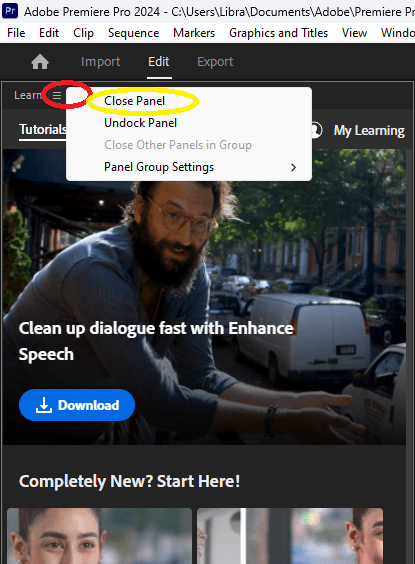
- I can do that by clicking on the small horizontal lines (circled in red) next to the word Learn. Then, in the drop down options, click on Close Panel (circled in yellow).
- That panel goes away and you then have the Premiere interface.
The following diagram shows a breakdown of the other Panels on the Premiere interface.
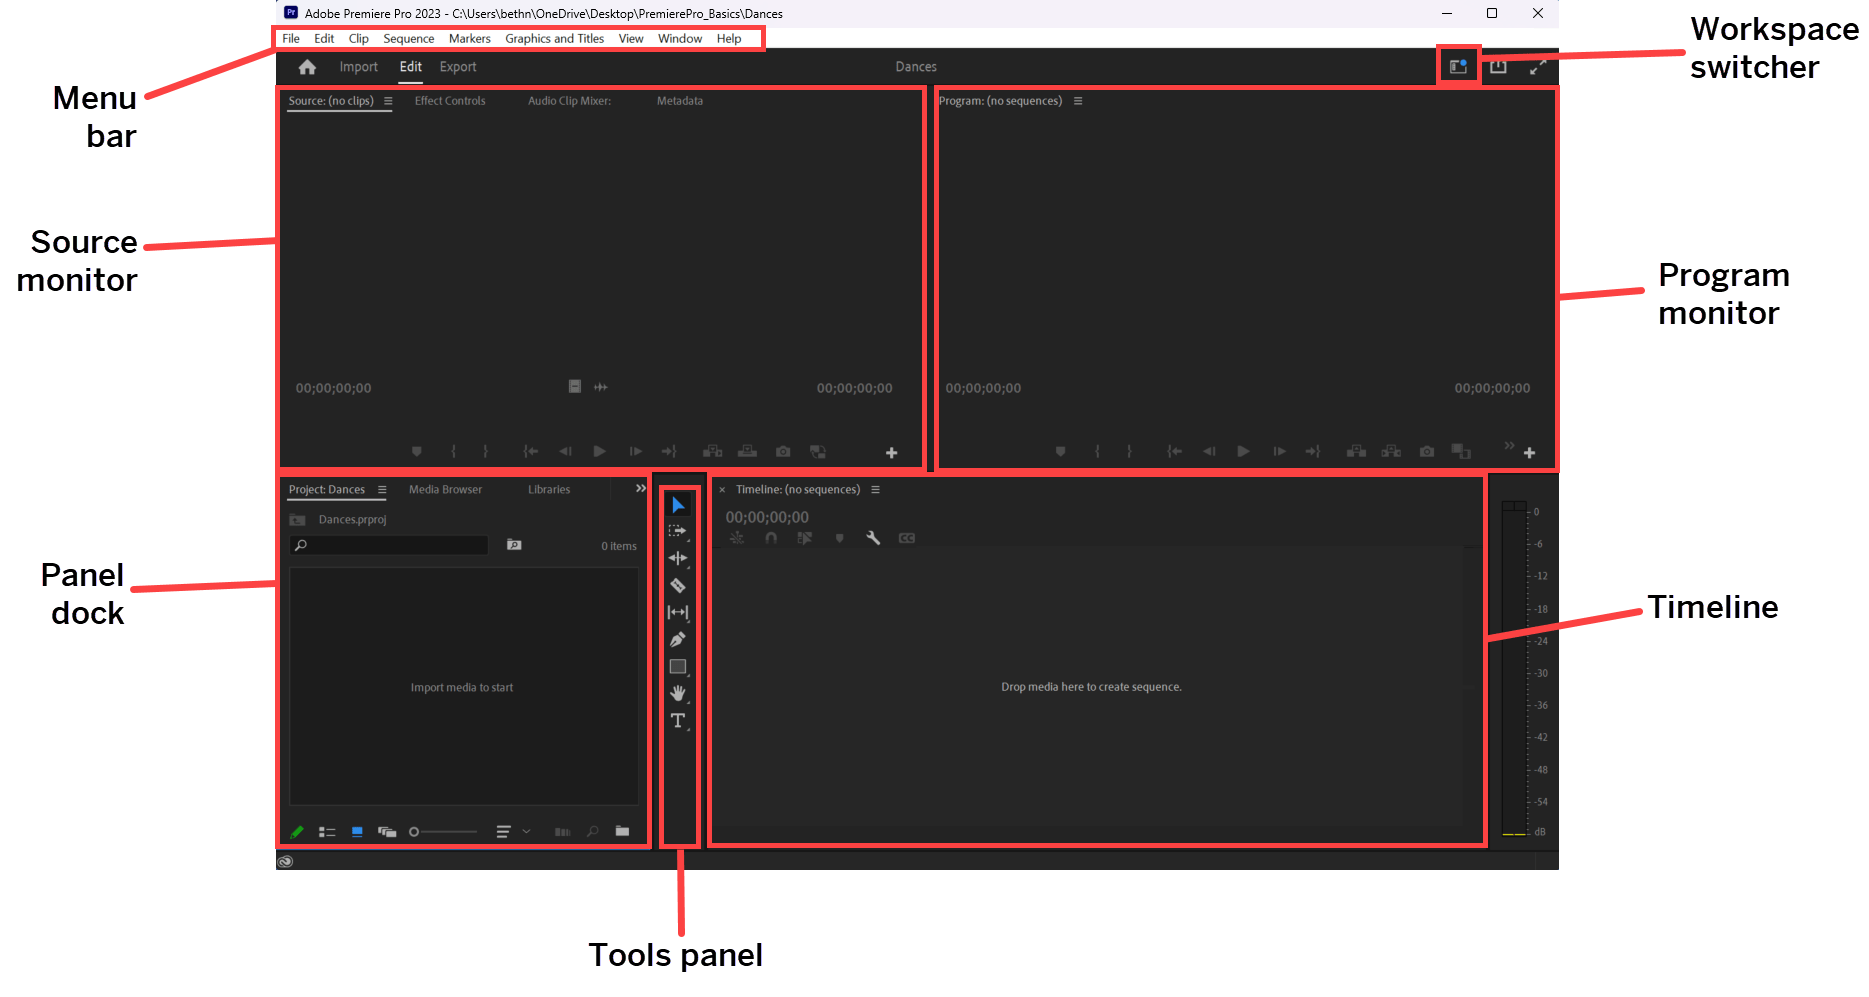
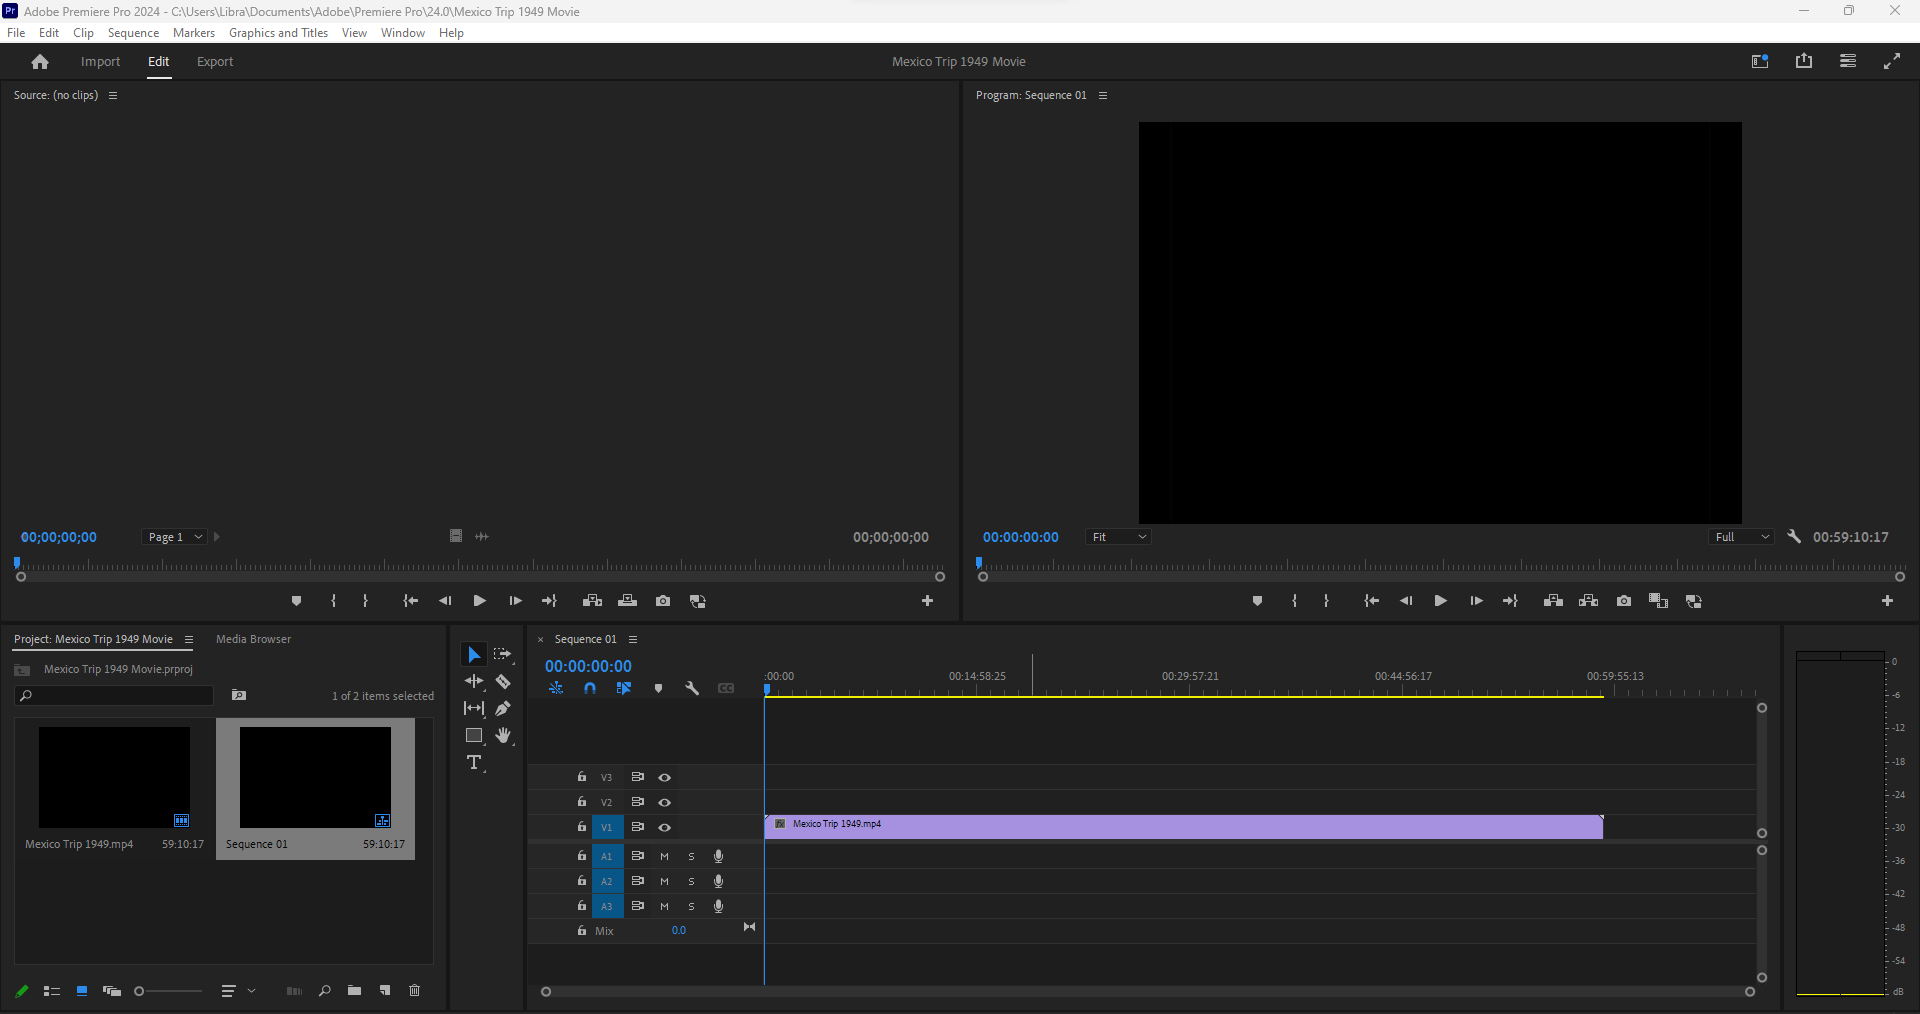
Here's my screen (below) after closing that Learning panel.
You can see my Mexico Trip 1949 file is still in the Panel Dock (bottom left) and in the Timeline sections (bottom right). I can press the Play button just under the black screen (aka Program Monitor) in the top right to play my video. Another option, or shortcut, is to tap the Space Bar on your keyboard to start the video and tap the space bar again to stop the video.
Making a Cut
Now I want to cut out a middle section of my video.
- In the Timeline panel I can either drag the blue vertical bar on the left of the Timeline OR

- Click on spot in the Timeline (click slightly above the yellow horizontal line) and the blue bar will appear there. You'll also notice that the video in the Monitor Panel moves as well.
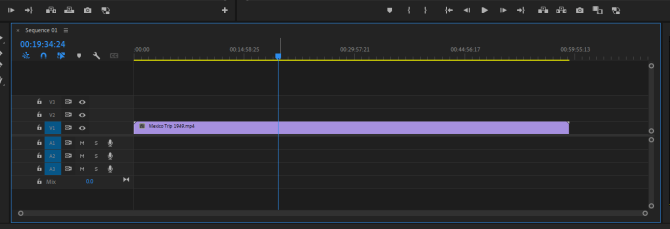
- Once you have chosen the spot where you want to make your first cut, click on the Razor icon to the left of the Timeline (circled in red).

- When you move your mouse back to your Timeline over your video (the purple portion), you'll see it turns into a razor.
- Place the razor where the vertical blue line is and then click.
- Next, mouse up to the top of the vertical blue bar, to the thick portion above the yellow horizontal line, and drag that bar to the next spot you want to make a cut.
- Once you find the spot, move the mouse back down to the purple portion of the video and the razor will reappear.
- Select your spot and then click to make the cut.
- Mouse back over to where the razor tool icon is and click on the Selection Tool (circled in green).

- Mouse back over to the Timeline to the middle section that you plan to remove.
- Click on that middle section and you'll see a highlighted border appear around it.
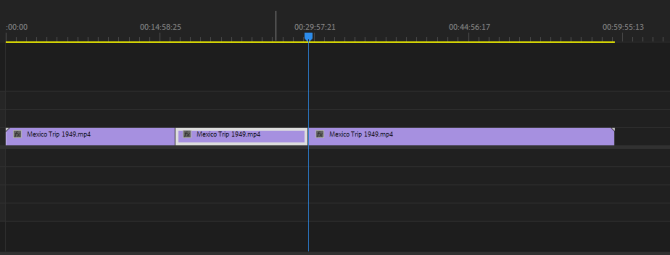
- You can push the Delete button on your keyboard and that section disappear.

- You can use your mouse to drag the section of video on the right and connect it to the section of video on the left.

Exporting Edited Video
Now I'm ready to export my edited video.
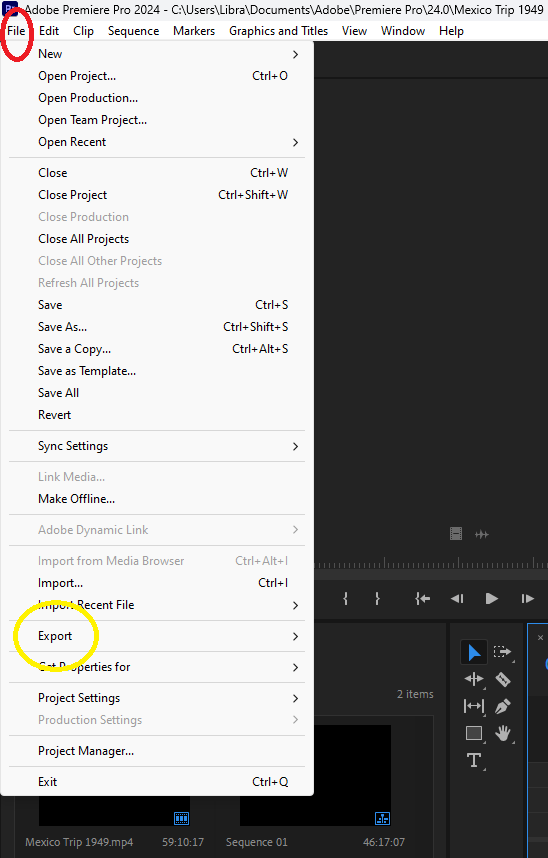
- To export the video, click on File in the top left corner (circled in red) and select Export (circled in yellow) from the drop-down menu that appears.
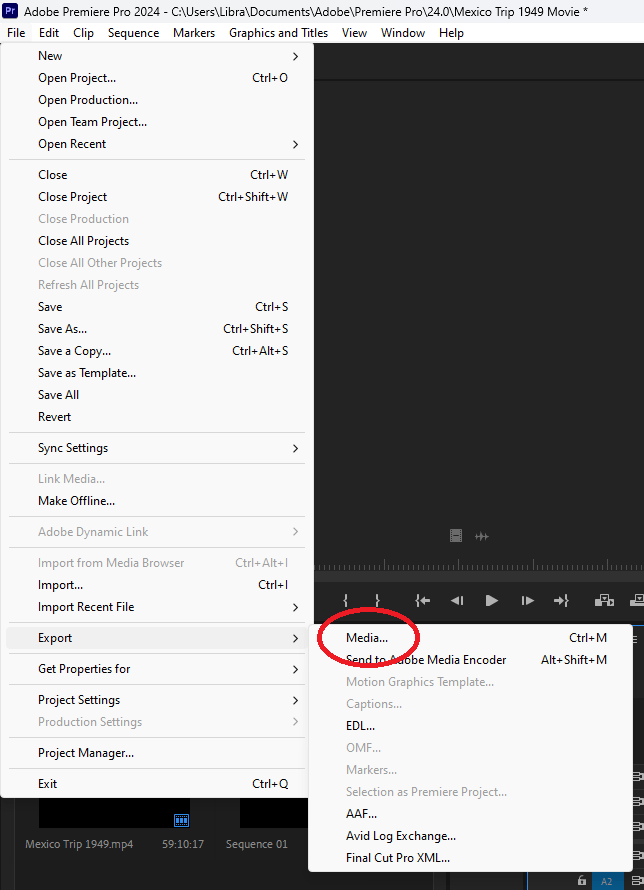
- From the Export menu, I chose Media (circled in red).
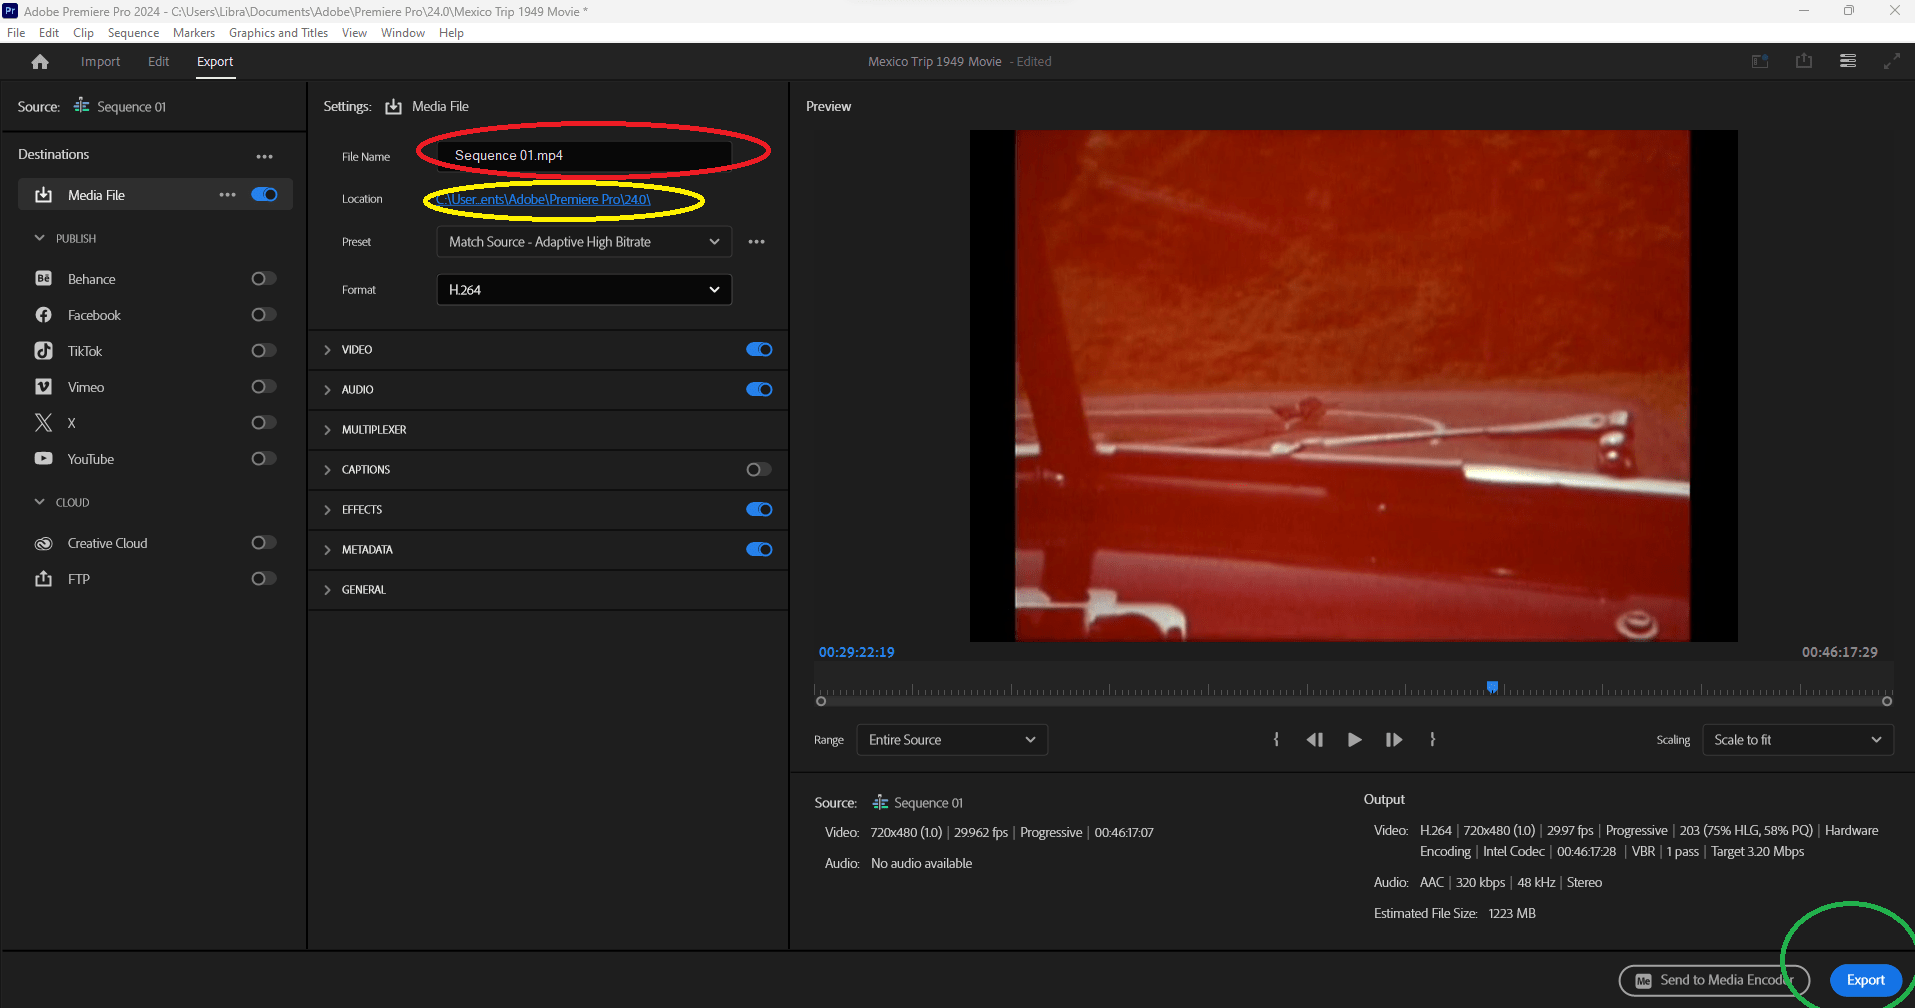
- A whole lot of options will then appear. I'm keeping it pretty simple, so I will only rename my file (circled in red) and decide where to save my file.
- Choose where to save the file clicking on the blue Location link (circled in yellow), which can be the Desktop or to an external storage device, such as a thumb drive.
- Then click on the Export button (circled in green) to export the movie.
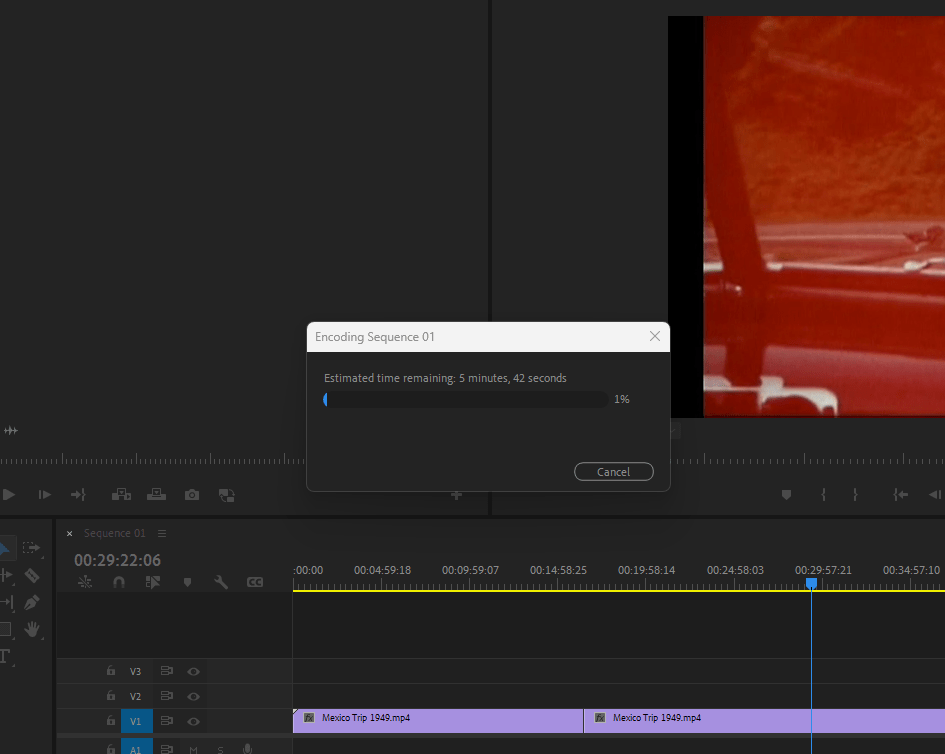
- You'll then see the Encoding process begin, which can take a while.
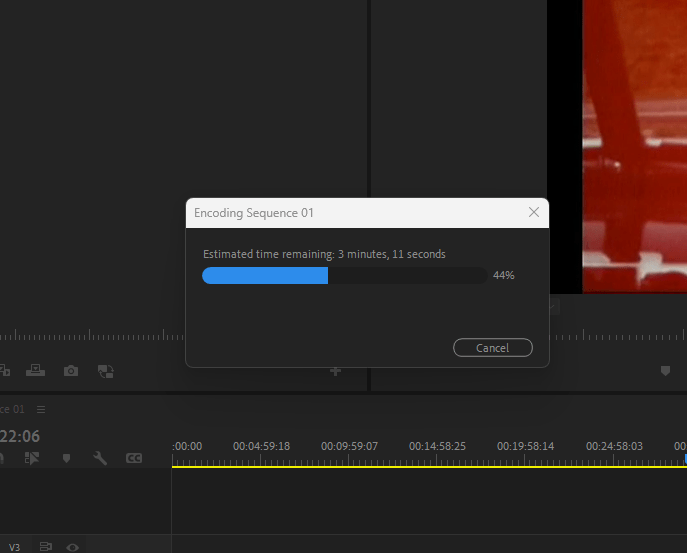
- Once it gets to 100% you'll see a message pop up for a few seconds that says the video was exported successfully.
- Go to where you saved the video file (for me, the desktop) and make sure it's there. Here's my video on the desktop!

- Be sure click on your video to make sure it plays.
Close or Exit Out of Premiere
Now you can close/exit out of Premiere.
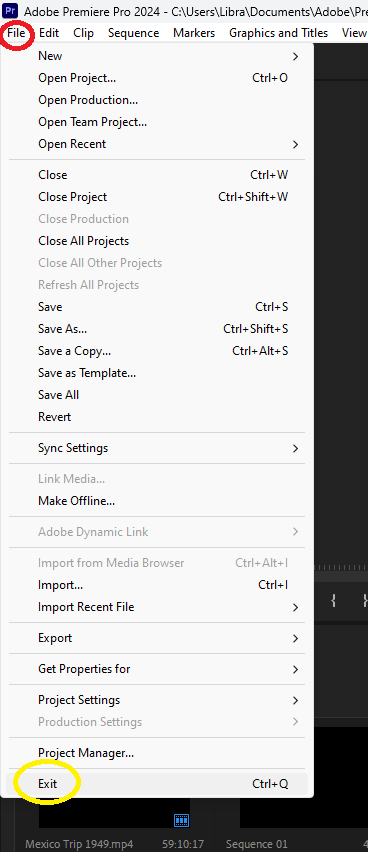
- Click on File in the top left corner (circled in red). Then click on Exit from the drop down menu (circled in yellow).
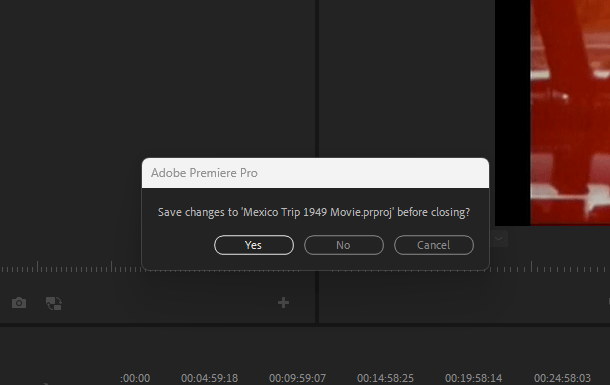
- You'll likely get the following pop up question.
- Click on No. Premiere will then close down.
That's it, you're all done!


Add a comment to: Adobe Premiere Pro: Basic Film Cutting for Beginners