
 Epson Perfection Photo Color Scanners are available for check out.
NOTE: Epson software is compatible with Windows, Mac and Linux Operating Systems.
Steps to scan slides using the Epson Scanner
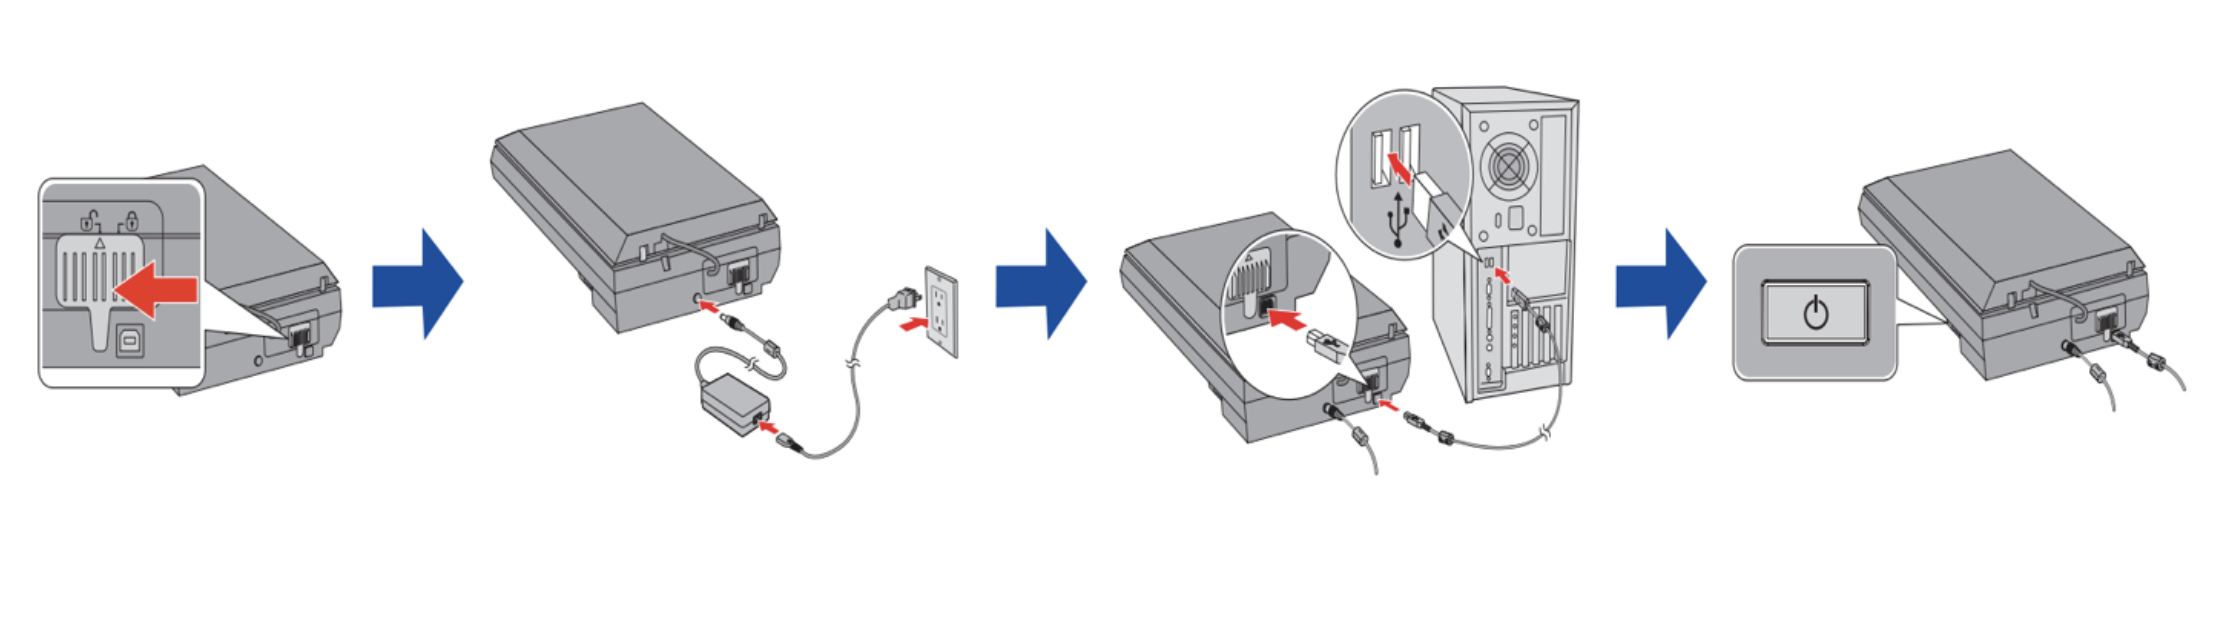
- Connect the scanner power cable to the scanner and plug into a power outlet. Connect the scanner USB cable to the scanner and the other end to a USB port on your computer.
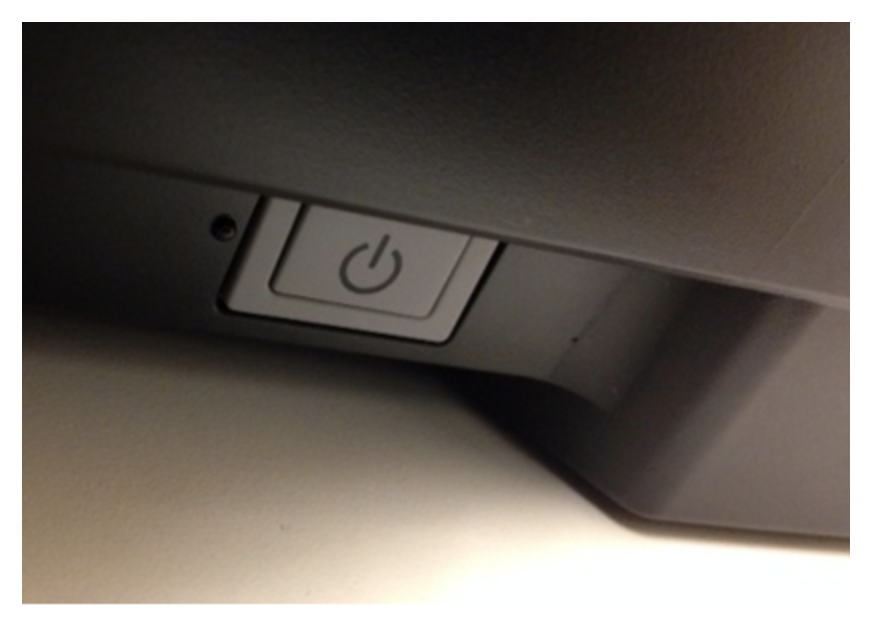
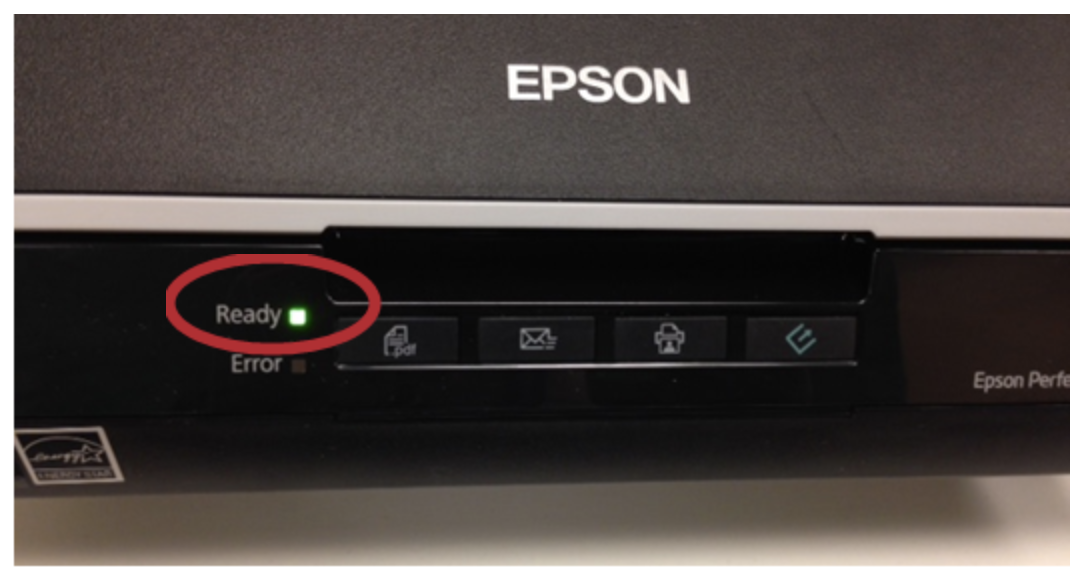
 2. Push the grey power button on the side of the scanner. A little green light will appear on the front of the scanner.
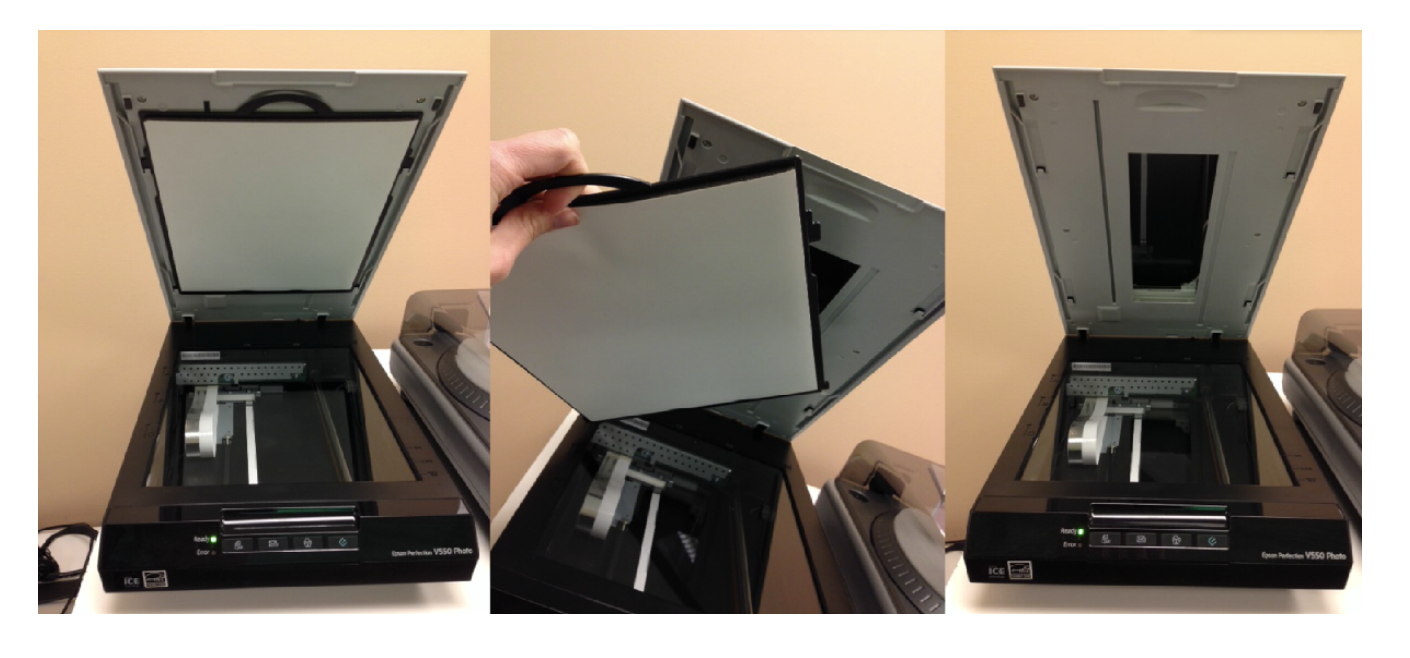
 3. Open the scanner cover (lid) and remove the white document mat to reveal the transparency unit window.
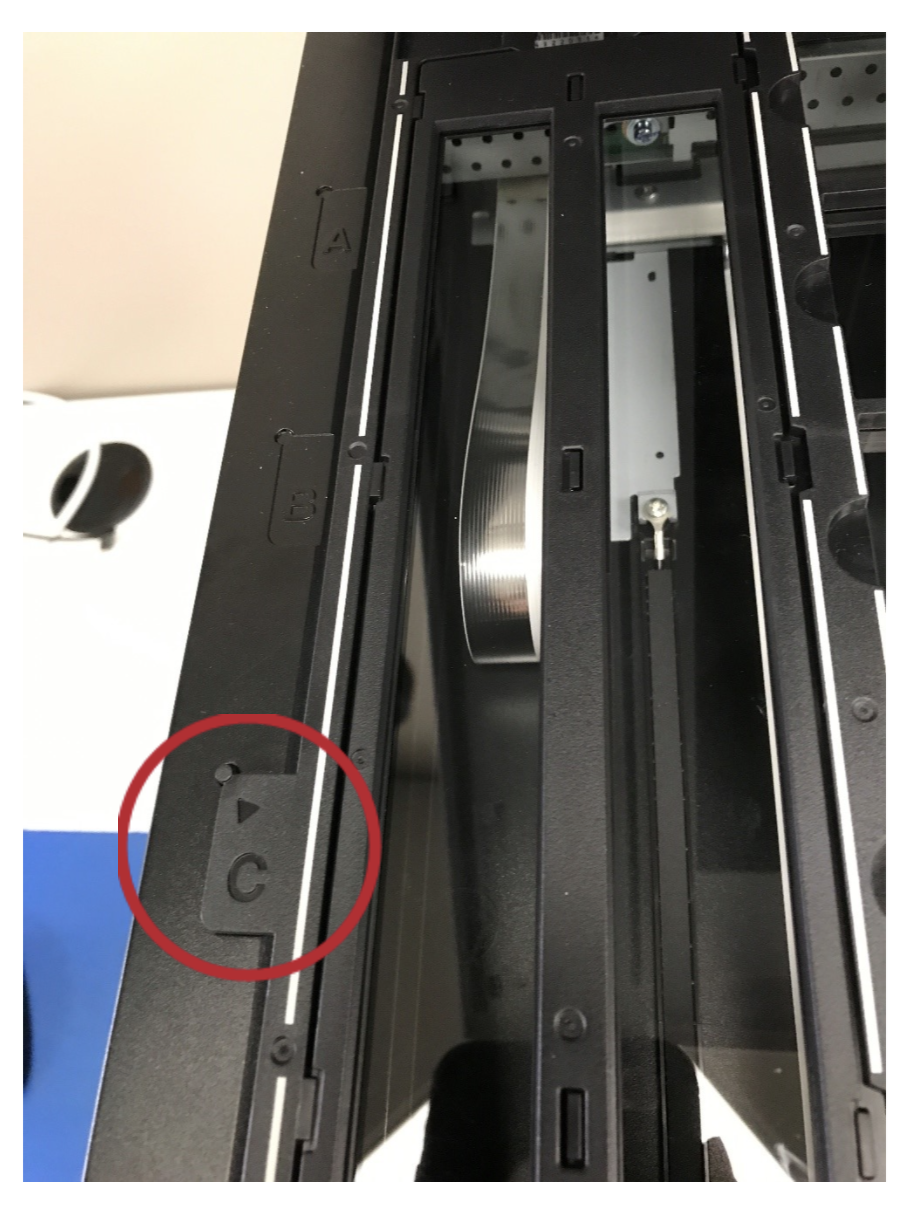
 4. Place the slide holder on the scanner bed. Line up the C tab on the holder with the C slot on the side of the scan bed.
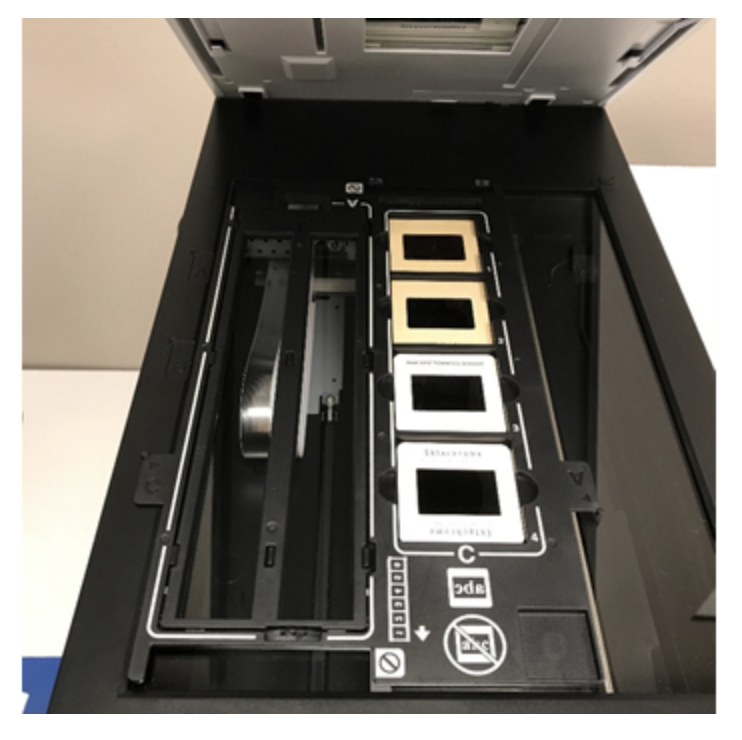
 5. Place your slides into the slide holder, oriented so that the image on the slide is backwards facing you (if you can’t tell the correct orientation, don’t worry. You can flip the image during the scanning process).
 6. Close the scanner cover.
7. On the computer desktop click the EPSON Scan icon to open the software.

8. The EPSON Scan software window will open.

NOTE: If you see the following message come up, check to make sure the scanner is connected to the computer and turned on.

9. You will need to change some settings for scanning slides. Your settings should look like those in the image below. I went with 1200 dpi, but you can go higher or lower. The higher you go, the longer the scanning time. I'd suggest looking at one of your images after scanning and determine the quality. At the bottom you see the default image format, the default file naming, and the location where the digitized files will be sent. Feel free to leave them as is or change them.
NOTE: Saving directly to a flash drive can be slow. I suggest saving to the computer, then moving the files to a flash drive.

10. Click Preview to see a preview of the slides.
NOTE: The preview of an image is never a high quality representation of the image(s) being scanned.

11. You'll see the following image noting that the preview scan is n progress.

12. You will see thumbnail images of your slides. You can increase the view size using the slide bar (circled in yellow). You can click on the icons circled in red to rotate, flip horizontally or check all the images and rotate or flip them all at once.

13. If you want to remove an image just hover over it and click on the "X" that appears.

14. When ready, click on the Scan button.

15. You'll then get a message that the images are being scanned.

16. After the scanning is done the folder where your images are being save to will open up. My images are saving to the Pictures folder.

If you have more slides, just repeat the process from Step 10. If not, you're all done!

Add a comment to: Epson Scanner: Scanning 35mm Slides (Mac)