Have home movies on VHS tapes that you would like to digitize? Visit any of our Digital Media Stations to learn how you can save your home movies as digital files.
Let's get started!
How do I convert my VHS to a digital format?
Step One - Connecting the VCR to a computer and insert VHS tape.
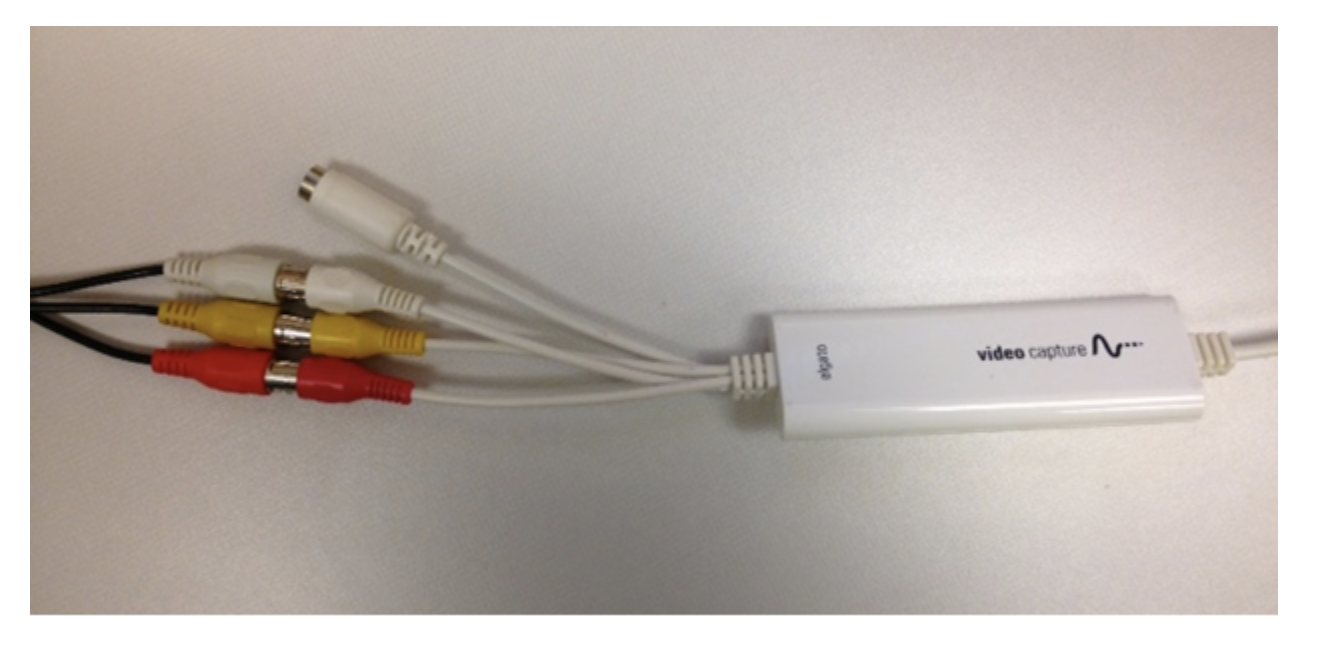
Make sure one end of the RCA cable shown below (2) is attached to the audio/video "Out" ports on the back of the VCR (1). The other end of the RCA cable will attach to the white El Gato video capture cable (3).
1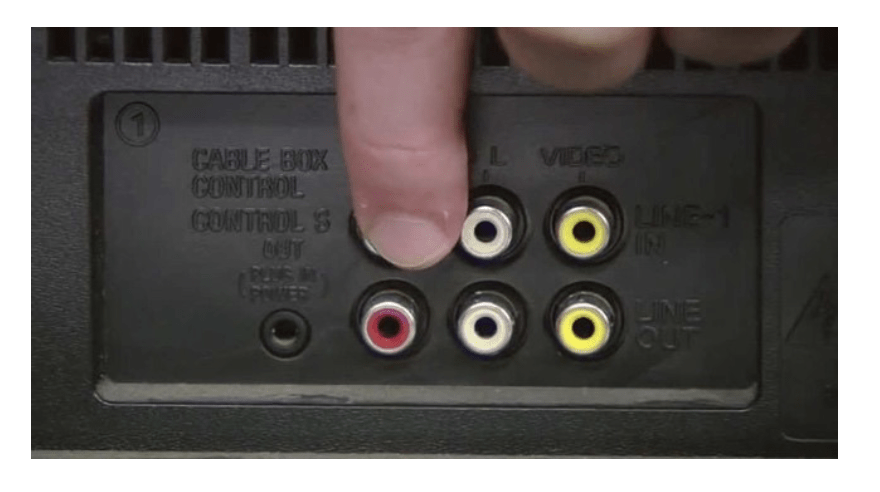 2
2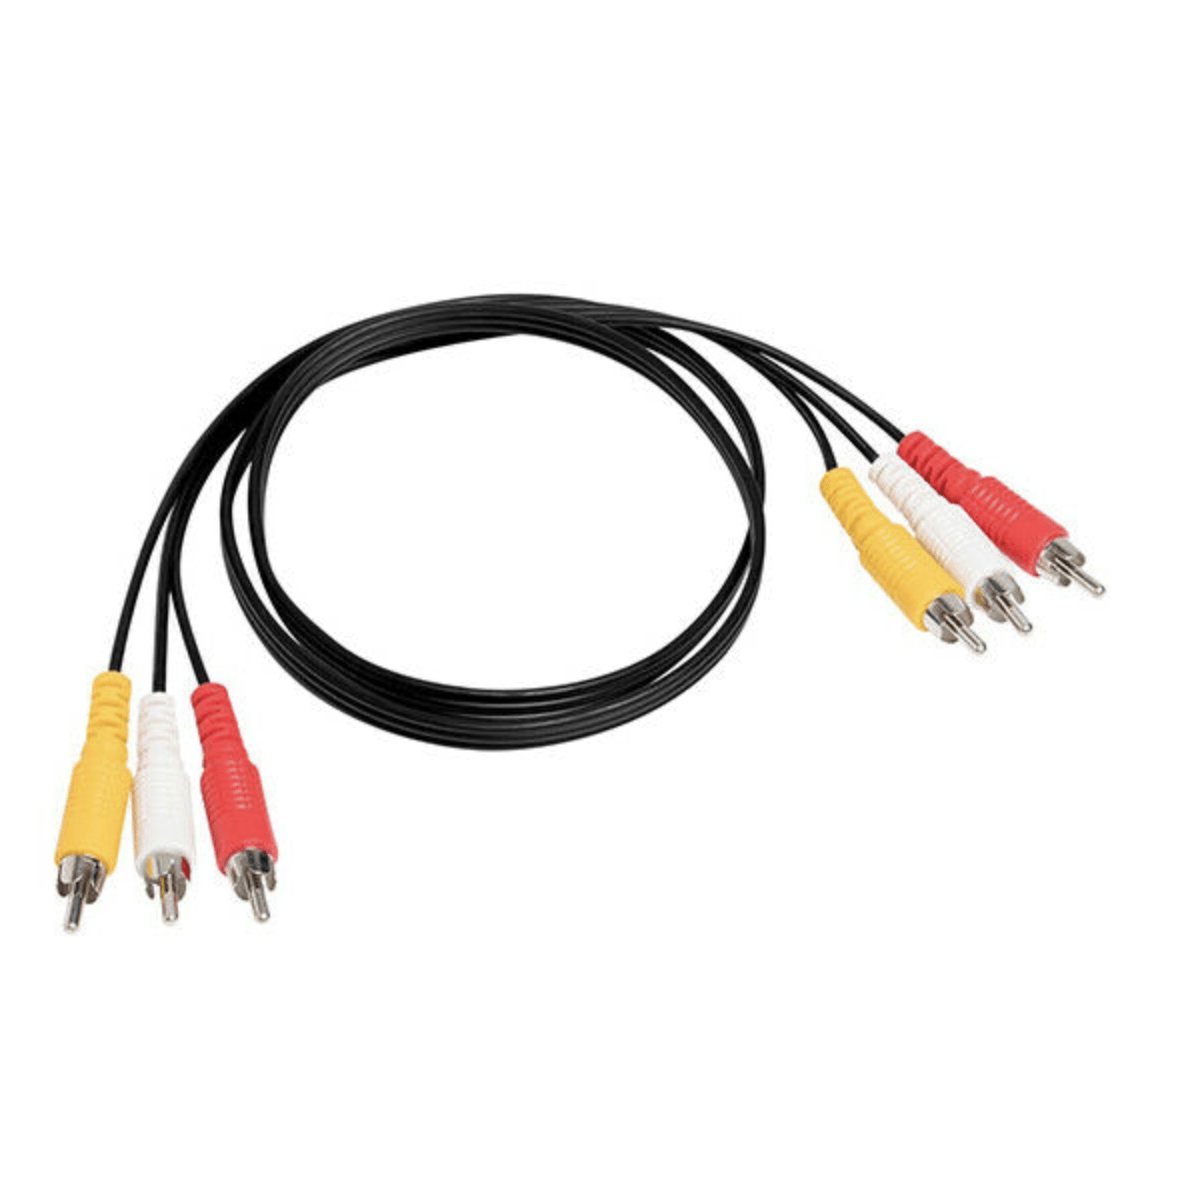 3
3 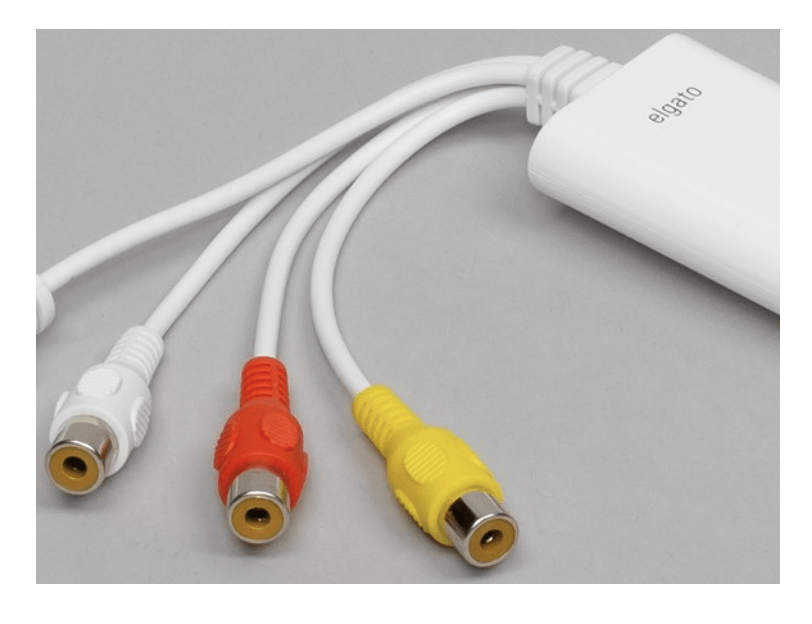
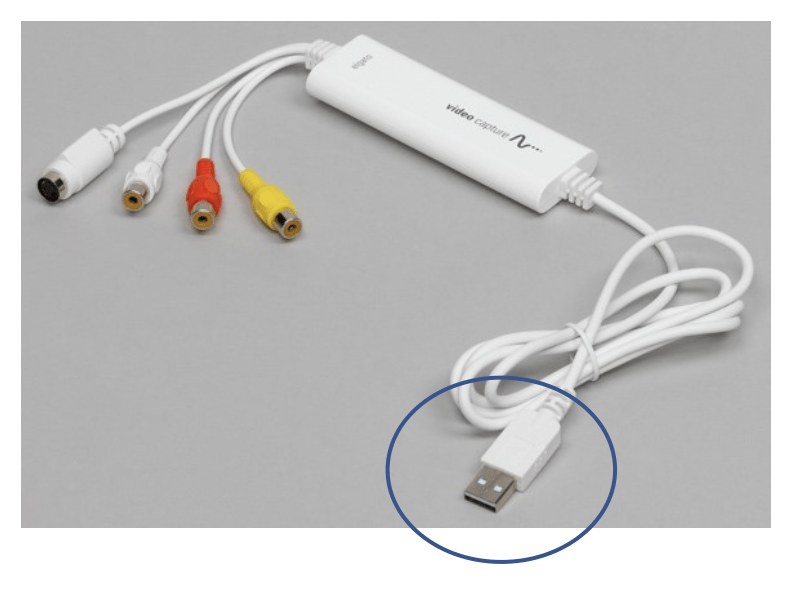
The USB end of the white El Gato video capture cable (circled below) will attach to a USB port on the computer.
Now, place your VHS tape into the VCR. Some VCR's immediately start playing the tape, which is fine because we'll want to test video and audio.
Step Two - Opening the El Gato video capture program to convert your movie.
Next, click on the El Gato video capture icon on the computer desktop to open El Gato video capture software.

Type in a name for your movie. Select an approximate length for your movie. If you're not sure just go with highest number available in the drop down.
NOTE: Putting in an approximate length for your movie will give you an estimate of the file’s size and will give you the option to make Elgato Video Capture stop recording automatically after that amount of time.
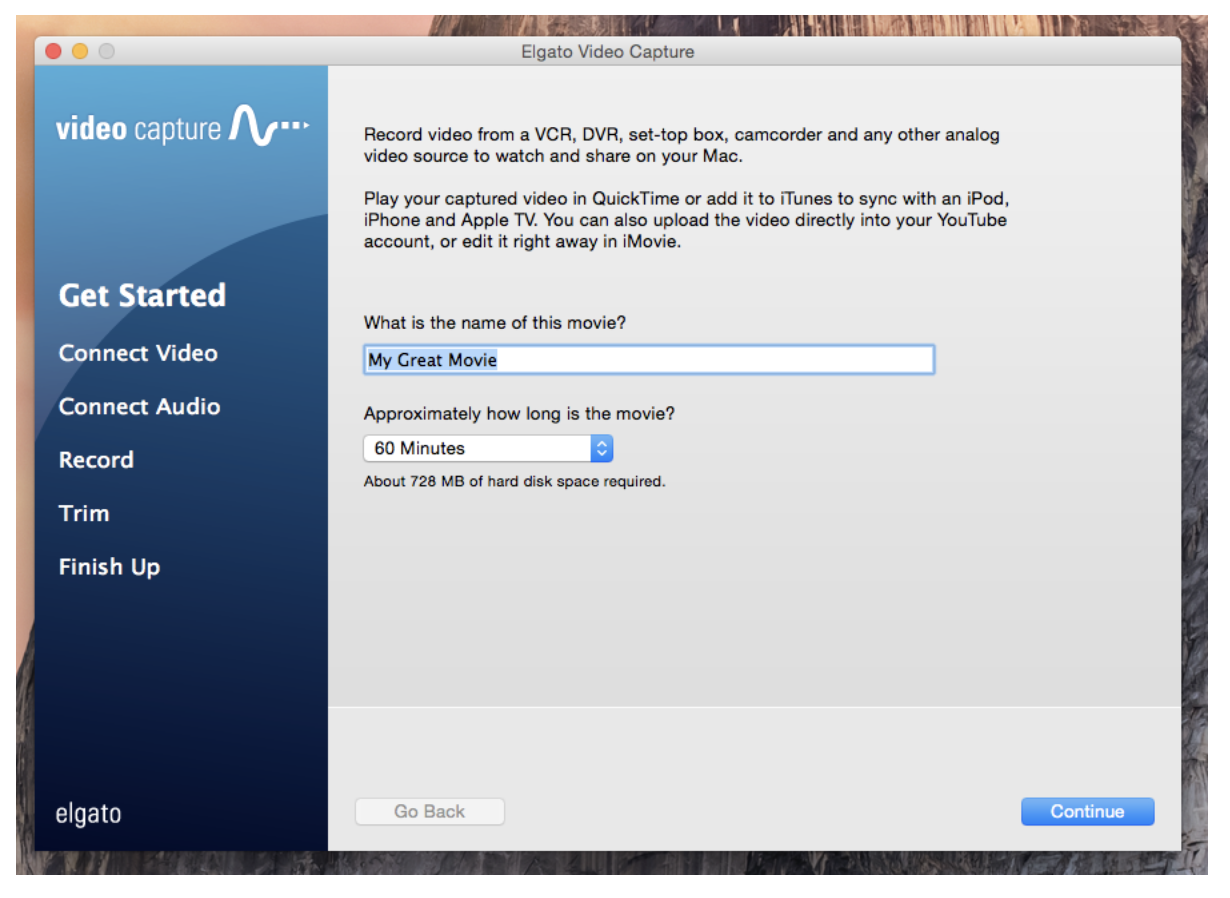
Click “Continue.”
For Video Input, make sure “Composite (“RCA”)” is selected, and for Aspect Ratio, make sure “4:3” is selected.
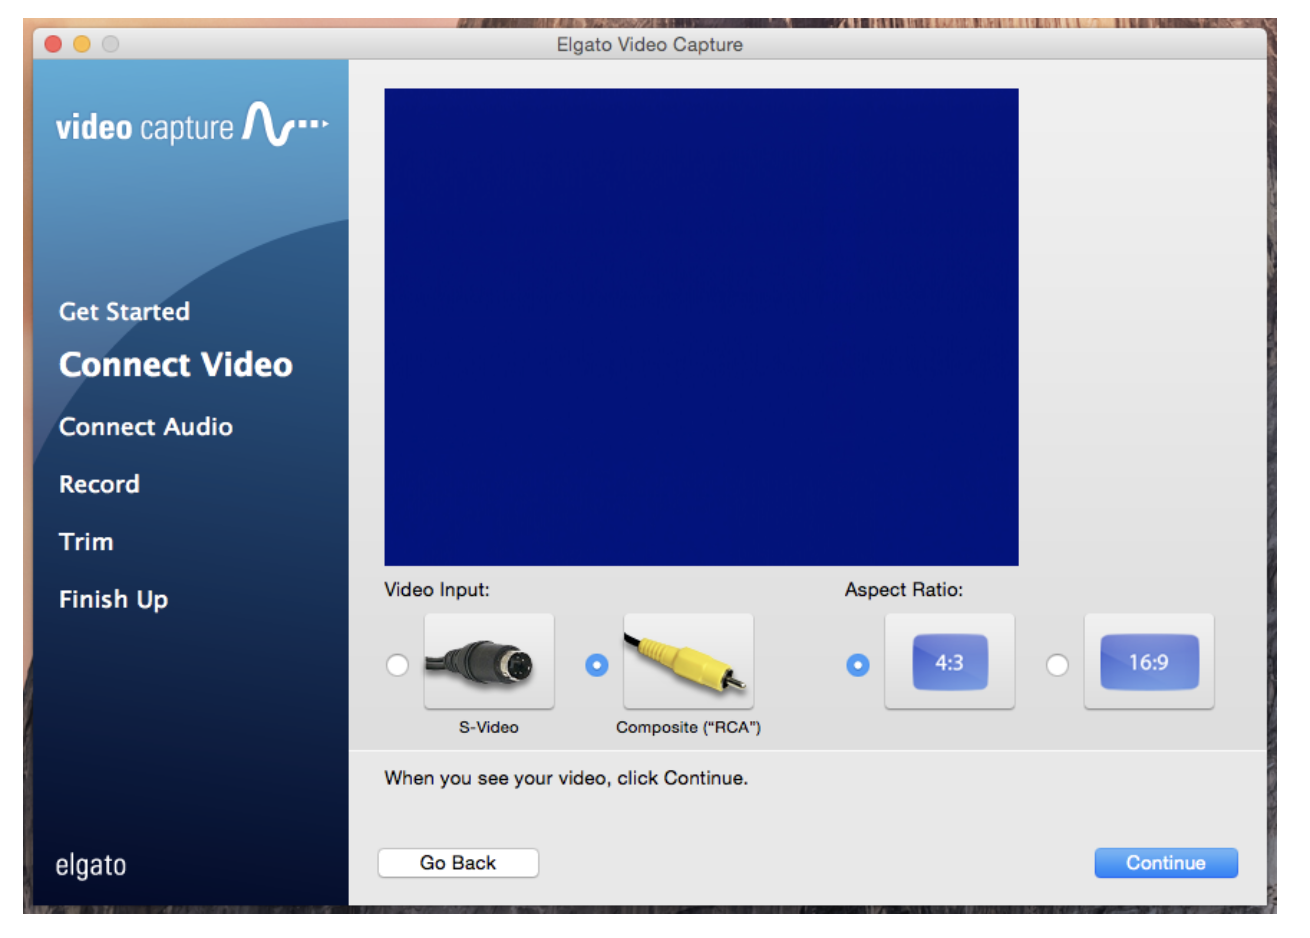
Step Three - Start the VHS to check the audio is working clearly.
Press play on the video player and when you see your video playing on the computer screen, click “Continue.”
Make sure you can hear the audio coming from your tape. Once you can hear sound, click “Continue.” If you can’t hear anything, try the following:
- Make sure headphones aren’t plugged in to the computer
- Make sure the computer’s volume is turned up about halfway
- Make sure the RCA cables are connected correctly to the video player and to the Elgato Video Capture device.
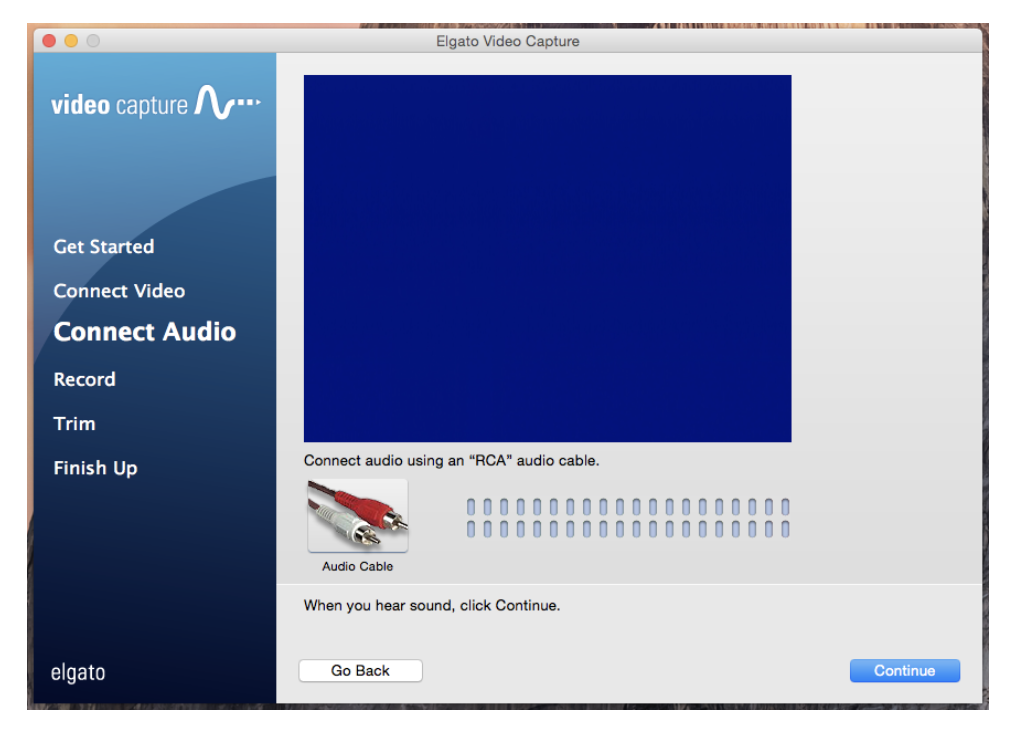
You have two options here, which you probably won’t need to use:
- You can check the box for “Automatically stop recording after # minutes” if you know the exact length of your tape
- You can mute the sound if your tape doesn’t have any sound.
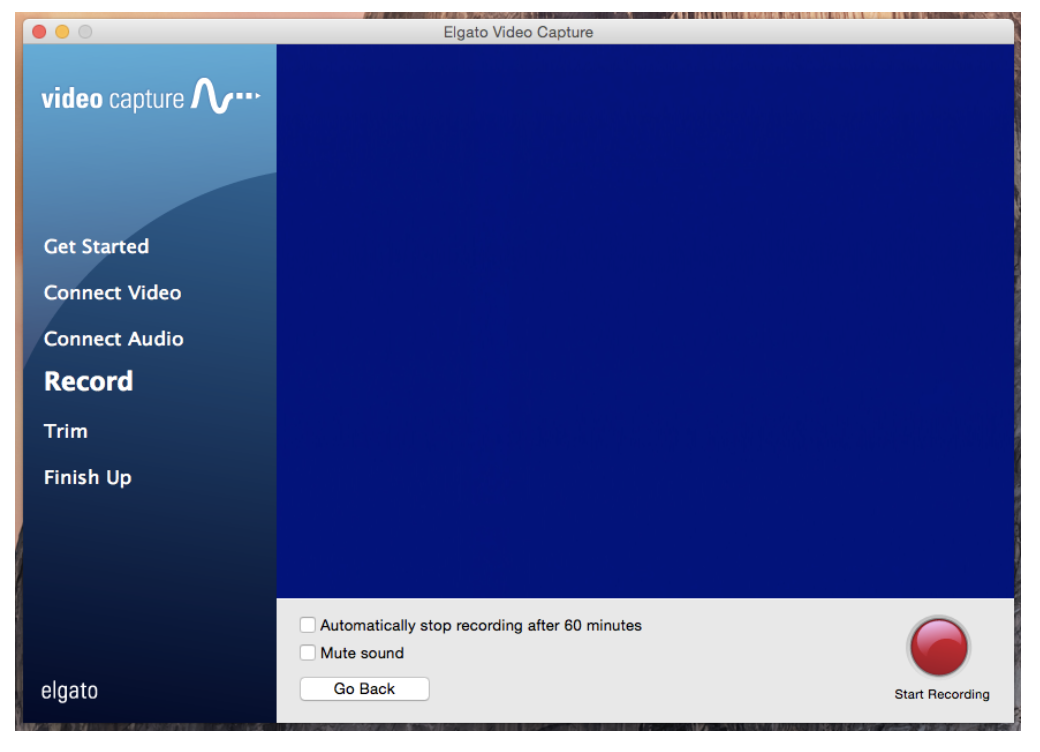
Step Four - Begin recording the VHS to start the conversion.
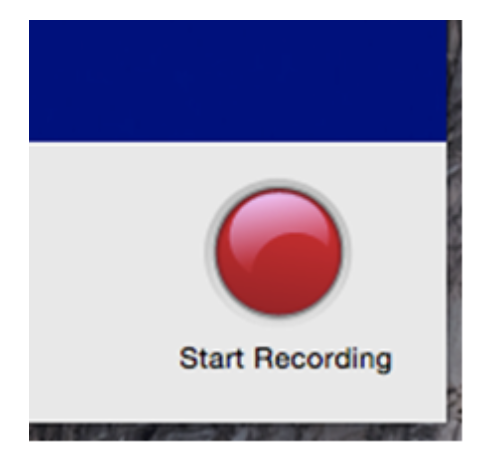
Rewind your tape all the way again. Click the “Start Recording” button and press play on the video player. Your video is now recording. It records in real-time, so you will have to watch your video all the way through.
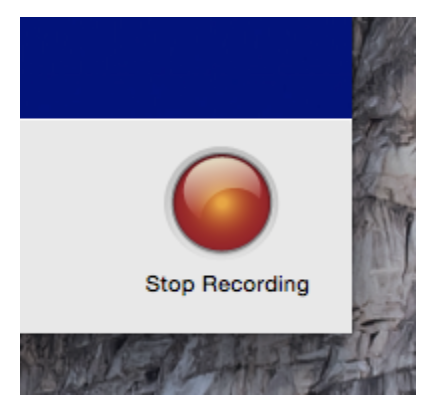
When the video has finished playing, click the “Stop Recording” button.
Step Five - (Optional) Editing the beginning and end of your recording.
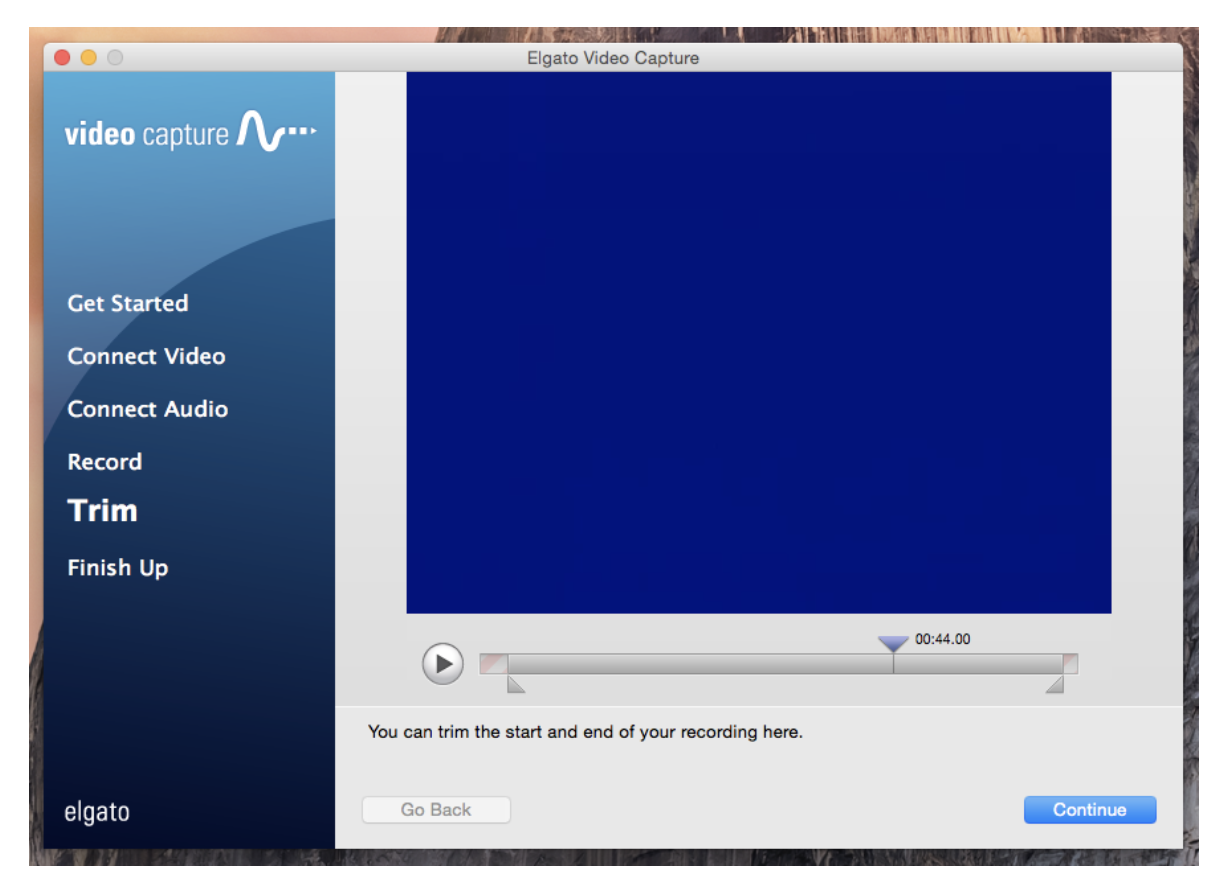
Here, you can trim the beginning and end of your recording, if you wish. Drag around the blue triangle on the top of the gray bar to look at various parts of the film. Move the gray triangles on either end to trim the beginning and end. Then click “Continue.”
Final Step - Saving your newly converted recording.
The software tells you where your video file was saved. Likely in the computer's “Videos” folder. You can now drag the video file from the Videos folder to your flash drive, or upload it to your Cloud storage.

You’re done! Nice work!
Troubleshooting Common Problems
Is the device not working the way you expected? Try these fixes!
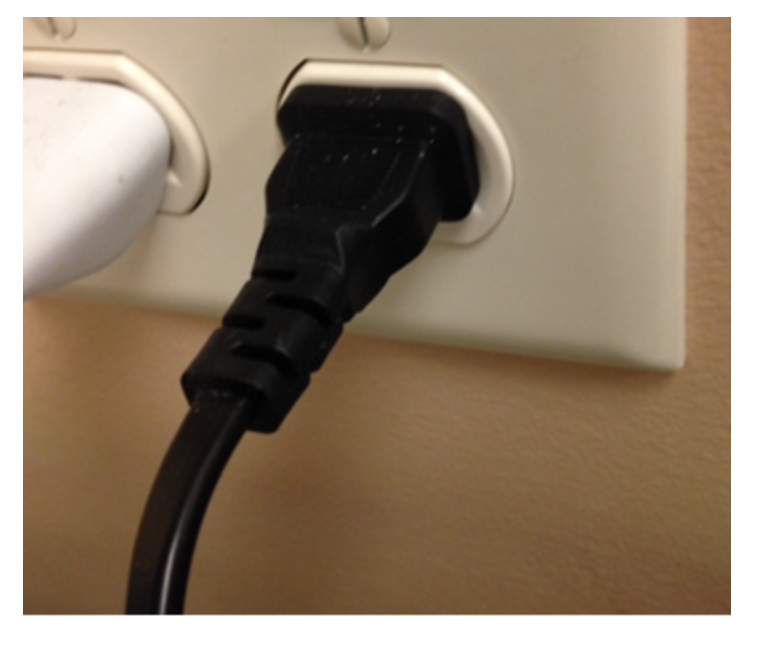
1. Make sure all devices are plugged in to power.
2. Make sure El Gato Video Capture Device is connected to the RCA cables.
3. Make sure the RCA cables are plugged into the "Out" or "Line Out" ports on the VCR.


Add a comment to: VHS Tape to Digital (MP4) Tutorial