Welcome to the Audio Recording Room at the Space. The RodeCaster Pro II will record all of your audio. It is already set up and ready for you to use.
Get started
This guide will walk you through the basic operation of the device so you can start recording your audio content.
Power On
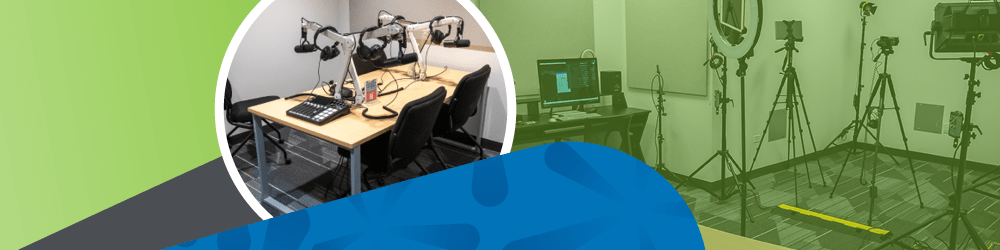
- Locate the soft red power button on the back of the unit (circled in yellow) and press it once to turn it on. The touchscreen will light up, and you'll see the loading screen for about 30 seconds, then the main interface will be displayed.
Storage Device
- The RodeCaster Pro II saves to your MicroSD card. Note: A 32GB Micro SD card will suffice. You can also connect a flash drive or external hard drive to the USB-C #1 port on the back of the device. Small USB-C to USB adapters are available.
- (Do not use USB-C port #2)
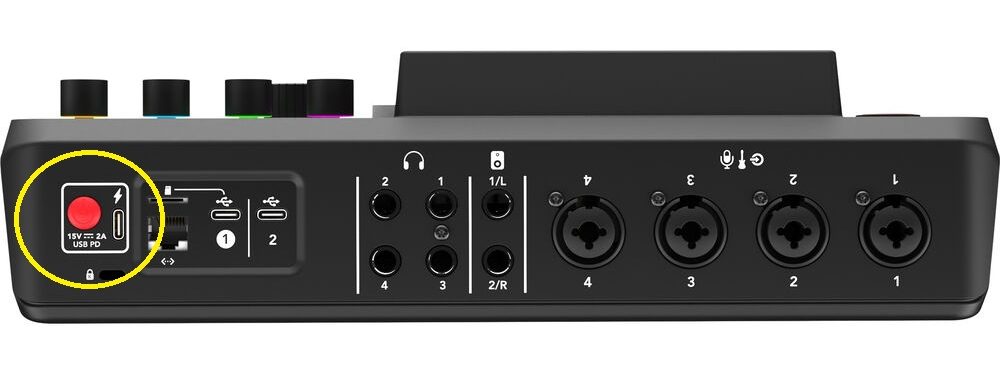
- The MicroSD card is inserted into the back of the device (circled in yellow).
Note: You must have a storage device connected to enable recording. Forgot to bring an SD card? Ask a Tech Specialist for assistance.
Adjust Input Levels
- Identify and take note of which Channel Number you are using by looking at the sticker on the microphone you're sitting in front of.
- Speak into the front of the microphone at a normal volume from about 3-6" inches away.
- Observe the level meters on the touchscreen of the RodeCaster Pro. They should light up green, indicating a good signal level.
- If the meters are in the red, it means the signal is too loud and may distort. Use the fader (slider) which corresponds to the channel you are on to lower the input level until the meters stay in the green.
Monitor Your Audio
- Adjust the headphone volume using the dedicated knob matching the same channel number in the upper right-hand corner of the board. You should now be able to hear yourself through the headphones.
Record Your Content
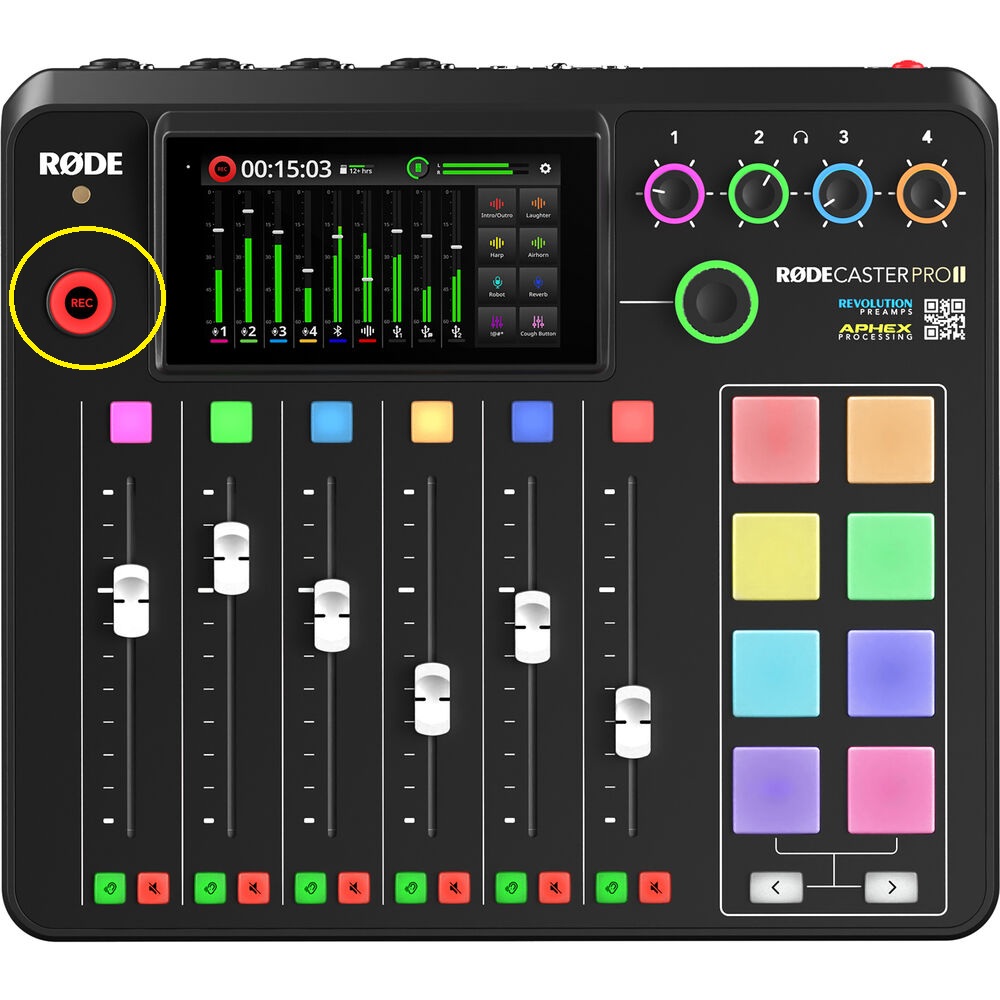
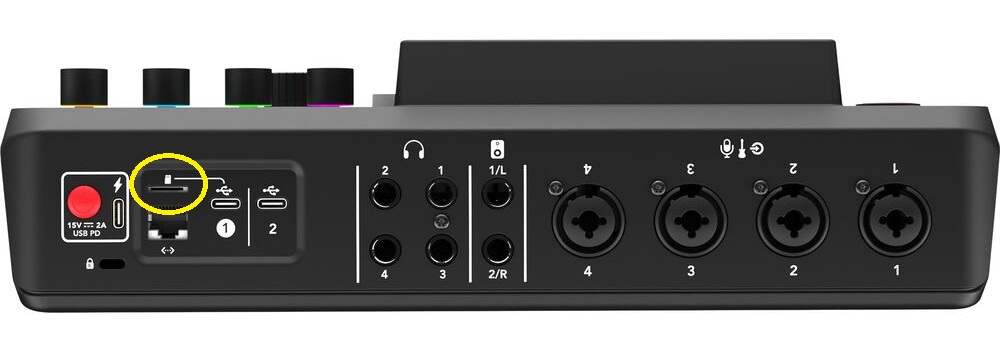
Start Recording: Press the big button labeled "REC" on the top left (circled in yellow) to start the recording. The light will change to RED while recording.
Pause Recording: Press the big button labeled "REC" again. The light will turn LOW indicating that it is now paused. To resume recording, simply press the "REC" button again and the light will return to RED.
Stop Recording: To stop your recording completely, PRESS and HOLD the "REC" button until it turns GREEN. NOTE: After pressing stop, I typically wait a minute or two before removing the SD card.
File Management
- You can access your recordings and manage files on the SD Card using the touchscreen interface. Simply tap on the globe " icon in the top left corner of the touchscreen. The number of recordings on your storage device will be listed on the right-hand side of the screen. Tap on that number and a list of your recordings will be displayed. From here, you can review and delete recordings.
Finishing Up
- After you have completed your recording, remove your MicroSD card.
- Shut off the RodeCaster Pro by holding the power button for a few seconds.
Additional Features
Bluetooth Audio:
Built-in Bluetooth connectivity allows you to wirelessly connect compatible devices such as smartphones. This is useful for taking and recording high-quality phone calls directly into your podcast or recording session. You can also use Bluetooth to stream music or sound effects from your Bluetooth-enabled device directly to the RodeCaster Pro II.
- Go to the Settings menu on the touchscreen.
- Select System > Bluetooth.
- On your device, find and select the RodeCaster Pro 2 from the list of available Bluetooth devices.
- Follow any on-screen prompts to complete the pairing process.
Once connected, you can adjust the Bluetooth levels just like any other input source using the corresponding fader (slider.)
Ask a Tech Specialist for assistance if you'd like to use this feature.
Sound Pads:
- The colored pads can be customized to trigger sound effects, music, or other audio dips.
Ask a Tech Specialist for assistance if you'd like to use this feature.
Troubleshooting
Corrupted Audio File - Likely Causes
If you encounter a corrupted or unreadable audio file when recording on the RODECaster Pro II, the issue is usually related to how the recording session ended or how the storage media behaved during the recording process. Below are the most common causes to check during troubleshooting.
1. Recording Was Not Properly Stopped
Audio files are finalized only after you press Stop and the device completes the save process. If the unit loses power, is turned off, or the storage device is removed before the recording finishes finalizing, the file may appear corrupted or incomplete.
2. Power Loss During Recording
A sudden power interruption - such as an unplugged power cable or power outage - can interrupt the file-writing process. When this happens, the recorder may not complete the file header or metadata, making the recording unreadable.
3. Faulty or Slow Storage Media
Using a low-quality, damaged, or slow microSD card or external storage device can lead to write errors. If the media cannot sustain the required recording speed, audio data may not be written correctly, resulting in file corruption.
4. Storage Device Removed Too Early
Removing the microSD card or USB storage immediately after recording without allowing the device time to finish writing the file can corrupt the recording.
5. Nearly Full or Fragmented Storage
If the recording medium is close to full capacity or heavily fragmented, the device may fail to complete the recording file properly.
6. Firmware or System Errors
In rare cases, outdated firmware or a temporary system fault can cause recording issues. Ensuring the recorder is running the latest firmware version can help prevent these problems.
Preventive Tips
- Always press Stop and wait for the recorder to fully finalize the file before powering down.
- Use high-quality, high-speed microSD cards recommended by the manufacturer.
- Avoid removing storage media until the device indicates it is safe.
- Maintain sufficient free space on the recording media.
Most corrupted recordings are caused by interruptions during the file-finalization process, so ensuring the recording session ends normally is the most important preventive step.

Add a comment to: Audio Recording Room at The Space: A QuickStart Guide