Learn how to create your own Block Print Stamp!
Download the PDF, opens a new window or follow along below
Materials Needed
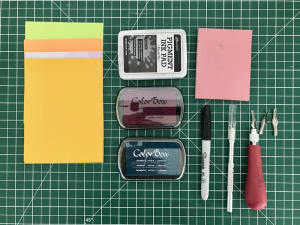
- Rubber Blocks
- Speedball Linoleum Cutter Blades
- Sharpie Marker
- Paper
- Assorted Ink Pads
- X-acto Knife
- Mat
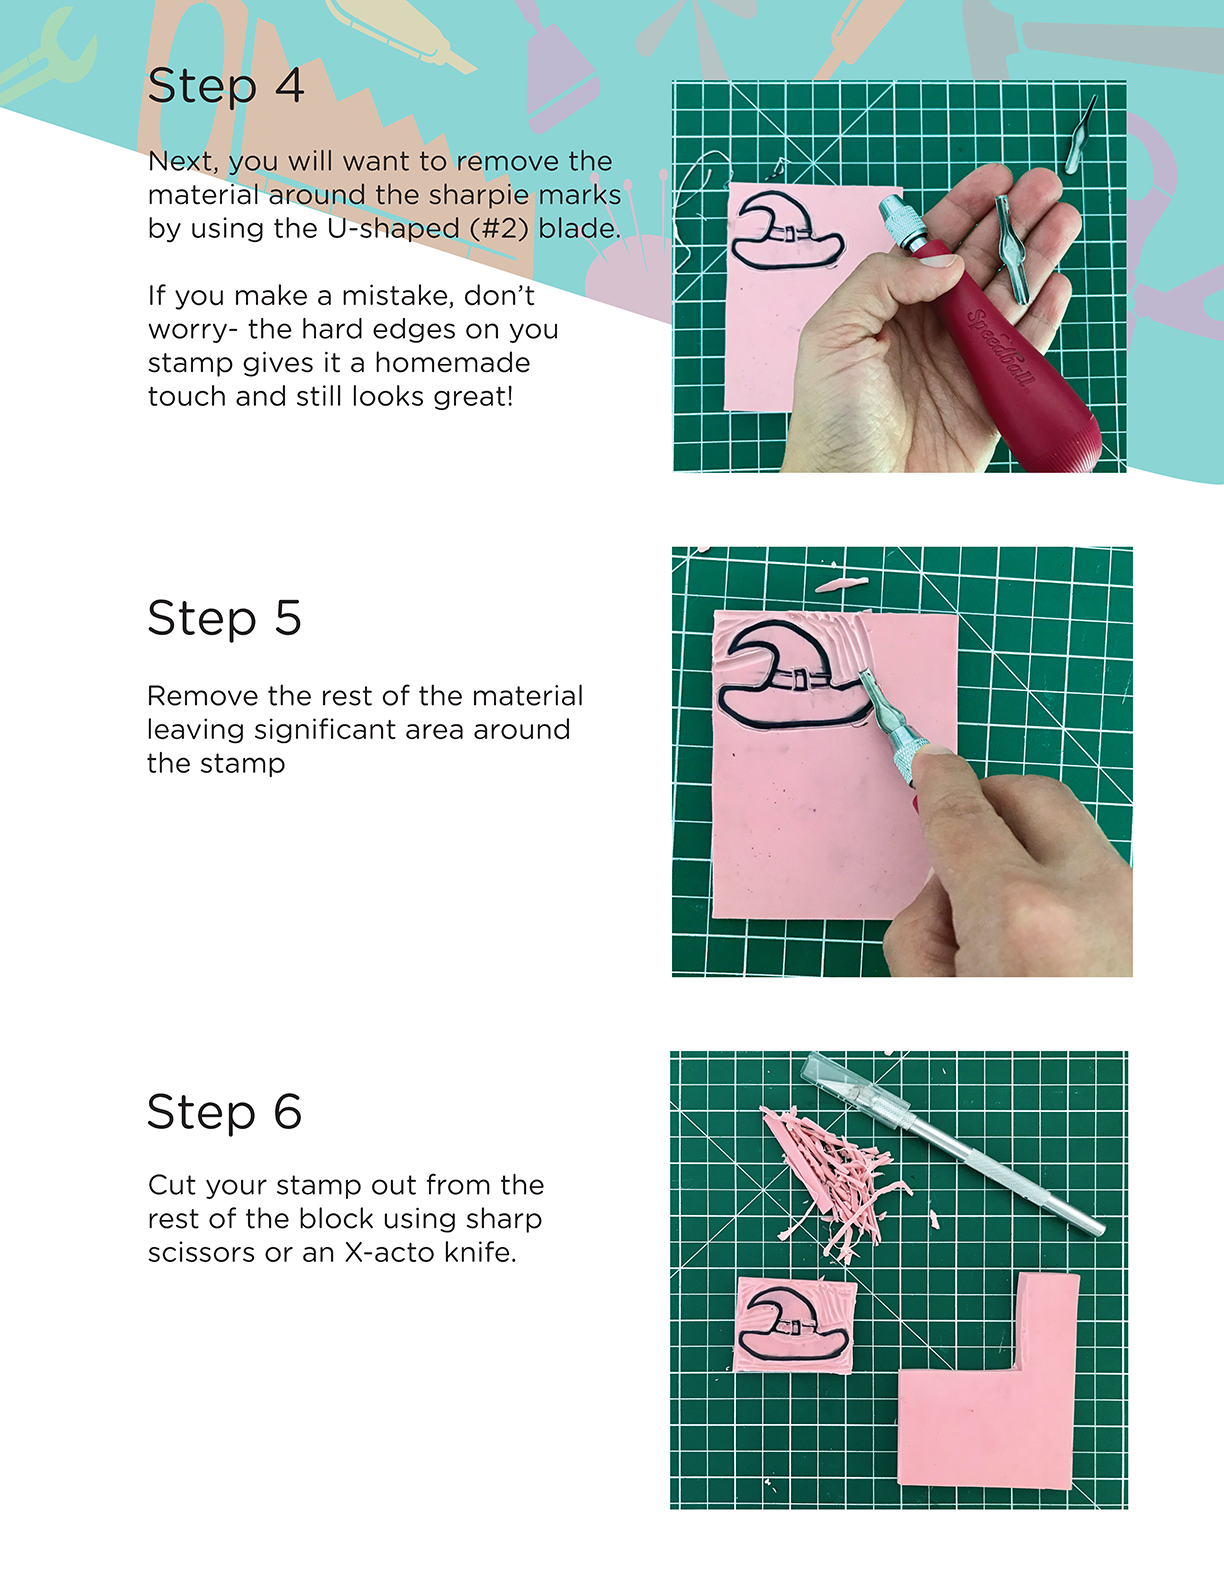
Safety First: Never place your hands in front of the blade.

Add a comment to: Makers Moment: DIY Block Print