Tufting at the Makerspace
Learn about tufting-- the art of rugmaking, and how the station can be used in the Castlewood Makerspace.
What is Tufting?
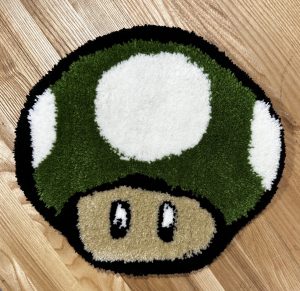
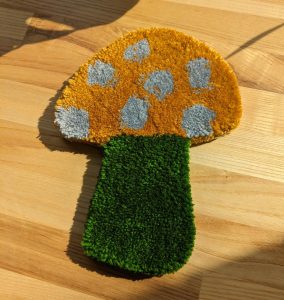
Tufting is the process of passing thread through a fabric base to make rug textile art! In the Makerspace, we specifically use a tufting machine, or “gun” which uses a mechanical needle to punch yarn through a backing fabric and then trim that thread. This process allows makers to create large complex pieces more quickly than by hand.
What materials do I need?
We offer all the materials you need to make one tufted project up to 12” x 12”. After this introductory project, we do ask you to bring in the materials listed below. We supply frames at 20x20”, 20x24”, 24x30”, and 24x36.” Please consider your project size when purchasing and plan accordingly!
- Tufting Cloth
- Final Backing
- Medium Weight/Worsted Yarn
You can find all the materials you need for your project here., opens a new window We suggest Big Twist medium weight acrylic yarn, available at Michaels. , opens a new window
How does it work?
In our guided one-on-one appointments, we will walk you through the entire tufting process detailed below. Take a peek to get a head start, or refer to this guide for future projects.
- Plan your design! Designs with bold outlines or blocks of color work best.
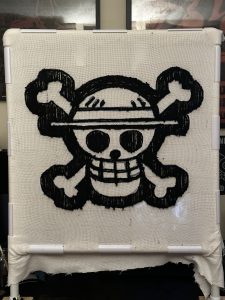
- Stretch the tufting cloth on the PVC frame with PVC clamps until the cloth is taunt with a slight give.
- Transfer your design guide with a permanent marker onto the stretched cloth. You can freehand your design or use the Makerspace’s projector.
- Prepare the first yarn color. You’ll want to either pre-wrap the yarn onto one of our provided spools or have the skein of yarn somewhere close where you can easily pull your length of yarn. Thread the tufting gun with your prepared color using the threading tool. Ensure the gun is switched off whenever threading.
-
Switch the gun on, and tuft! Some things to keep in mind as you work:
- Begin with the outlines of your design first, followed by fill colors.
- The tufting gun only works in one direction; turn the entire gun to always be moving in an upward motion with the help of the rotating handle. Straight upward lines can be an easy place to start.
-
Press the gun into the backing cloth so that the foot leans on the cloth for consistent pressure.
-
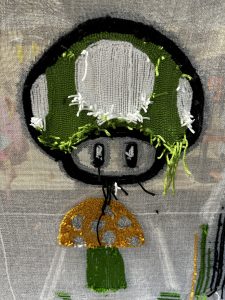
Repeat this process until all colors are completed. Yarn can easily be pulled out of the fabric if you make a mistake. Check the back of the frame as you work to accurately see your progress!
-
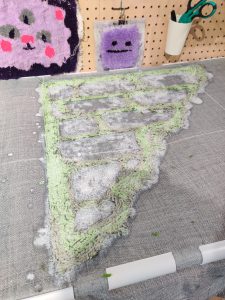
Apply latex glue. Once your design is completed, do not remove it from the frame. Set the frame down flat on a table with cardboard underneath. Using a sponge brush, saturate the entire back of your design with glue. Let dry for 24 hours.
-
Cut out your finished tufted design from the unclamped fabric. Leave about a 1.5” border around your piece.
- Shave down the tufted piece on the finished top side, using the razor and razor guide to keep the cut even.
- Fold over the fabric border to the back of your piece, using the spray adhesive to hold it in place. You can cut small slits in the fabric to better help fold along curved edges.
- Apply the final non-slip pad to your piece with more spray adhesive. Trim down the non-slip fabric with scissors to the appropriate size.
- Enjoy your newly tufted art piece!
How do I get started?
Schedule a guided one-on-one appointment with a Creative Specialist to learn how to use the station and make a 12” x 12” introductory project! Head over to our Makerspace page, opens a new window and fill out the “Make an Appointment” form to get started.
After your first introductory appointment, you can reserve the tufting station for multiple hour use. Frames are reserved for 1 month intervals.





Add a comment to: Tufting Station at the Makerspace