
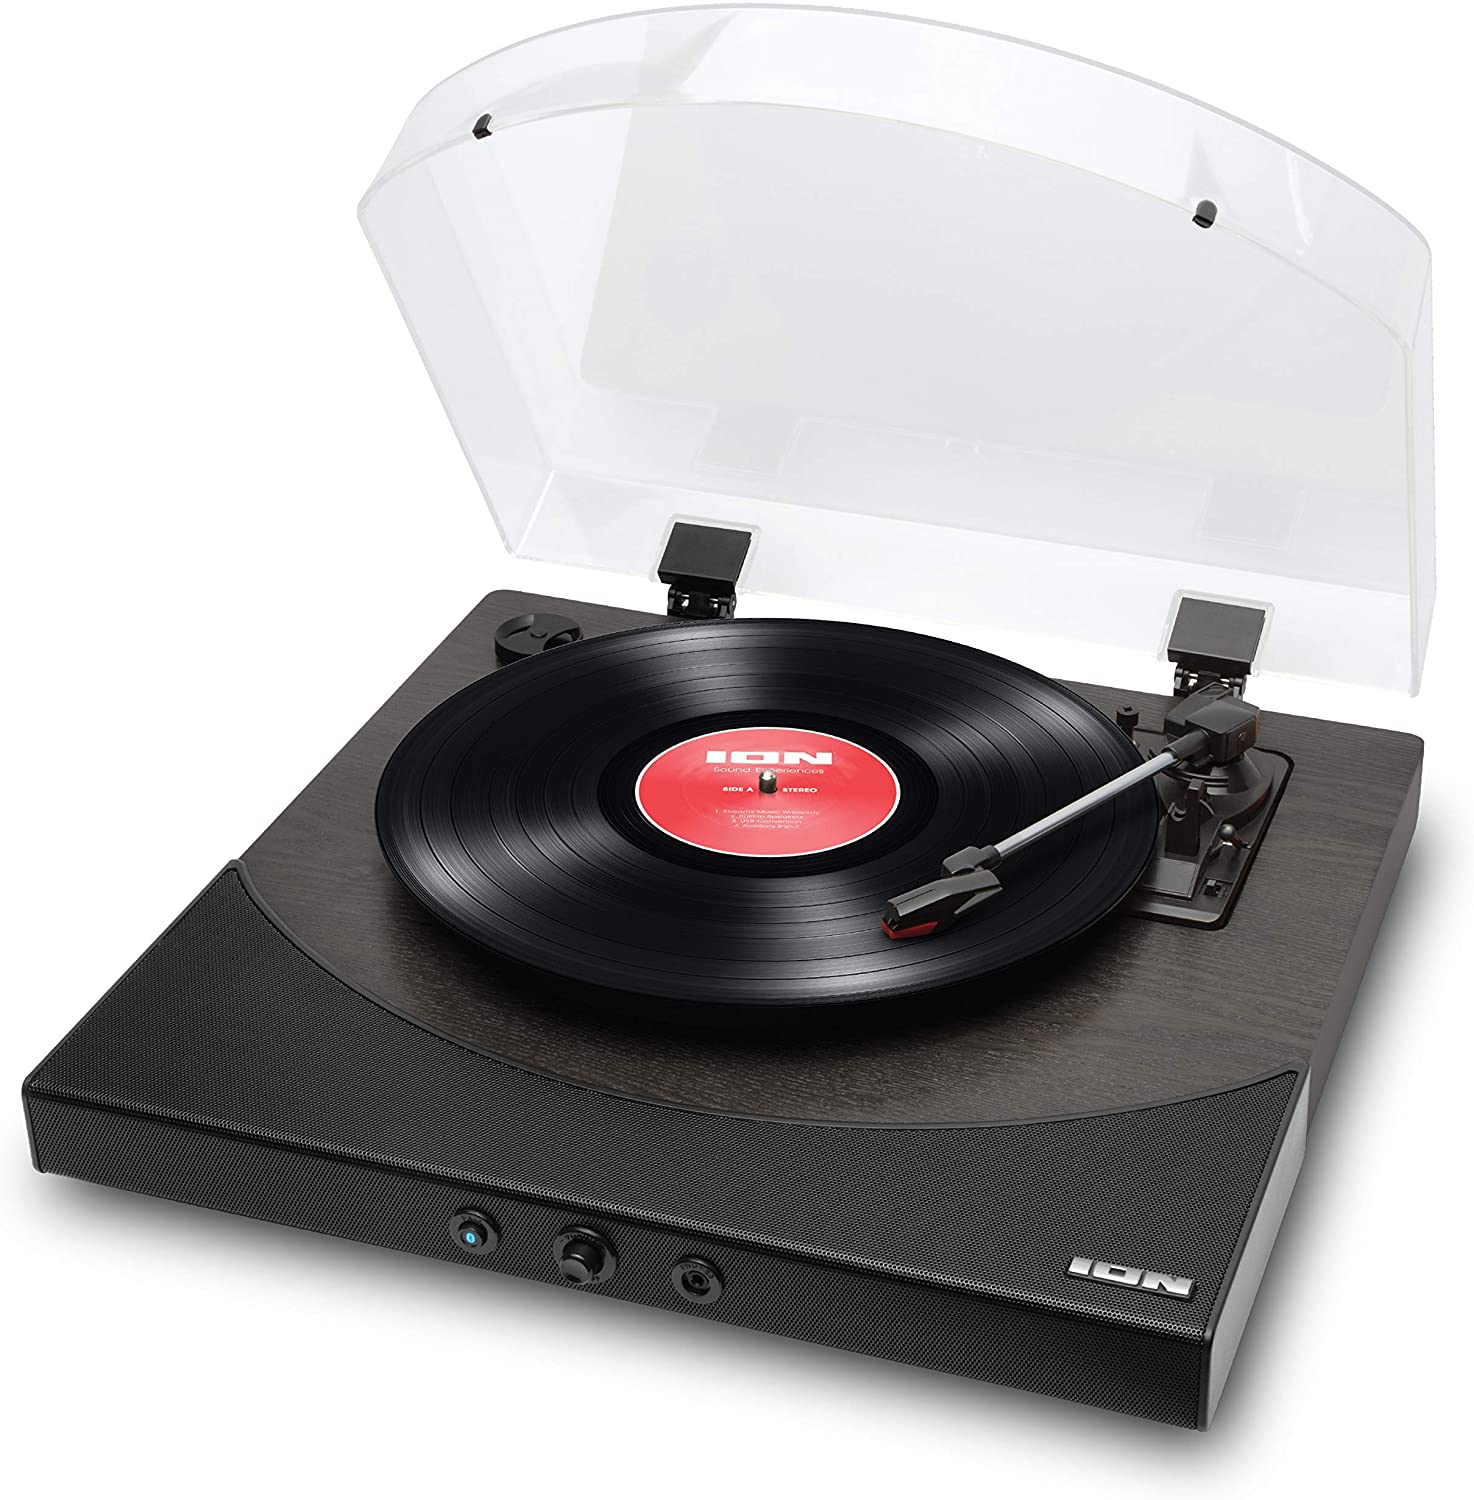
Do you have home recordings on vinyl lying around that you've always wanted to convert digitally? Now you can. Make an appointment to use a Digital Media Station for access to an ION Conversion Turntable.
Convert Vinyl Recordings Using ION Conversion Turntable
- Identify which type of vinyl record you have – 33 rpm or 45 rpm.

2. Place your record on the turntable.
NOTE: If you are using a 45 rpm record that has a larger hole in the center, place the 45 rpm adapter that comes with the ION Conversion Turntable on the center spindle first.
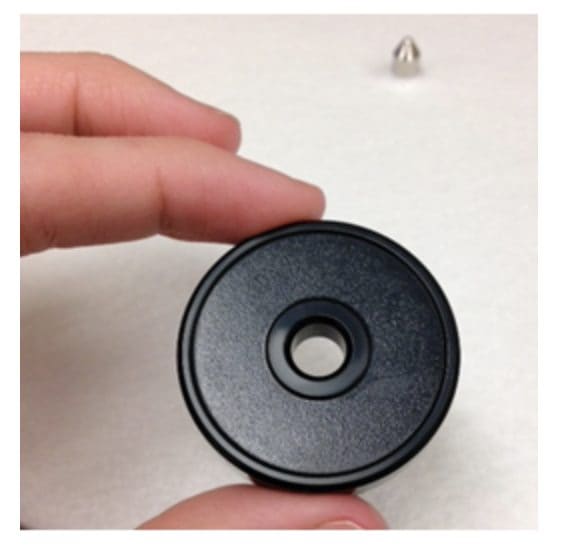
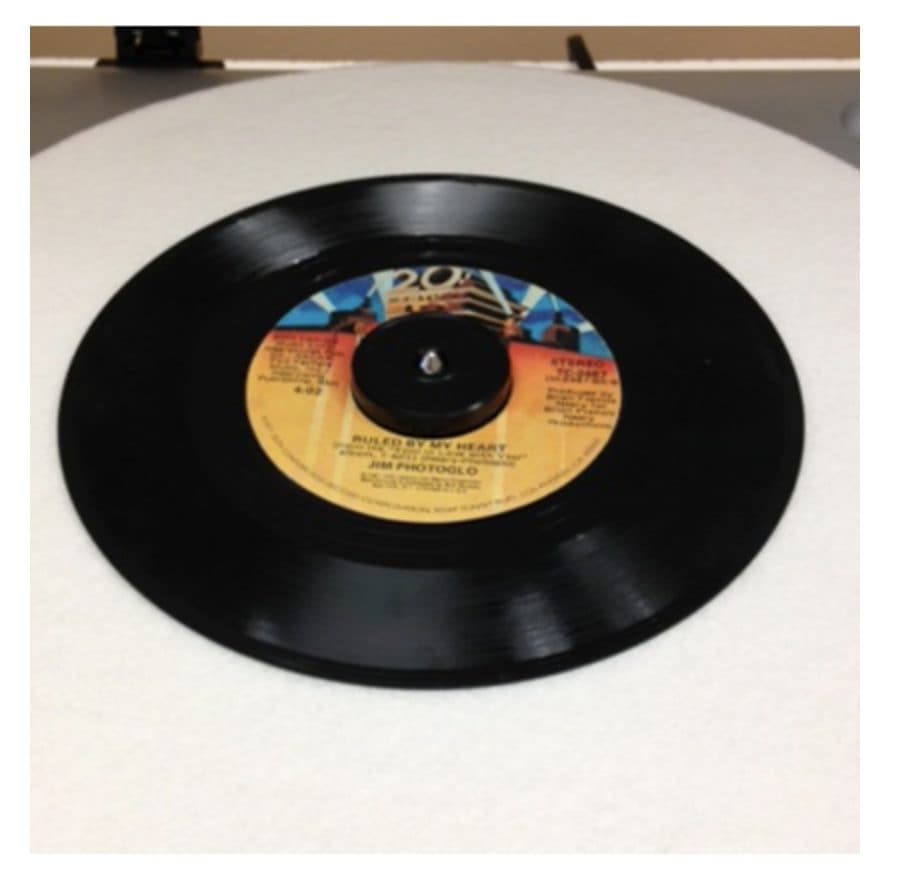
3. Turn the turntable’s power on and then select the RPM that corresponds with your vinyl record (33, 45 or 78).
4. Check to make sure the black USB cable for the turntable is plugged into one of the USB ports on the computer.
5. On the computer, click on the EZ Vinyl Converter icon to open the software.

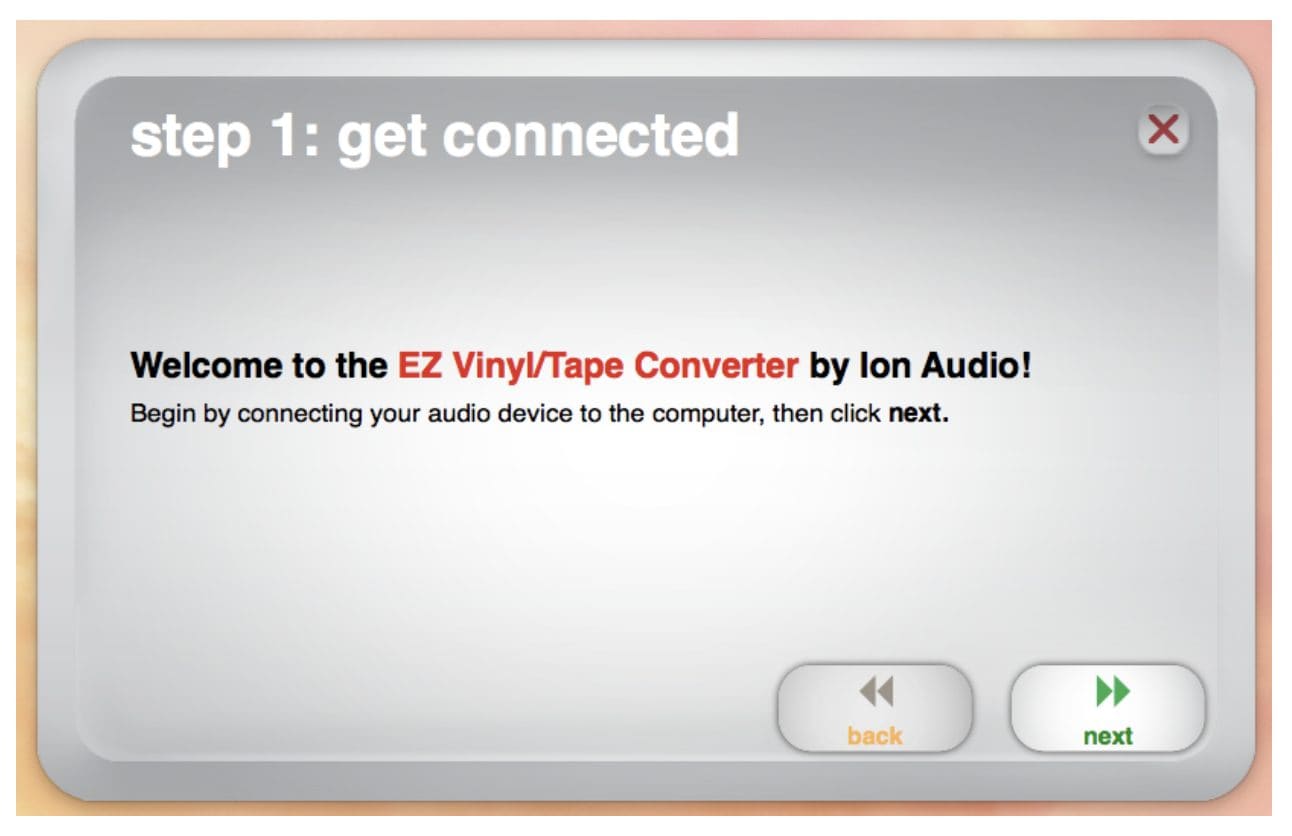
6. A welcome screen will come up. The turntable is already connected, so click “Next.”
NOTE: If the ION Tape Express device (tape deck) is also plugged into the computer via USB, you will get an error message. If this happens, unplug the ION Tape Express device, and try again.
7. Now, we will test the record. First, make sure the sound is working. Place the needle on the record and wait until you hear your record playing through the computer speakers (or headphones).
NOTE: If you don't hear anything make sure the computer's volume is turned up about halfway.
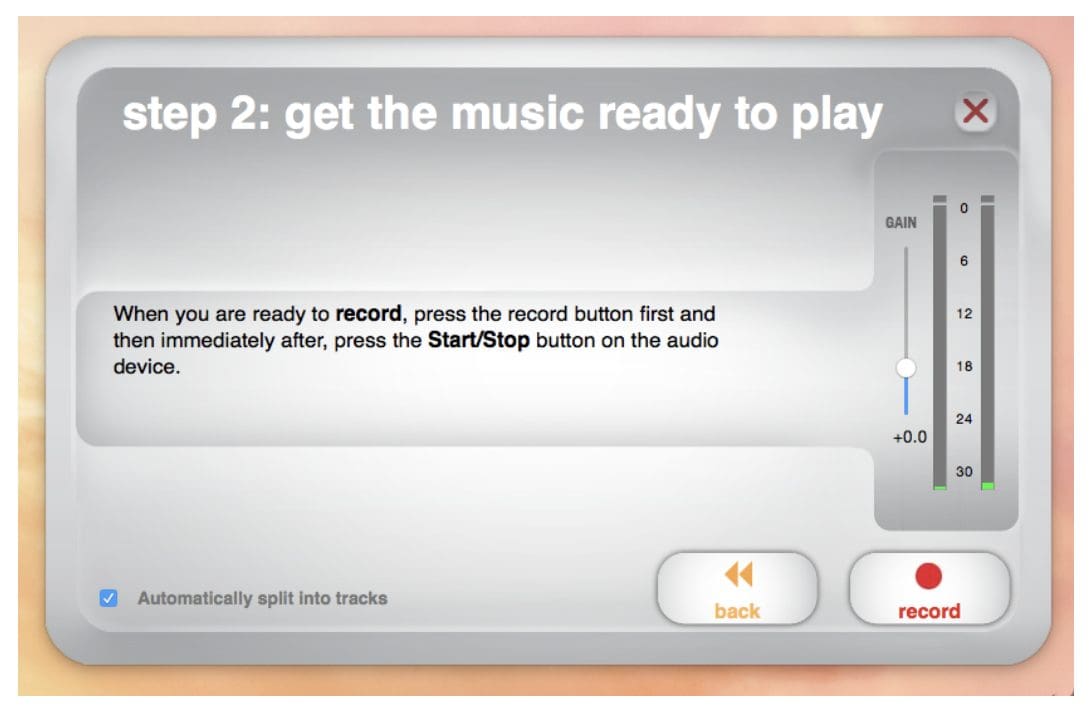
8. Now, select a good volume at which to record your album. Make sure the computer’s volume is up about halfway, and if you can’t hear your record well at that volume, turn up the gain in the software until you’re happy with the volume.

9. Uncheck “Automatically split into tracks” because the program is not very accurate when it tries to split tracks for you. If you wish to split your record’s tracks into separate files, you will have the option to do this manually.
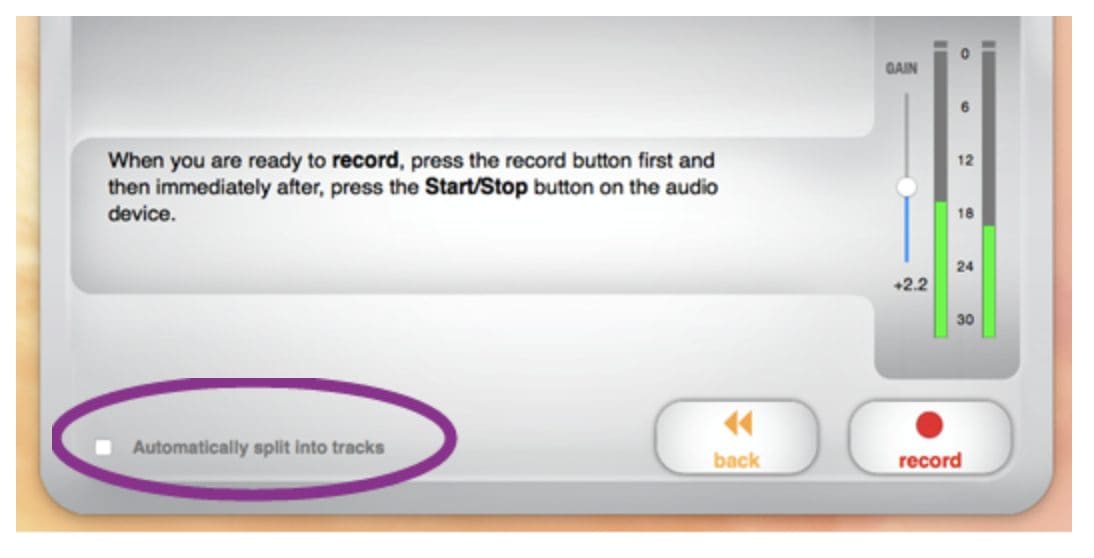
10. Now that you are getting sound, put the needle back at the start of the vinyl record and quickly click “Record” to start your recording.
11. While you are recording, if you like, you can click the “New Track” button during the silence between songs to manually specify different tracks. If you do not specify new tracks, your record will convert as one continuous file.
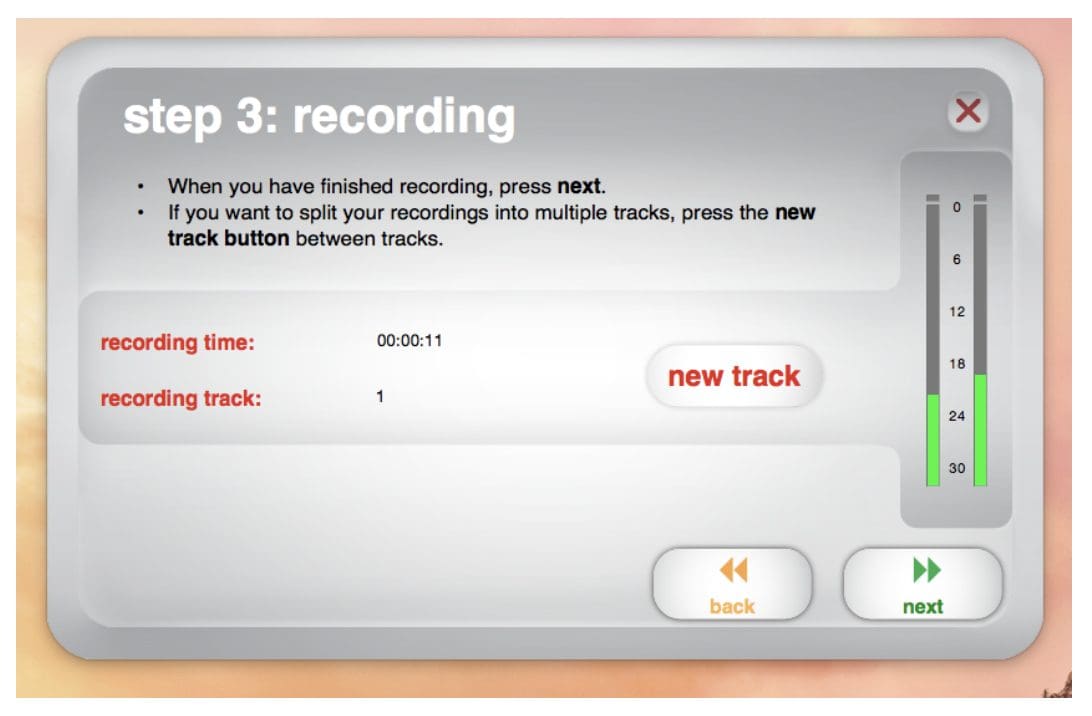
12. When your record has finished playing, click “Next.”
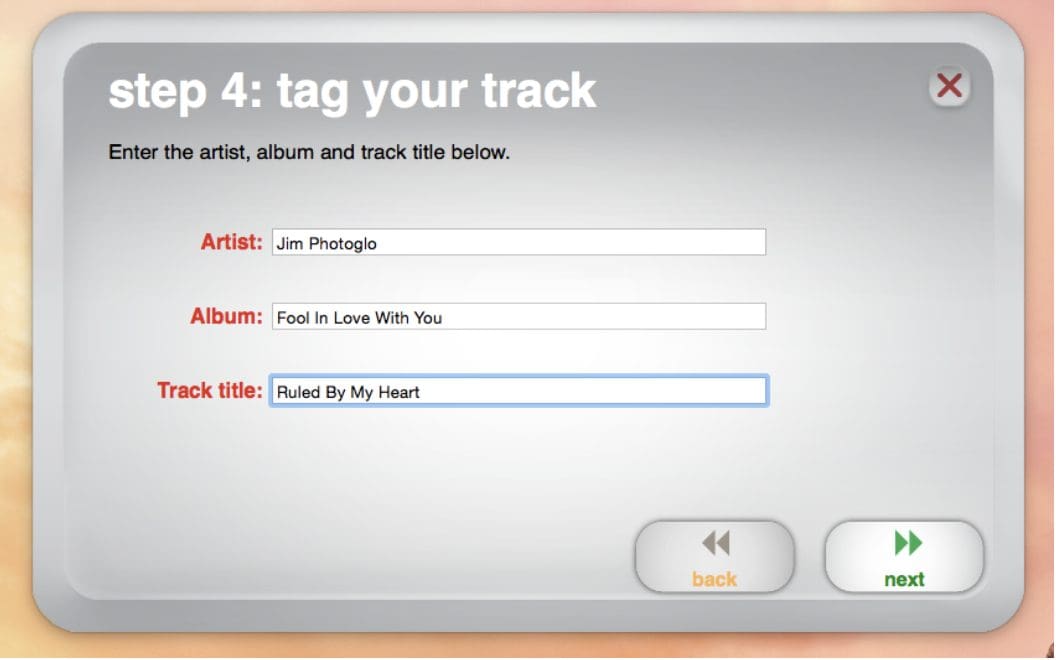
13. Enter information into the Artist, Album and Track Title fields. Artist and Album will be folders in which your file will be stored. Track Title will be your file’s name. If you recorded your whole record as one track, you could write “[Artist Name] - Side 1” for Track Title. Once you’ve entered the information, click “Next.”
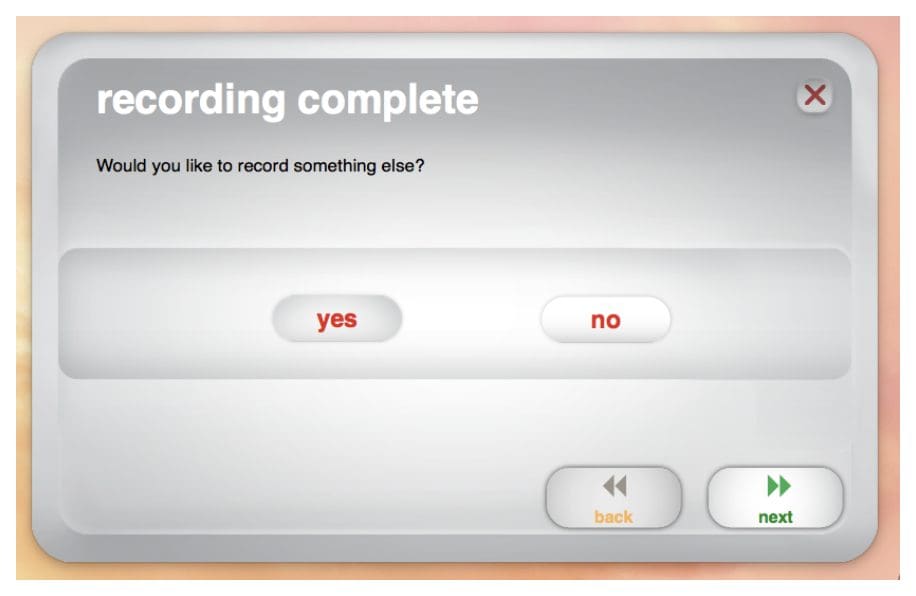
14. If you have nothing more to digitize, select “No” and click next. The program will close. If you wish to digitize another record, or the second side of your record, select “Yes” and click “Next.” Flip over your record or put a new record on the turntable, and repeat from step 10.
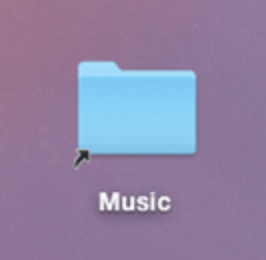
15. To find the digital file(s) you created from your record, double-click on the Music folder on the computer.
16. If you get the option between “Automatically Add to iTunes” and “Music,” select “Music.”
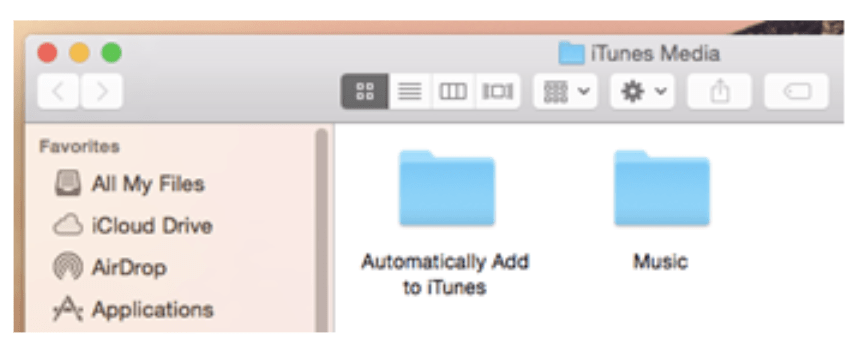
17. The next folder will be the Artist name you entered. If you didn’t enter anything for Artist Name, it will be called “Unknown Artist.” Double click on this folder to open it.
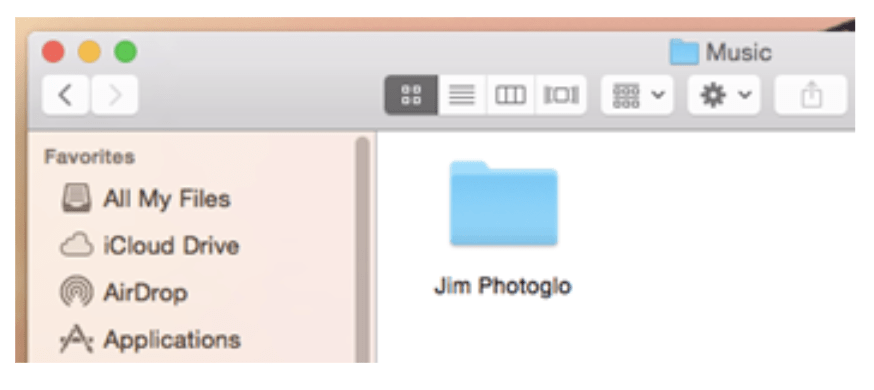
18. The next folder will be the Album name you entered. If you didn’t enter anything for Album Name, it will be called “Unknown Album.” Double click on this folder to open it.
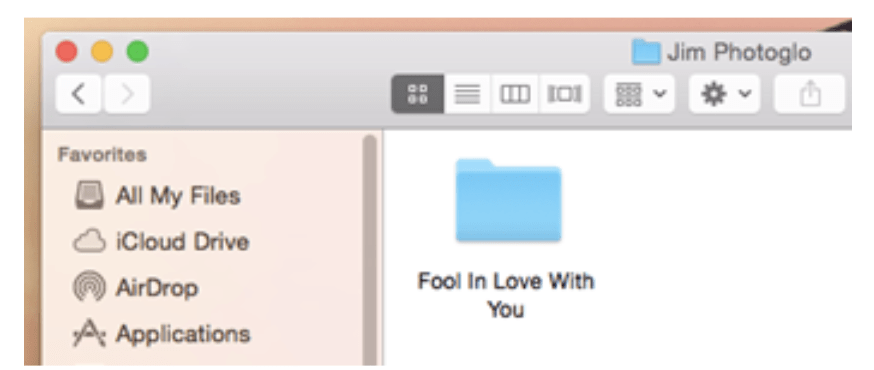
19. Now you will see your file. The file name will be the Track Title you entered.

You’re done. Nice work! Now you can burn this file to a CD, email it to yourself, or put it on a flash drive.


Add a comment to: Digitizing Vinyl with ION Conversion Turntable and ION Audio EZ Conversion Software