
 Epson Perfection Photo Color Scanners are available for check out. NOTE: Epson software is compatible with Windows, Mac and Linux Operating Systems.
Steps to Scan Slides Using the Epson Scanner
- Connect the scanner power cable to the scanner and plug into a power outlet. Connect the scanner USB cable to the scanner and the other end to a USB port on your computer.
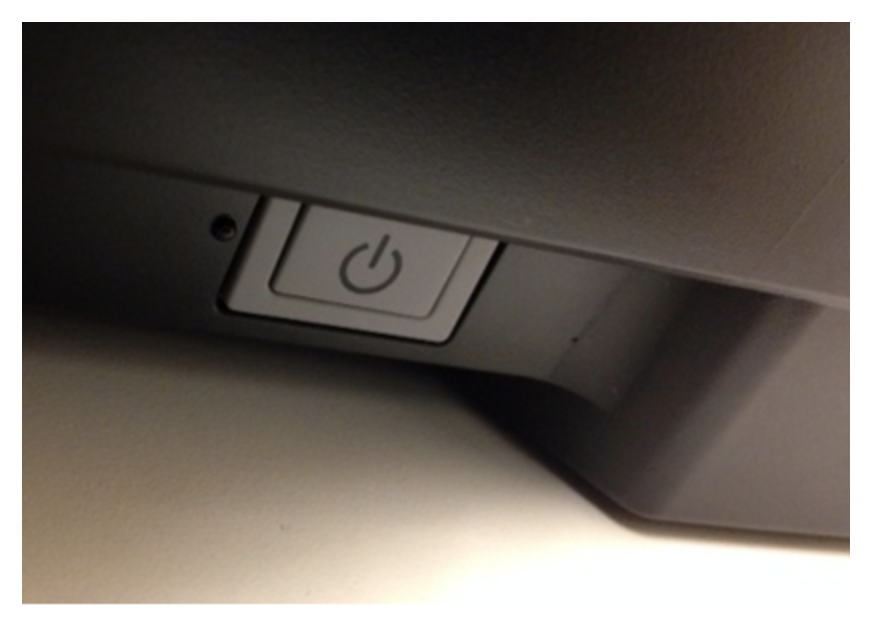
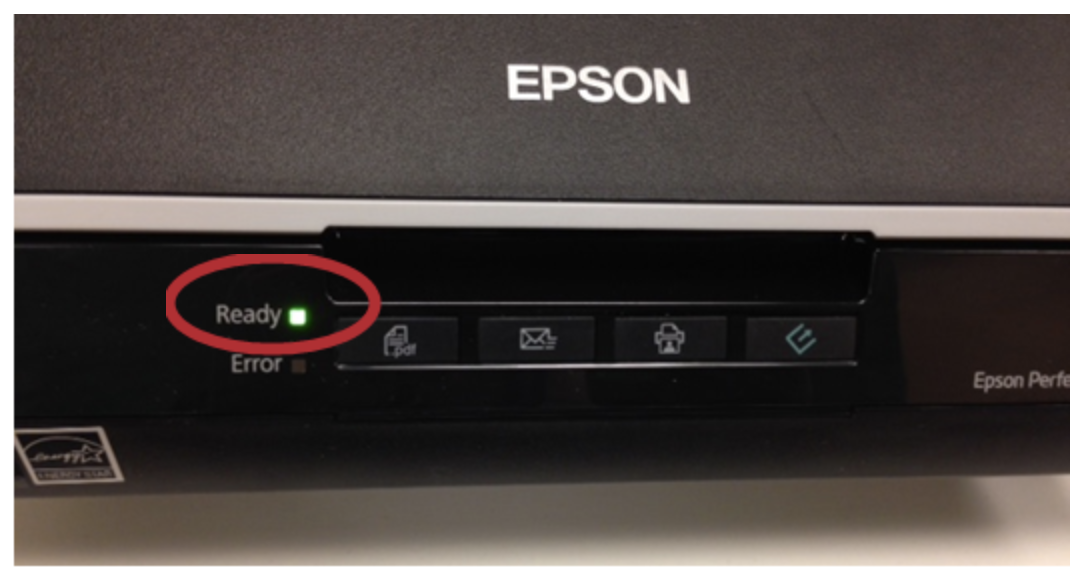
 2. Push the grey power button on the side of the scanner. A little green light will appear on the front of the scanner.
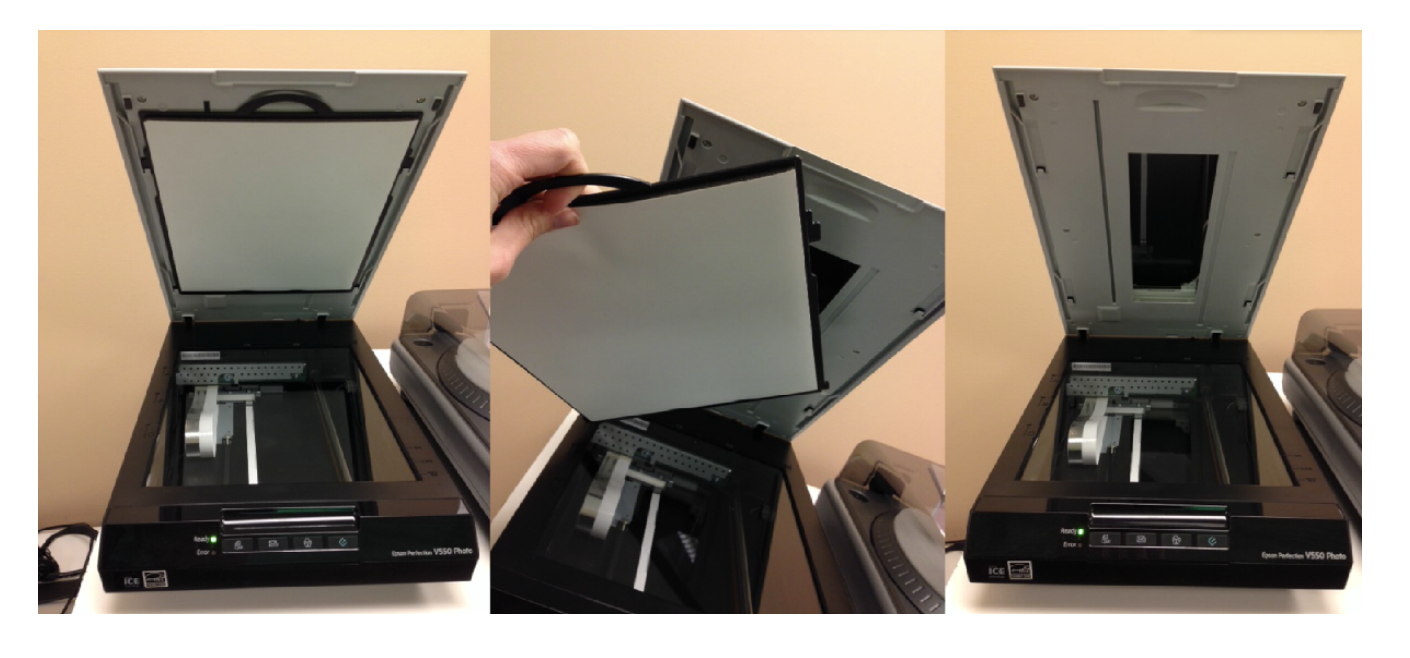
 3. Open the scanner cover (lid) and remove the white document mat to reveal the transparency unit window.
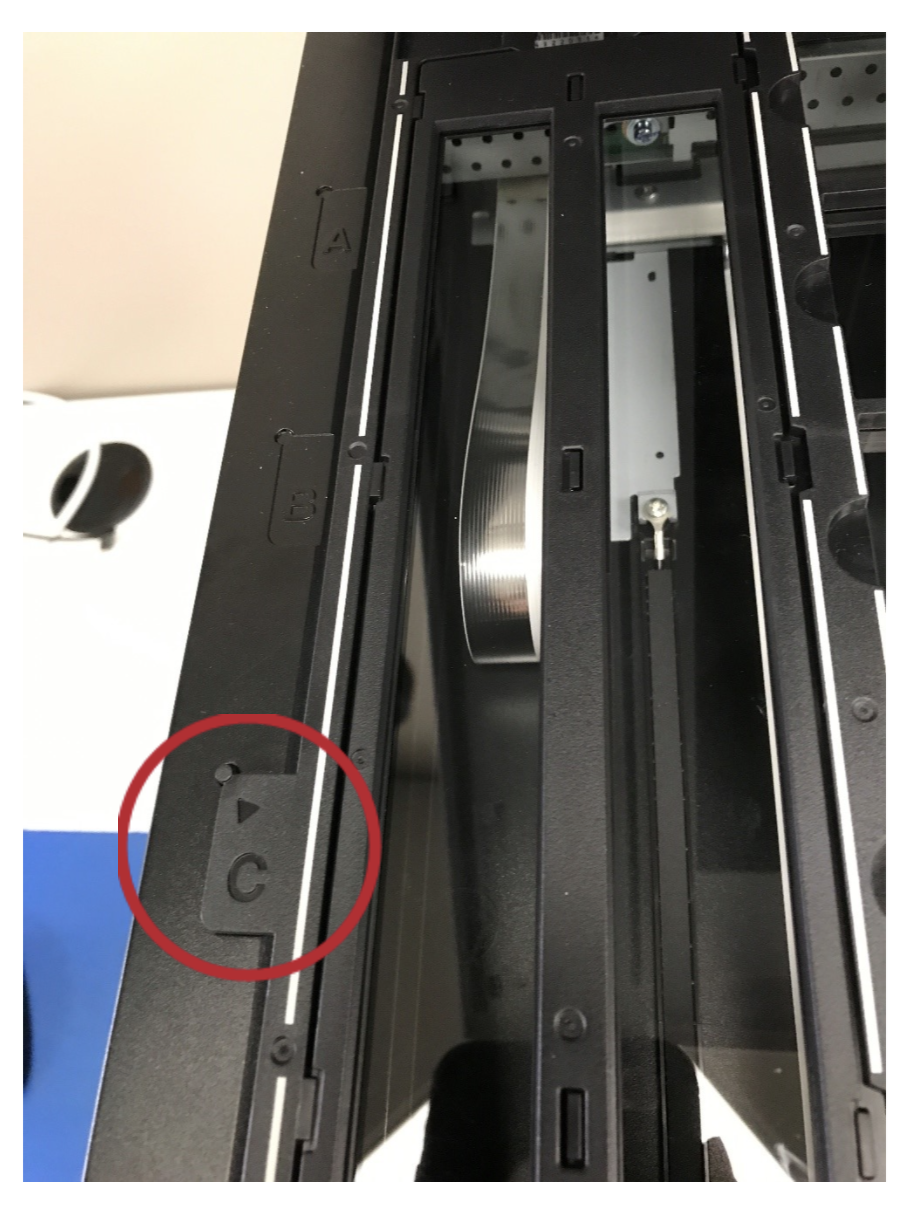
 4. Place the slide holder on the scanner bed. Line up the C tab on the holder with the C slot on the side of the scan bed.
 5. Place your slides into the slide holder, oriented so that the image on the slide is backwards facing you (if you can’t tell the correct orientation, don’t worry. You can flip the image during the scanning process).
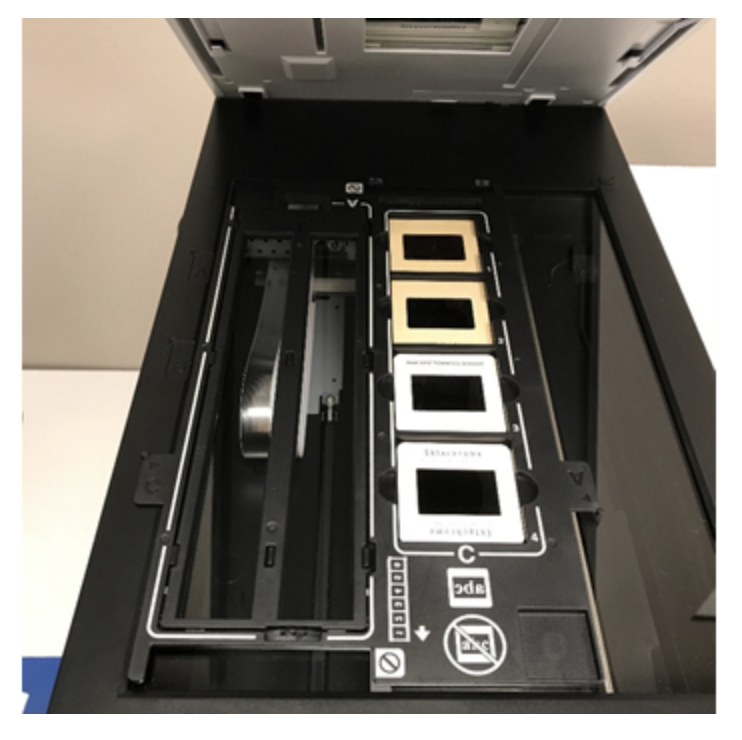 6. Close the scanner cover.
7. On the computer desktop screen double-click the EPSON Scan icon to open the software.
![]()
8. The EPSON Scan software window will open.
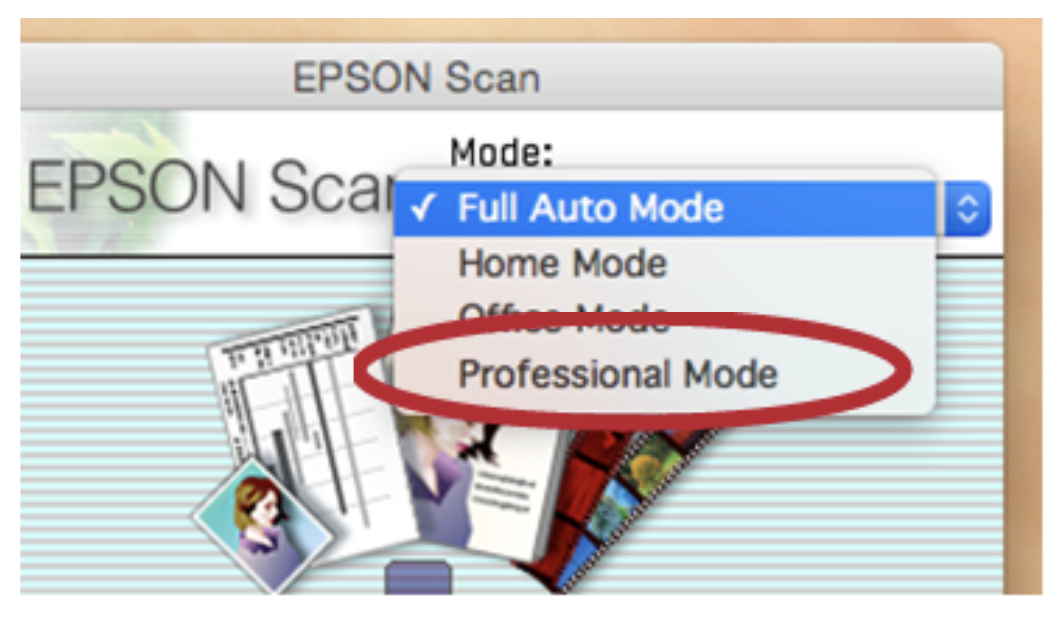
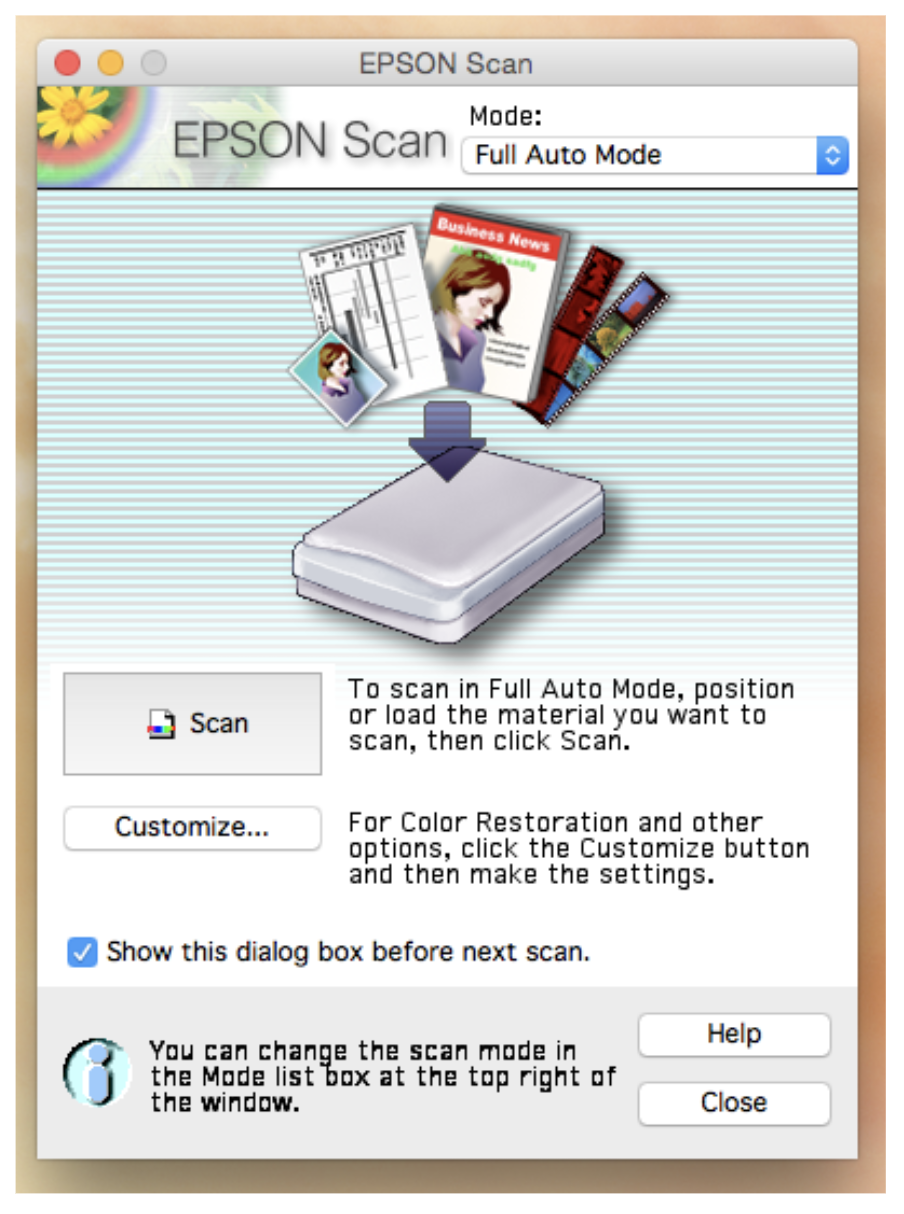 9. At the top of the EPSON Scan window, if “Full Auto Mode” is selected, use the drop-down menu to select “Professional Mode” instead.
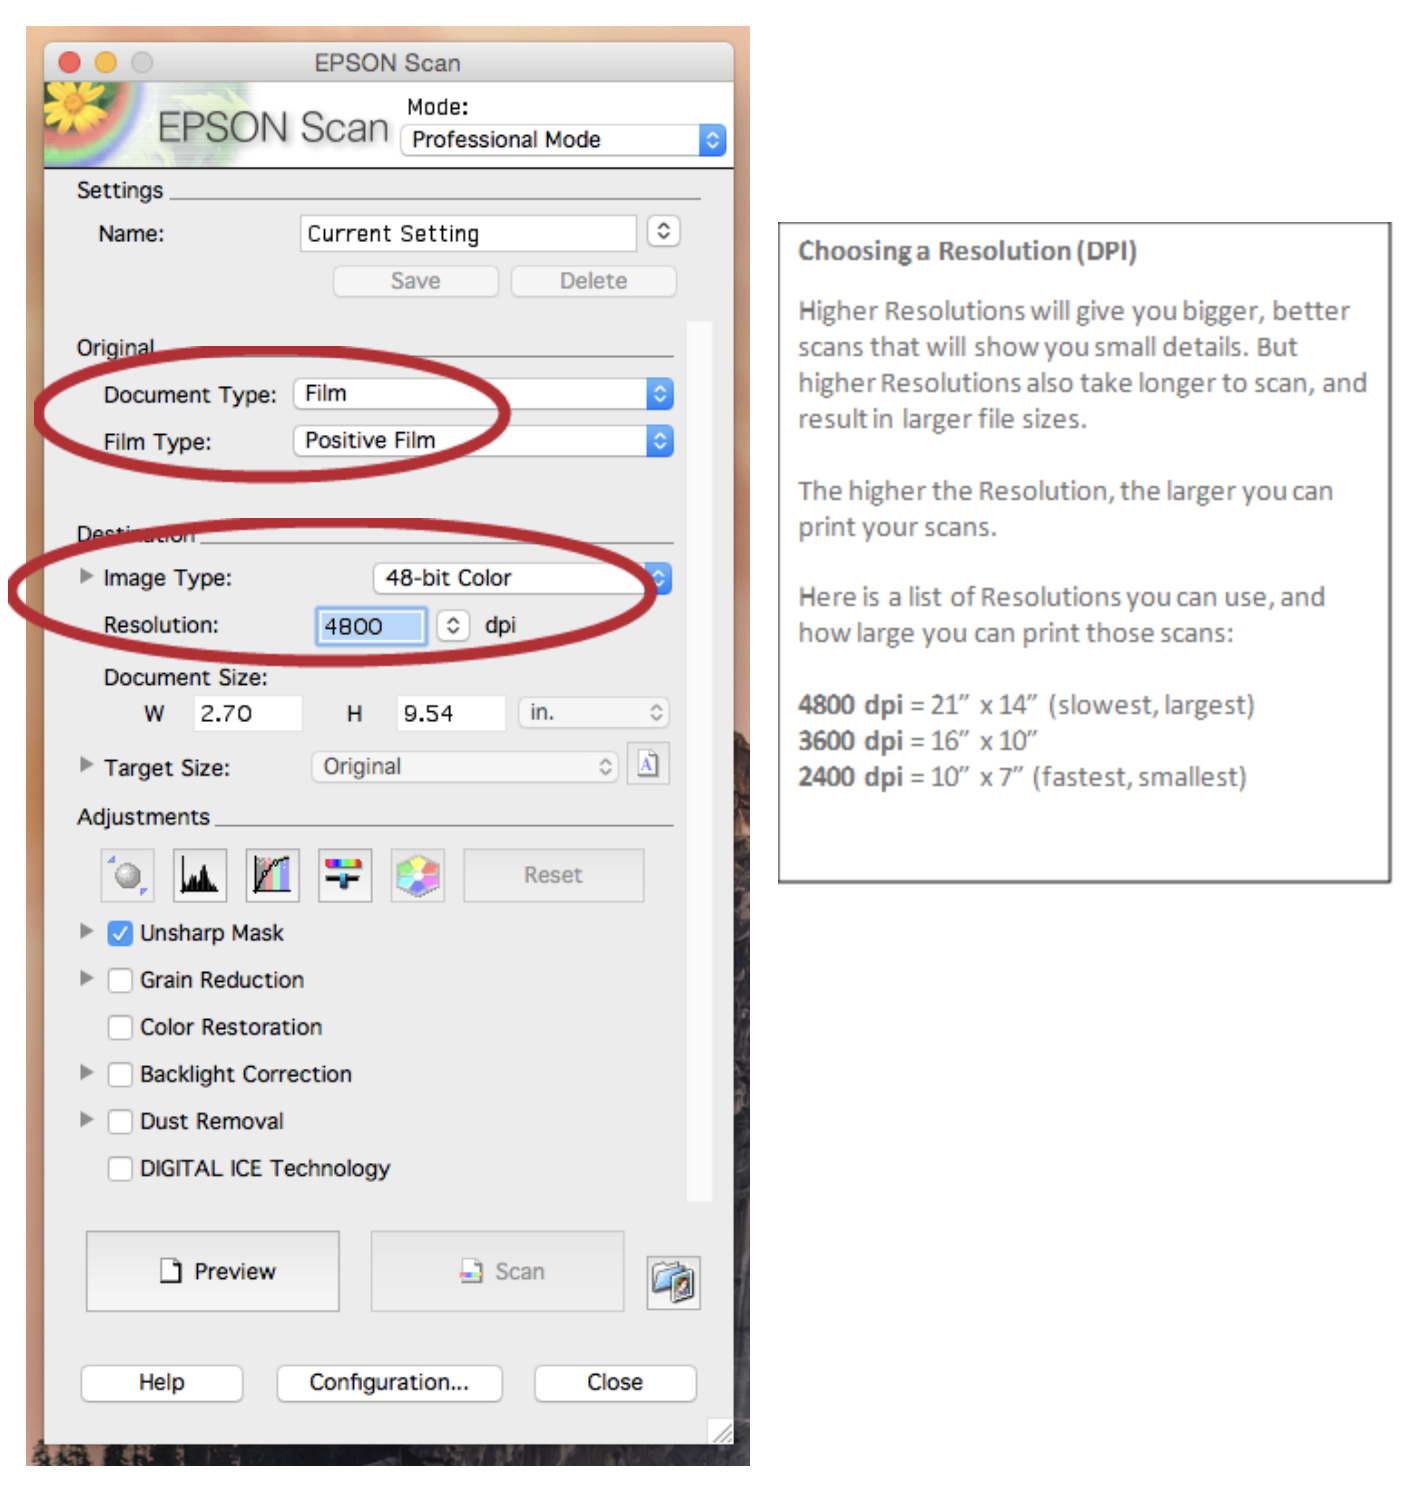
 10. Specify the following settings (for everything else, the default works well):
- Document Type: Film
- Film Type: Positive Film
- Image Type: 48-bit Color
- Resolution: The higher the resolution, the larger you can print your scans. Higher resolution scans also take longer to scan.
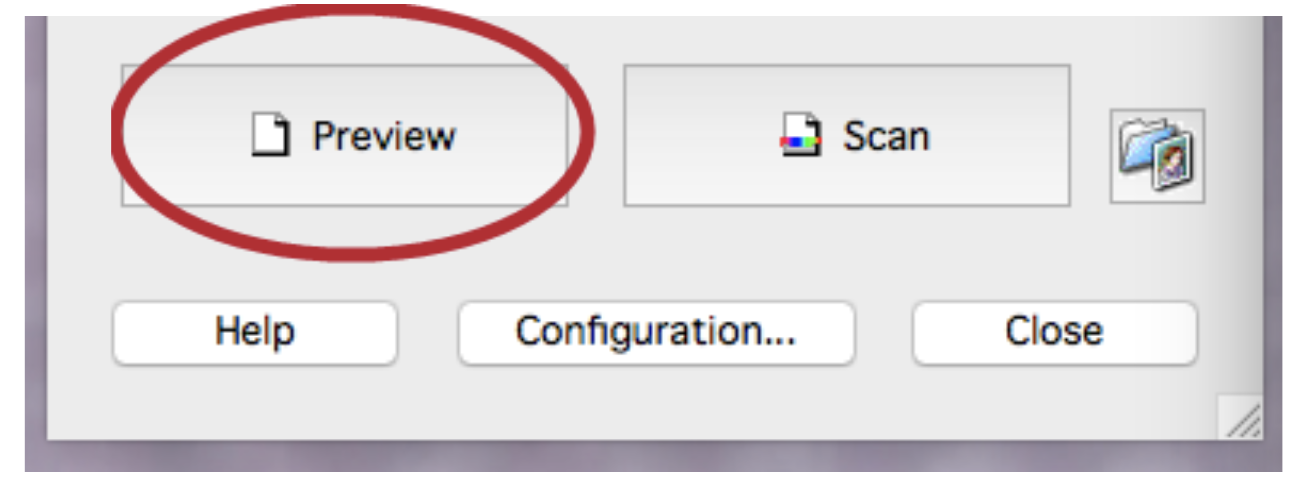
 11. Click “Preview” to see a preview of the scan.
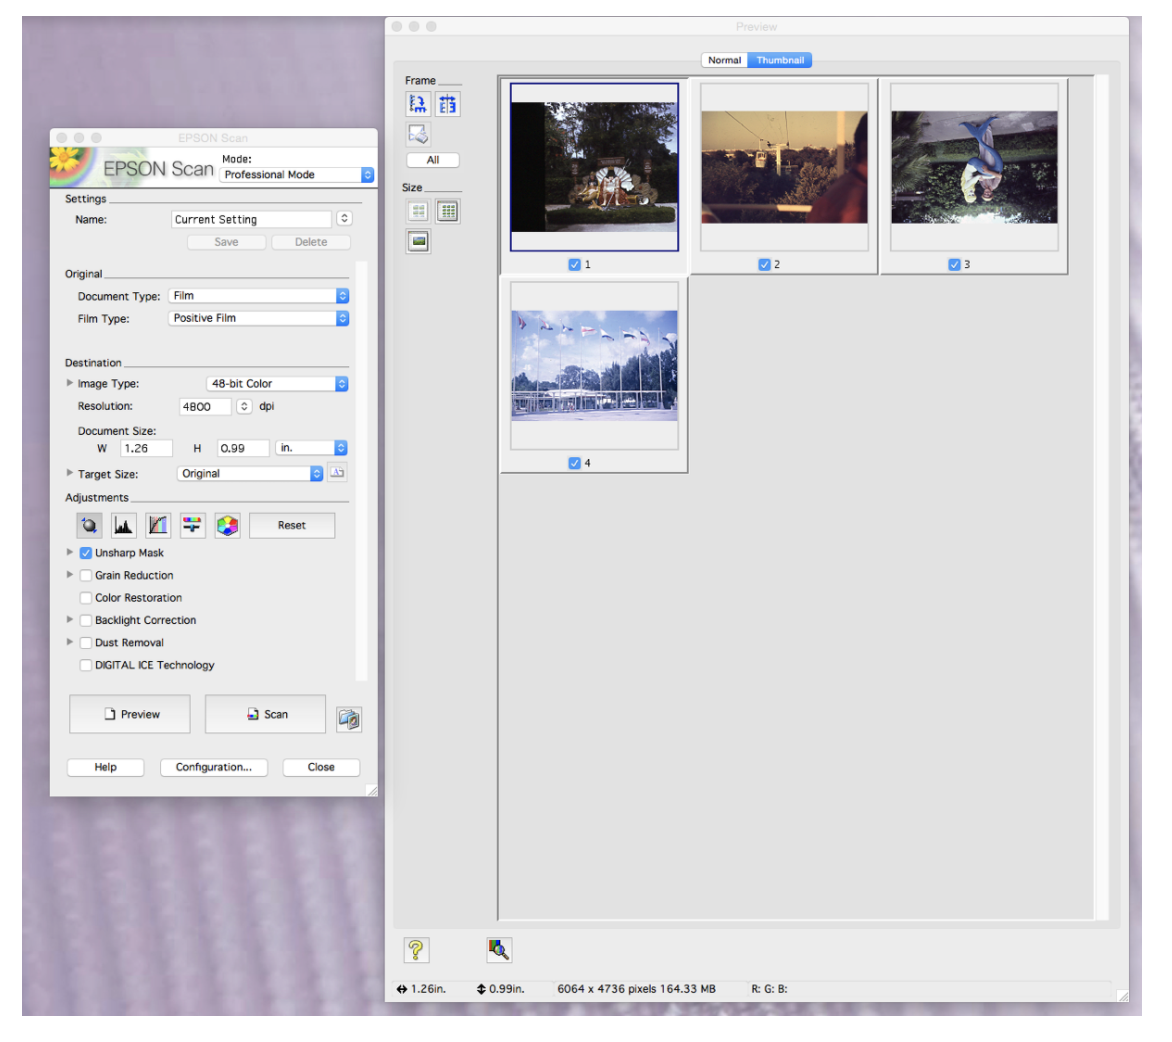
 12. You will see thumbnail images of your slides. This is where you can rotate and mirror (flip) them. Double click on a thumbnail to look at it more closely.
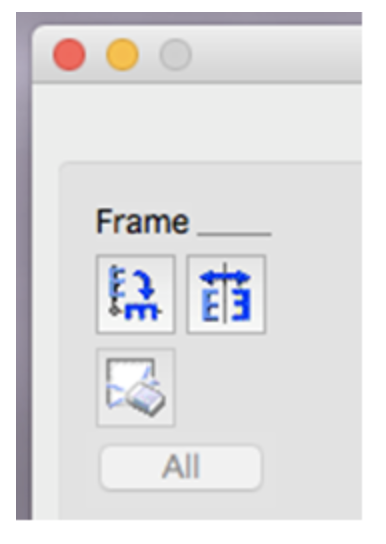
 13. If a slide is upside down use the Frame and Size options in the top left corner of the window.
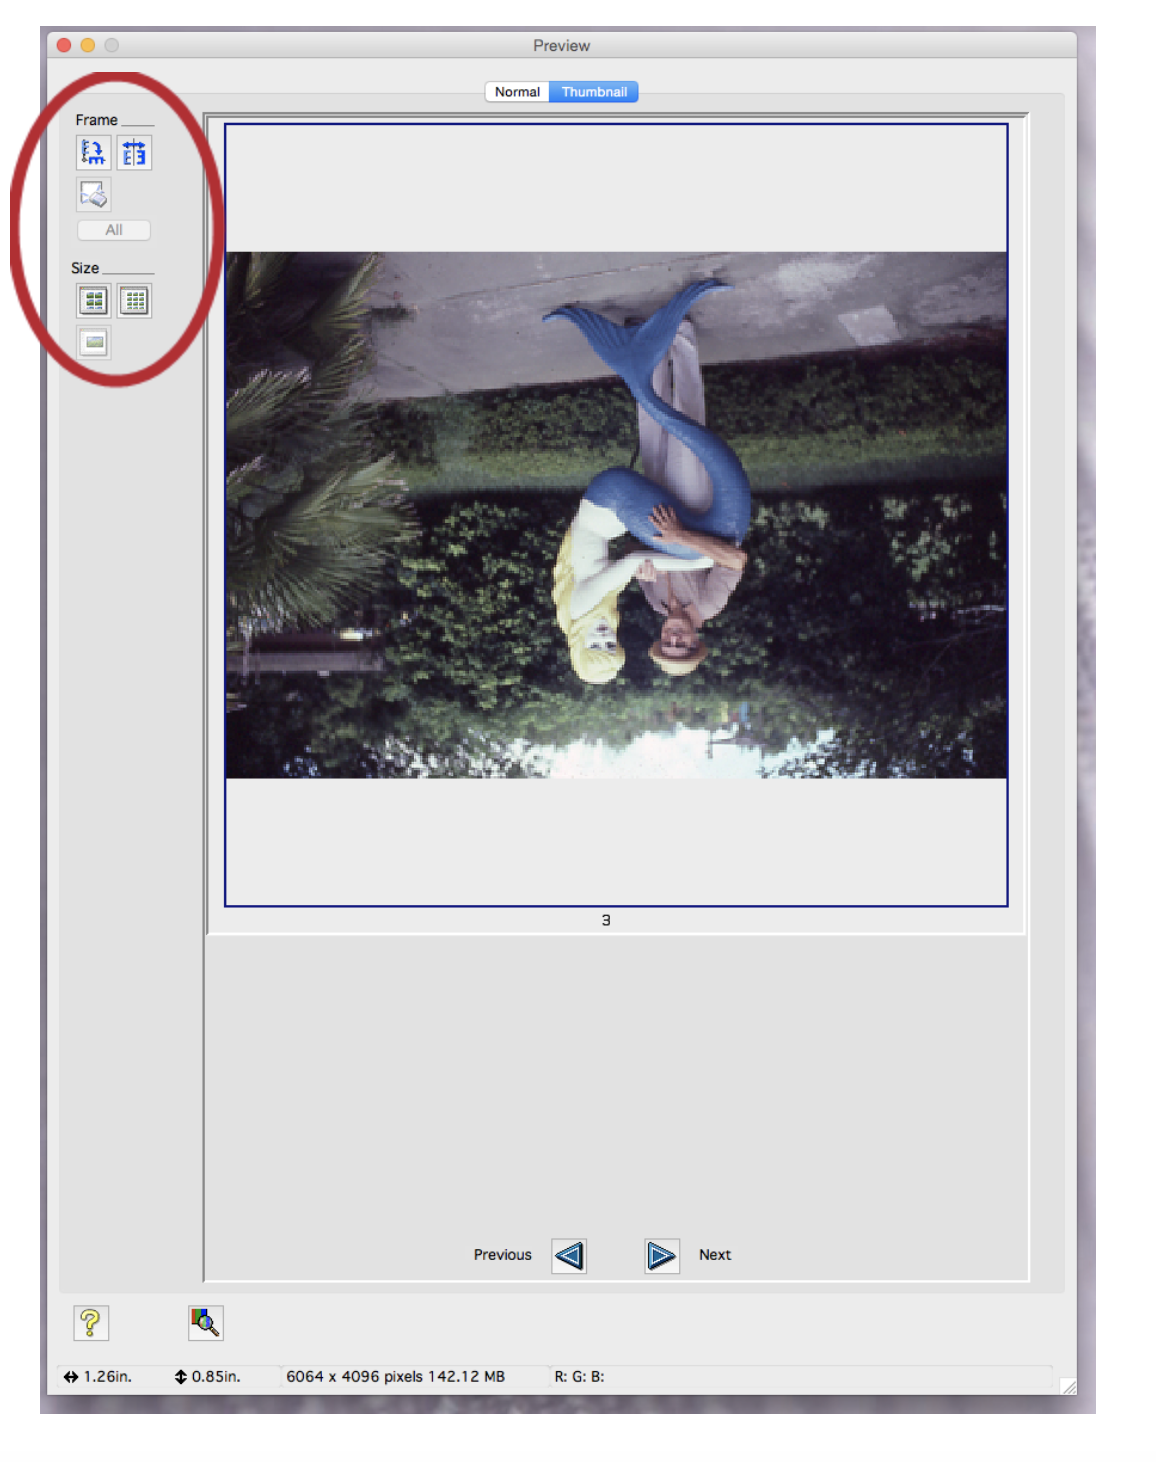 14. Under “Frame,” use the top left icon (with the curved arrow) to rotate the image. Use the top right icon (with the horizontal arrow) to mirror (flip) the image.
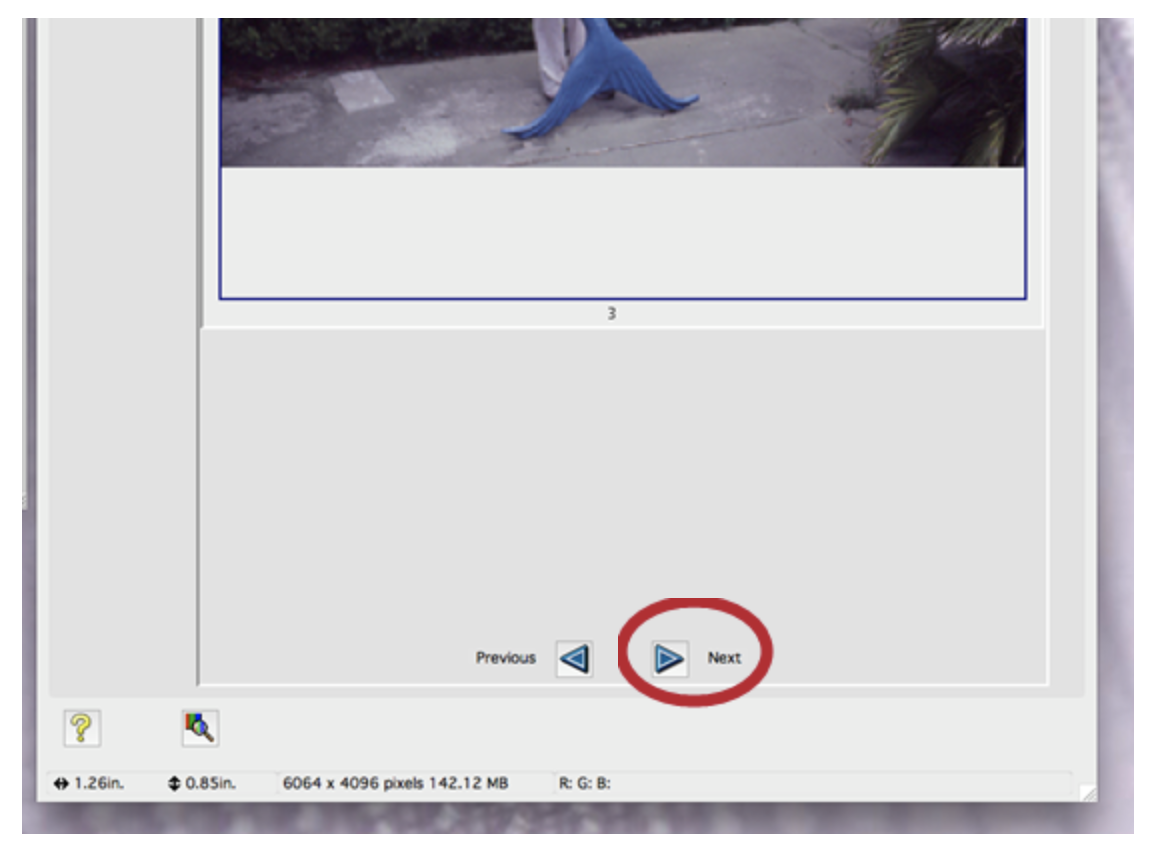
15. When you are done adjusting the image, click “Next” at the bottom of the screen to work on the next image.
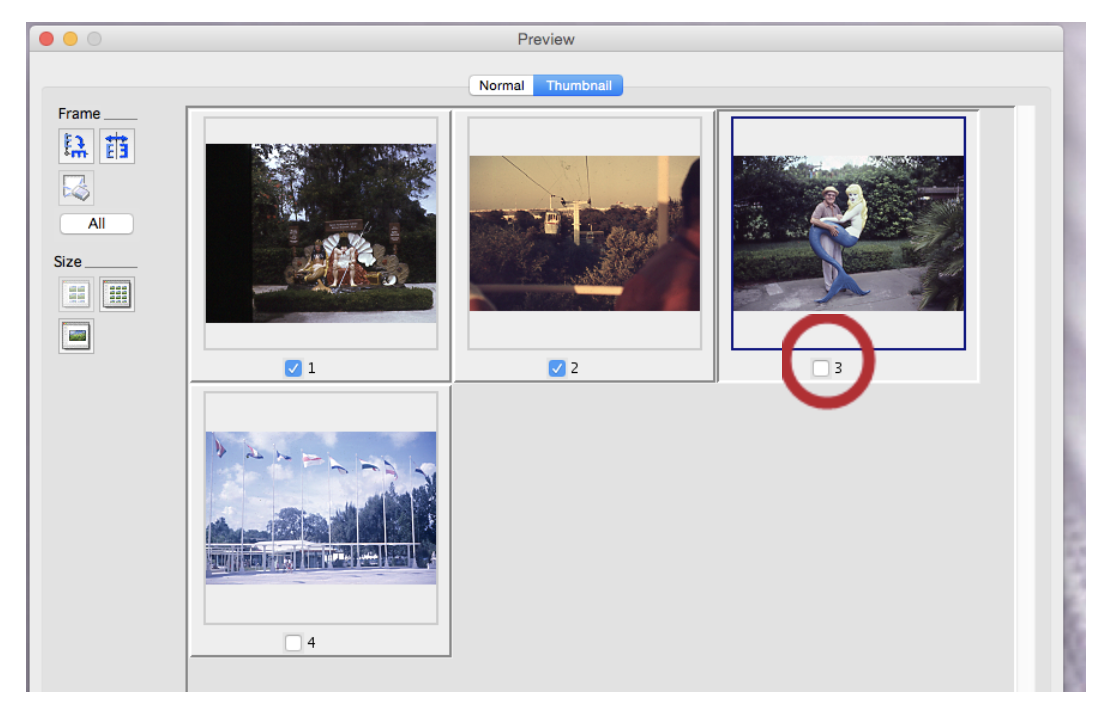
 16. When you are done adjusting all the images, click the top left icon under “Size” to return to the window that shows the thumbnails for all your slides.

17. By default, there will be a blue checkbox underneath each of your slides, indicating that all of them will be scanned. If you don’t wish to scan all of them, uncheck the ones you don’t wish to scan.
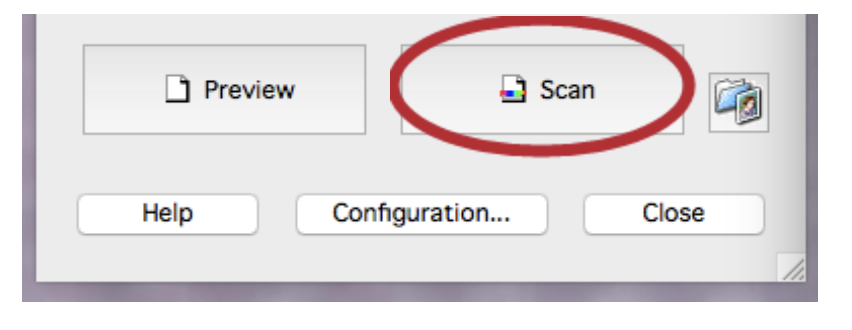
 18. Now Double-click “Scan.”
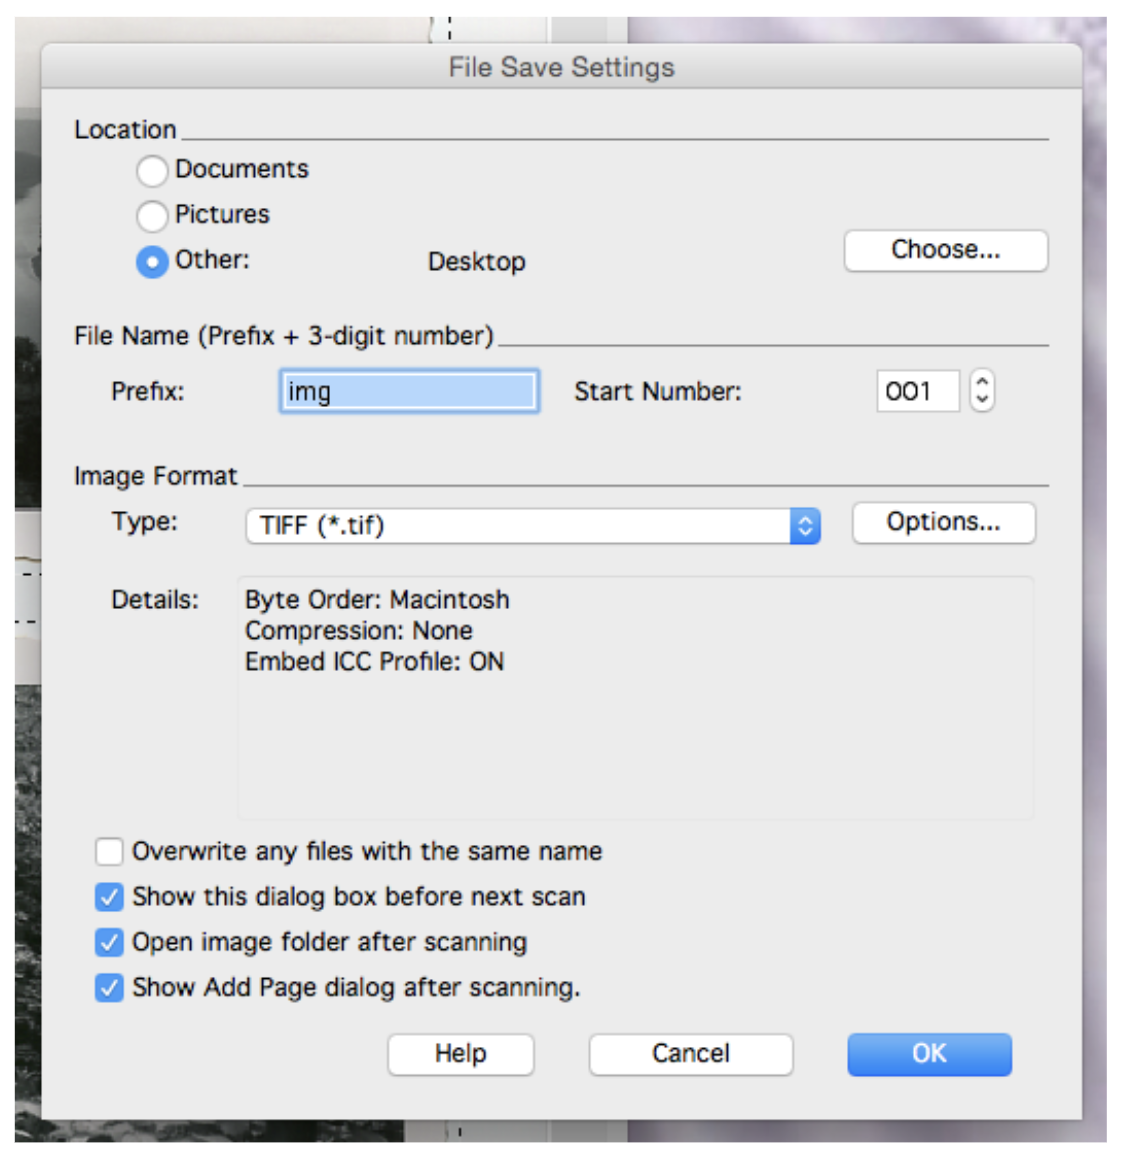
 19. The File Save Settings will come up.
- Location: Choose “Other” to save images to your desktop. To save to a flash drive, plug in your flash drive, click “Choose…” and select your flash drive.
- Image Format: Select which format you’d like. For the highest quality format, choose “TIFF (*.tif)” (not Multi-TIFF)
- Click “OK.”
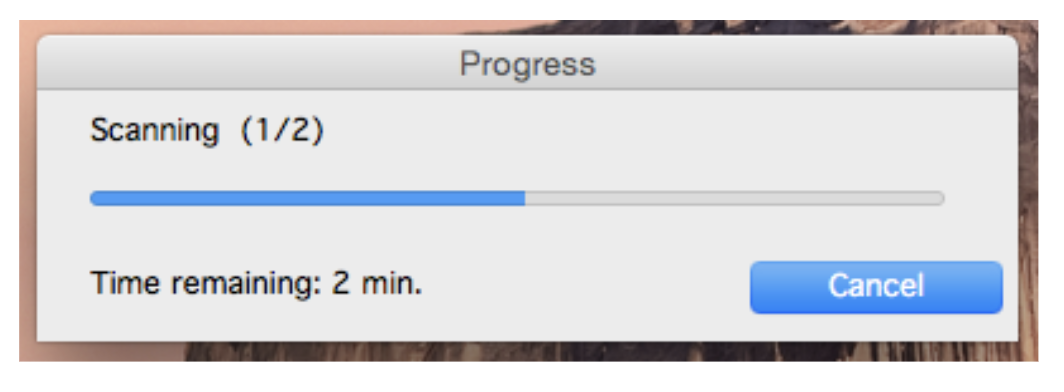
 20. Your slides will scan. The time it takes to scan depends on the resolution you chose. The higher the resolution, the longer it will take.
 21. When the scanning is complete, the folder containing your scans will open so you can take a look at them. Remember to take your slides out of the scanner and replace the white document mat when you are finished for the day.
You’re all done!


Add a comment to: Epson Scanner: Scanning 35mm Slides (PC/Mac)