What you will need to create a DVD
- DVD drive (Internal or External)
- Video file (such as an .mp4)
- Blank DVD
How to use Roxio to create a DVD
First things first! If you're using an external DVD drive, plug that in now. No need to put your blank DVD in yet.
- Click on the Roxio Easy CD & DVD Burning icon, pictured below.

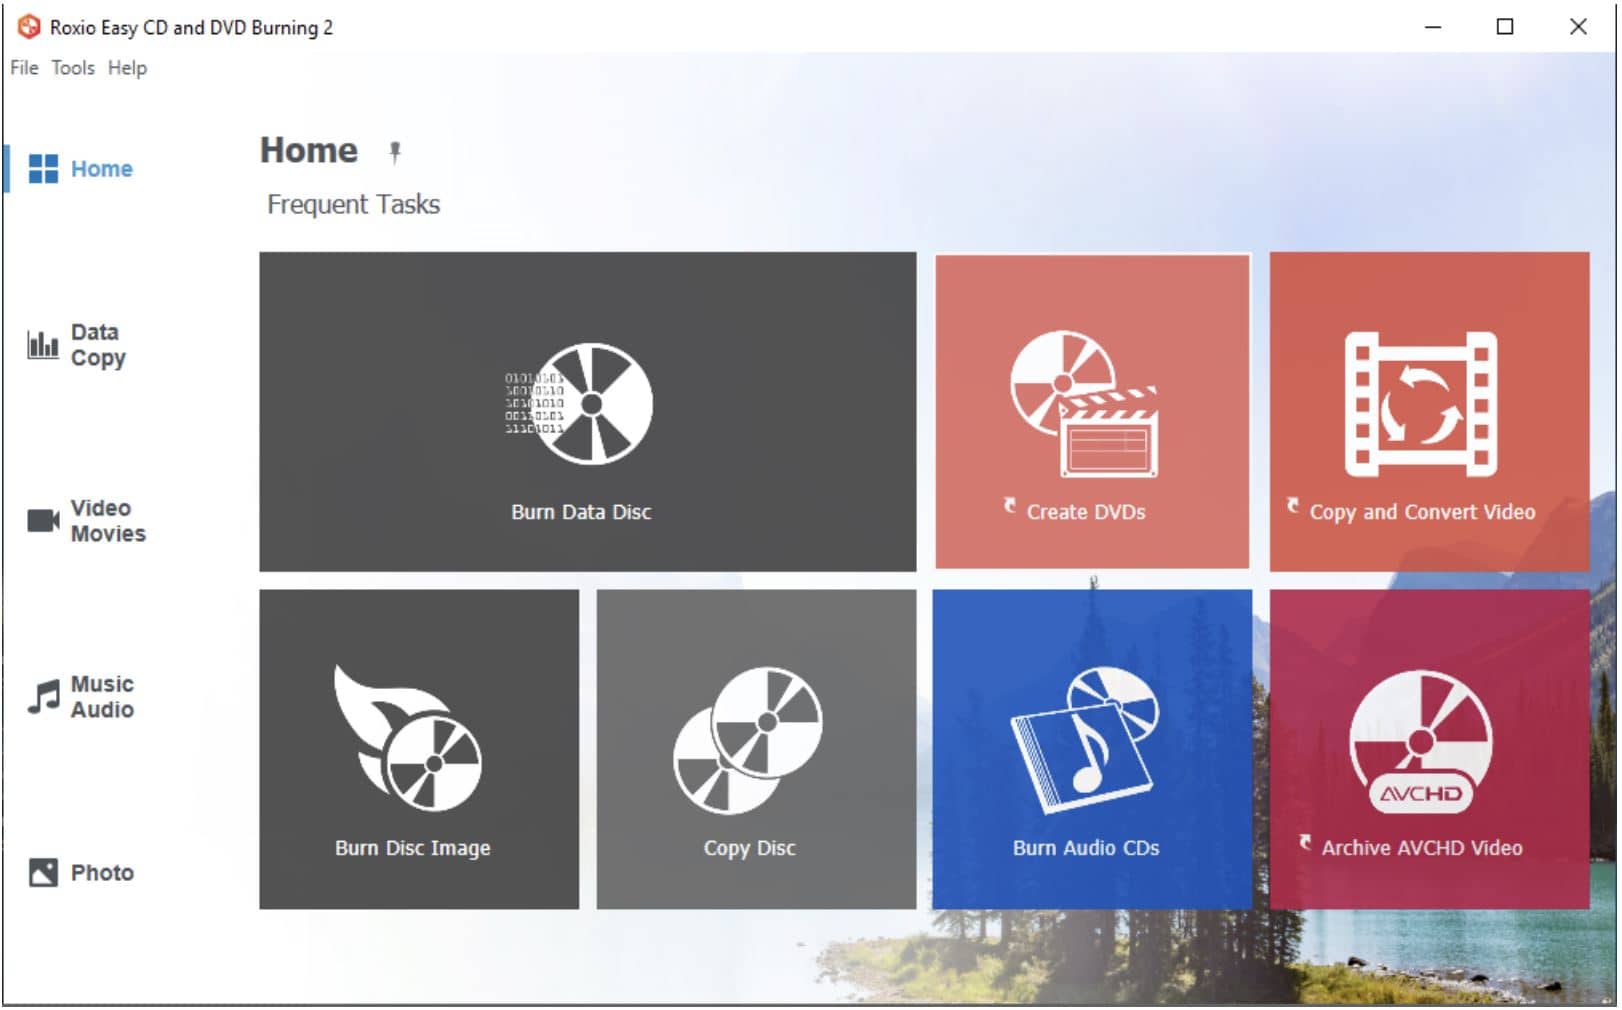
2. In most cases, the main Roxio Home window opens. You will see the names of several project categories.

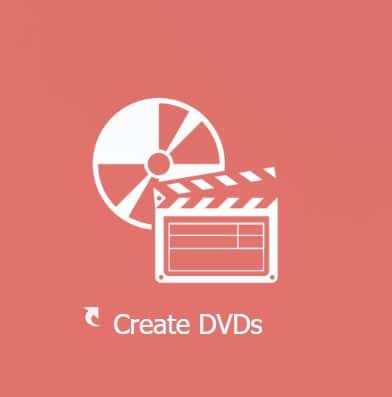
3. Since you are going to be making a DVD, click the "Create DVDs" box.

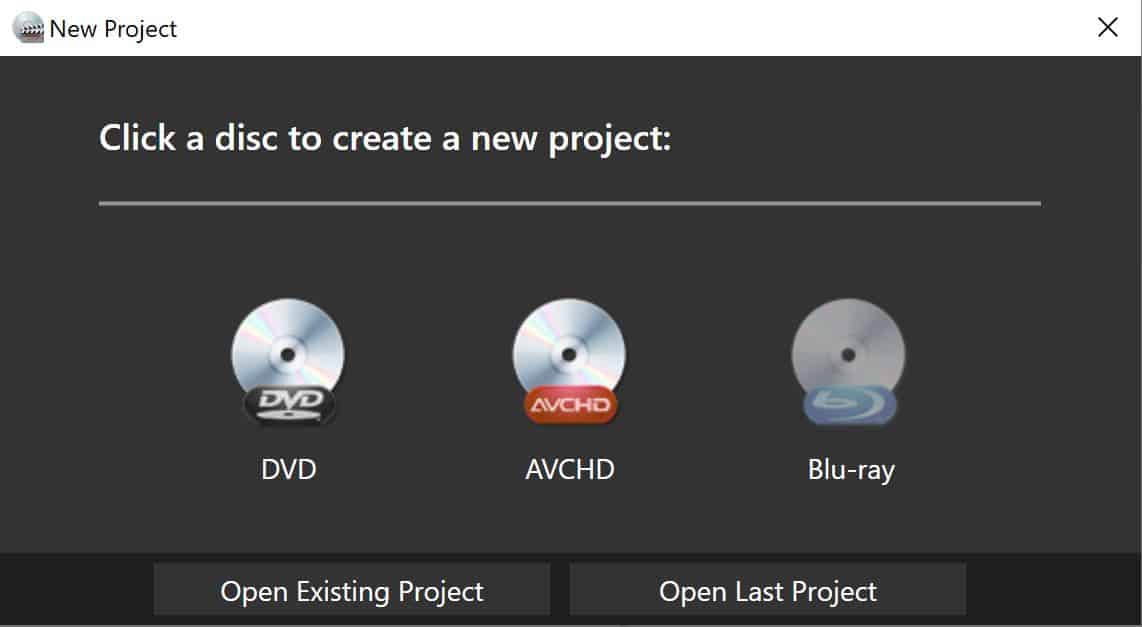
4. You'll then choose the type of disc you plan to create. We are creating a DVD. Click on the DVD icon.

5. On the next screen you can give your project a name and decide where you would like the project to be saved to on the computer.
In this case we're going to change the project name to "Vegas" and leave the default location in place, which is the "Videos" folder. If you choose to save the project to a USB, make sure your USB is plugged into the computer, then click on the "Browse" button. Locate your USB and click on it. You will see the location change in the Project Name pop up window.

6. The image below notes our project name change to "Vegas." Click the "OK" button.

7. The DVD menu window will open. Here you can choose a menu theme by scrolling through options on the left.

8. For this tutorial I chose the "Corporate" theme. After I click on the theme it appears in a preview box at the bottom left of the screen.

9. I then click on the "Apply Theme to Current Menu" button which has the "+" symbol on it.

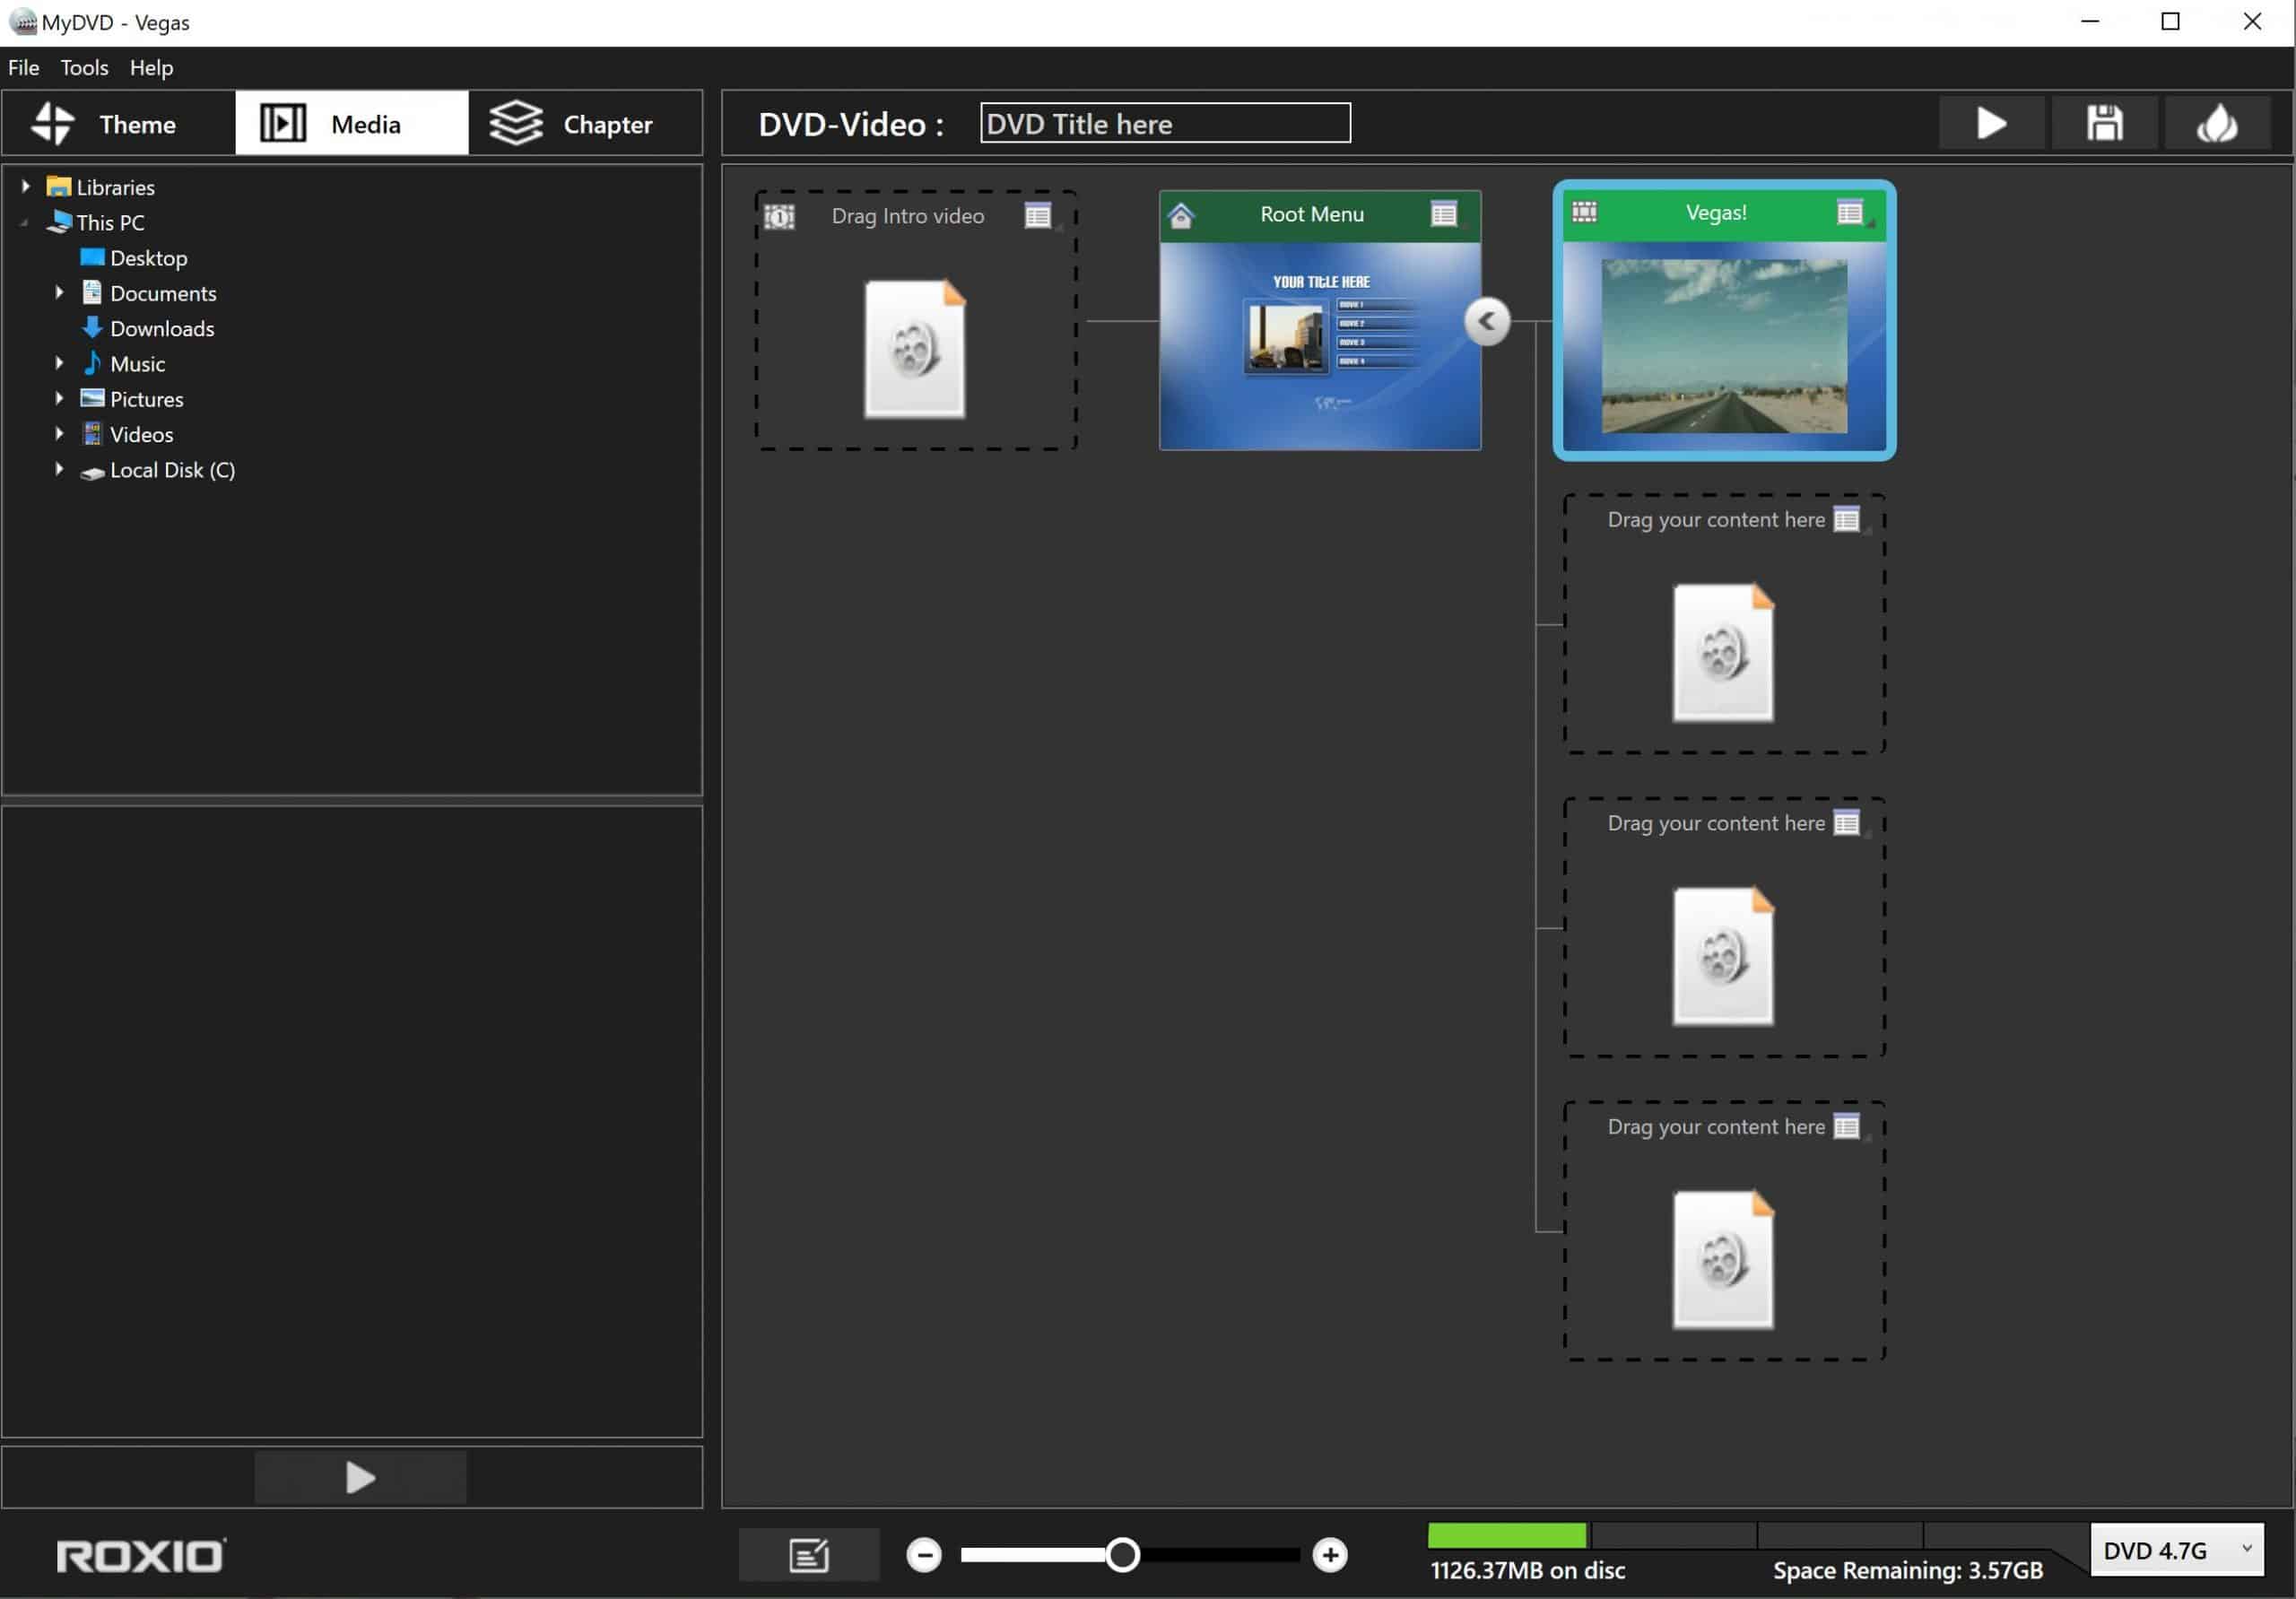
10. The menu will then appear as the "Root Menu" in the content window.

11. Now locate your video file and drag and drop it into the "Drag your content here" box at the top to the right of the Root Menu box. My dragged and dropped Vegas video appears in the image below.
NOTE: If you have more than one video, drag and drop those into the "Drag your content here" boxes below the top box.
NOTE: In this tutorial we are not adding an "Intro Video."

12. Now click on the "Burn" button in the top right of the window. It looks like a flame.

13. If this message pops up that means you did not connect an external DVD drive to the computer. If that's the case, connect the DVD drive.
If you continue to get this message after you click "OK" that means you will have to close Roxio and reopen so it recognizes the attached DVD drive. And yes, that unfortunately means having to start over.

14. If this message pops up it just means there's no blank DVD in the DVD drive. Click OK and then go ahead and place your blank DVD in the drive, close it, and press the burn button again.

15. You will then see the screen below. Note the small orange spot below the "1%" on the disk.

16. As the percentage goes up the orange slowly encircles the disk, as seen in the image below.

17. When the percentage gets to 99% it might sit there for a little bit. Please be patient while Roxio finishes up the DVD.
18. You'll then get the screen below and the DVD will eject.
NOTE: Now is good time to write the title on the DVD to ensure you're writing on the correct side.

19. Click the "Finish" button.
That's it! You're all done!


Add a comment to: Creating a DVD with Roxio