 Do you have old audiocassette tapes lying around, or have tapes that you've always wanted to convert digitally? Now you can. Learn how to convert audio cassette tapes using ION Tape Express Plus, a digital conversion device you can check out and take home.
NOTE: Before getting started make sure the ION Vinyl Converter USB cable is unplugged. Otherwise this warning will pop up.

Digitizing an Audio Cassette Tape
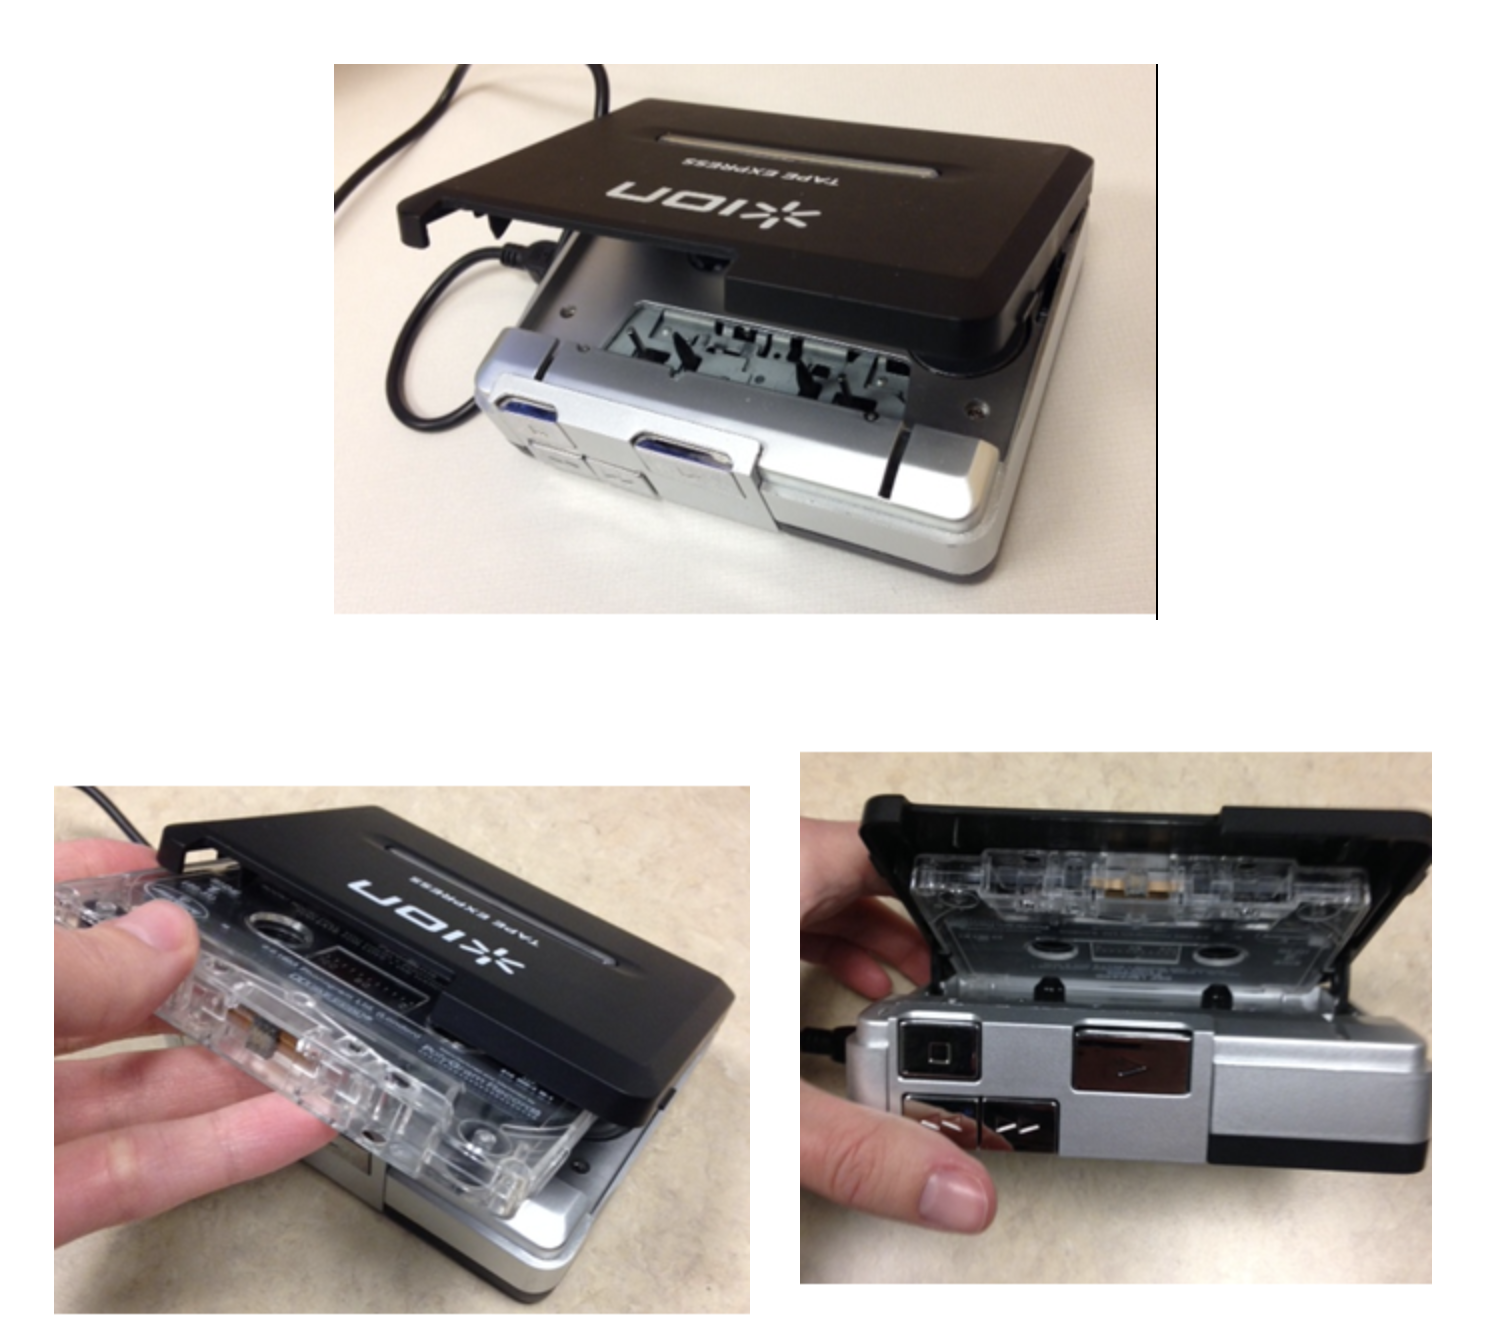
- There's no eject button to open the ION Tape Express, so you'll have to pull the converter open. Load your cassette into the ION Tape Express. The side of the tape facing the black outer shell is the side that will play/record.
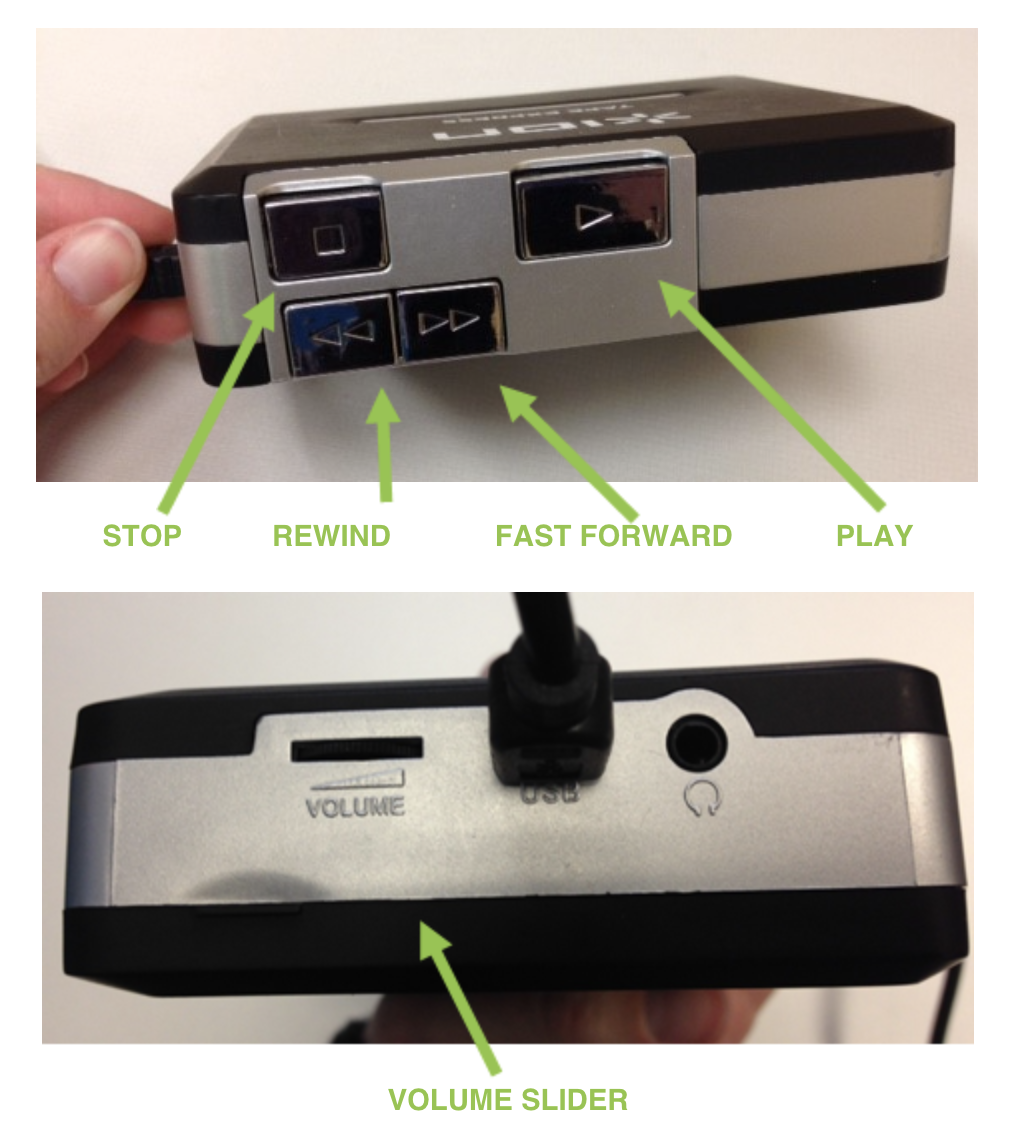
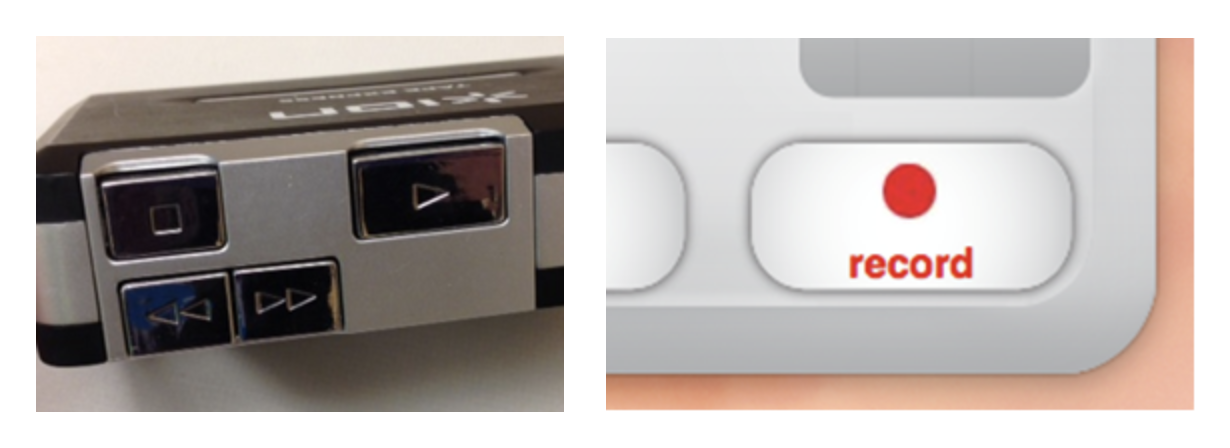
2. Here are the controls of the ION Tape Express:
3. Rewind your tape all the way.
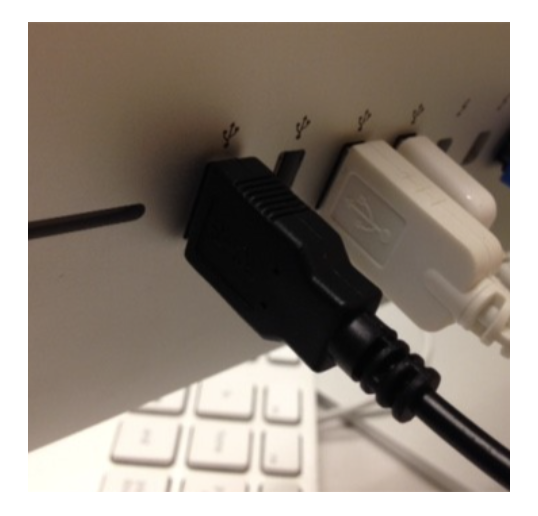
4. Plug one end of the USB cable into the ION Tape Express and the other into a USB port on the computer.
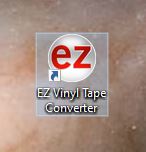
5. On the computer, click the EZ Vinyl Converter icon to open the software.
- converting at home? Learn how to download EZ software.
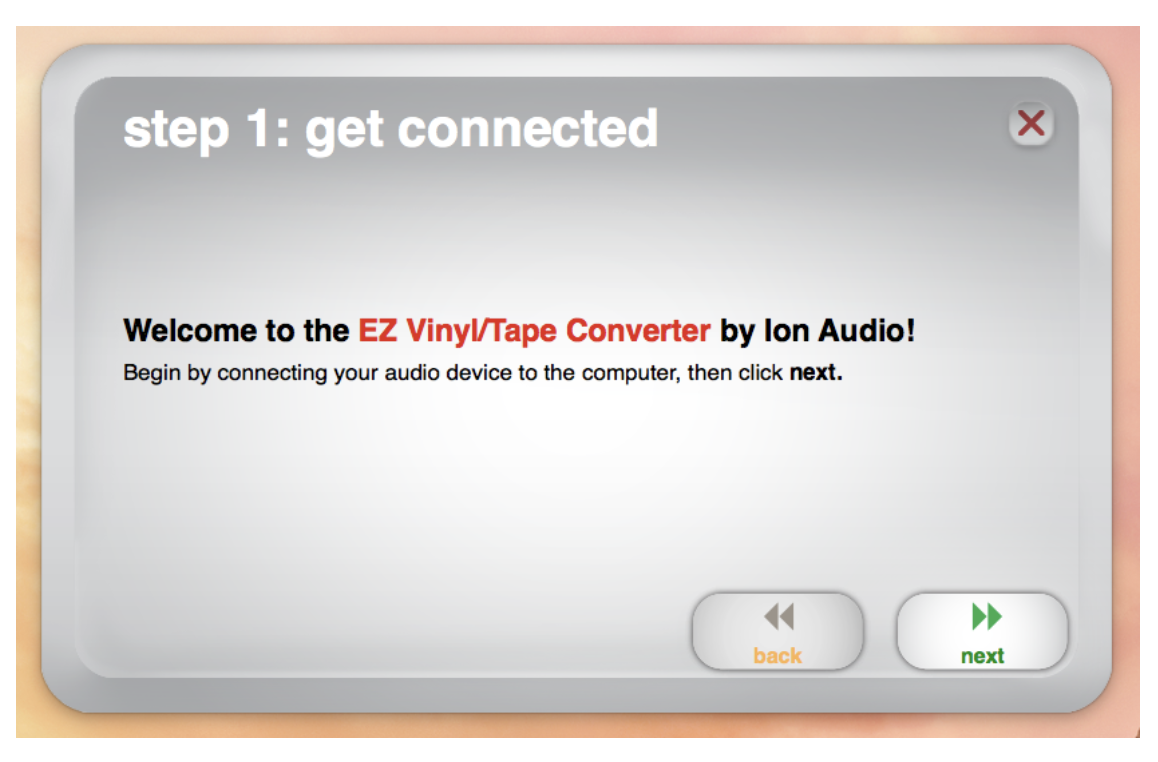
6. When the EZ welcome screen comes up, the ION Tape Express is already connected, so click “Next.”
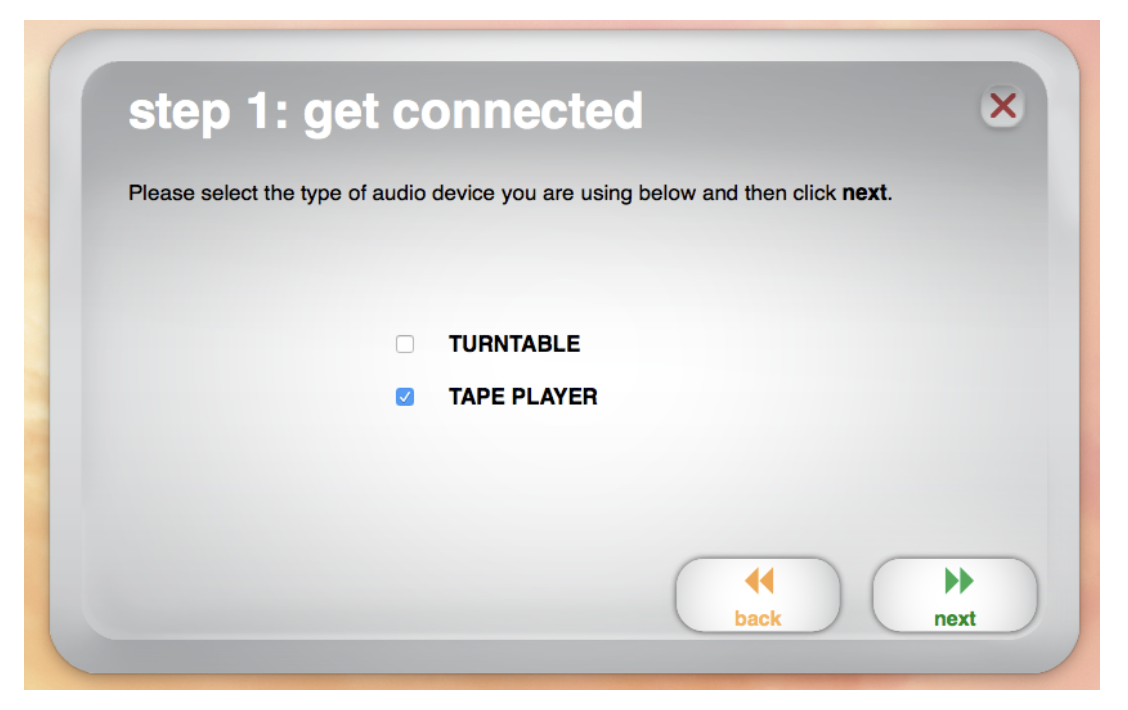
7. Check the box next to “Tape Player,” then click “Next.”
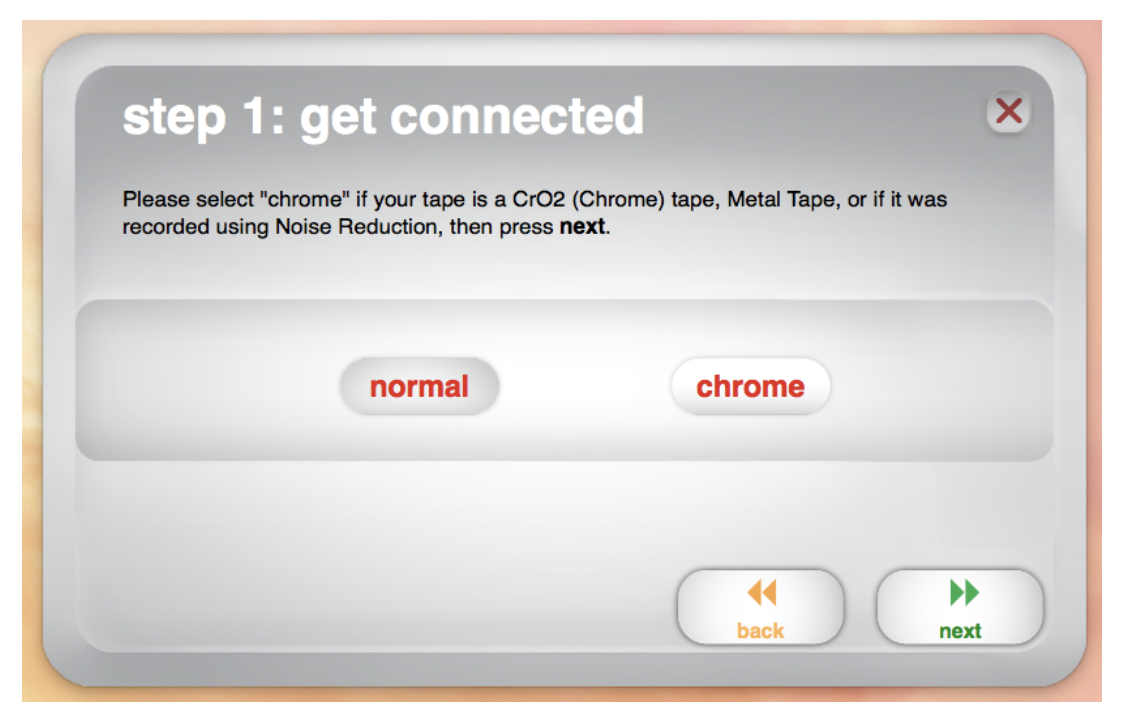
8. Choose the type of tape you have – normal or chrome. When in doubt, select “normal.” If your tape says “chrome” on it, select “chrome.” Then click “Next.”
9. Now, we will test the tape. First, make sure the sound is working. On the ION Tape Express, press play and wait until you hear your tape playing on the computer.
-
Help, I don't hear anything! If you don't hear anything, check the following:
- Are your headphones plugged into the computer?
- Is your computer's volume is turned up about halfway?
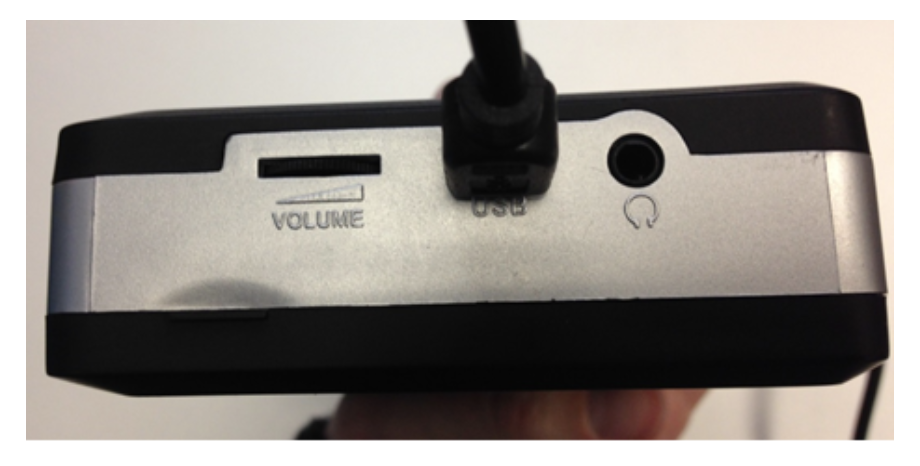
- Is the ION Tape Express’s volume slider turned all the way up?
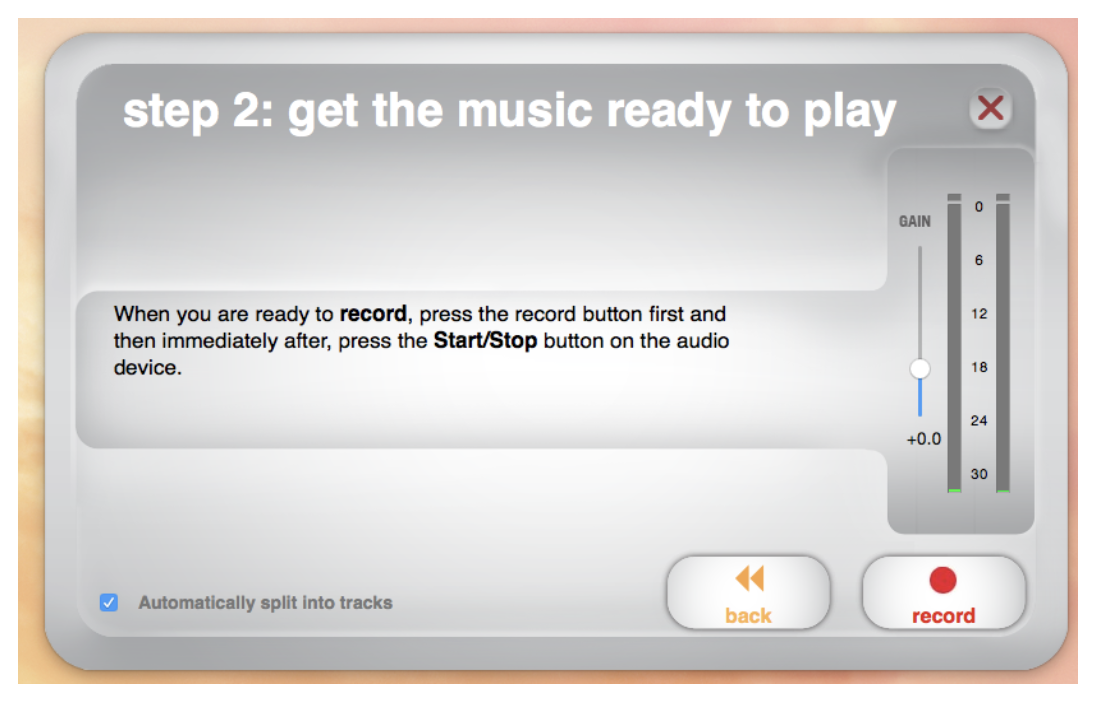
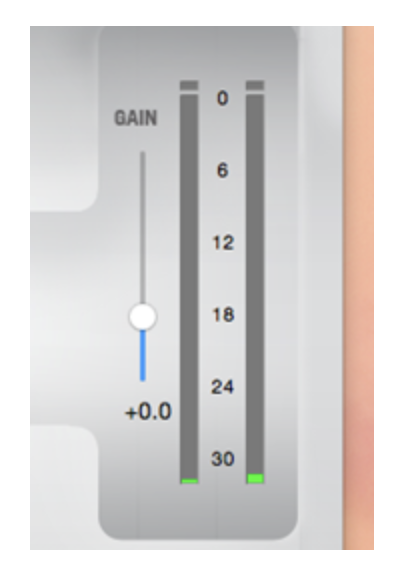
10. Now, select a good volume at which to record your tape. Make sure the computer’s volume is up about halfway, and if you can’t hear your tape well at that volume, turn up the gain in the software until you’re happy with the volume.
11. Uncheck “Automatically split into tracks” because the program is not very accurate when it tries to split tracks for you. If you wish to split your tape’s tracks into separate files, you will have the option to do this manually.
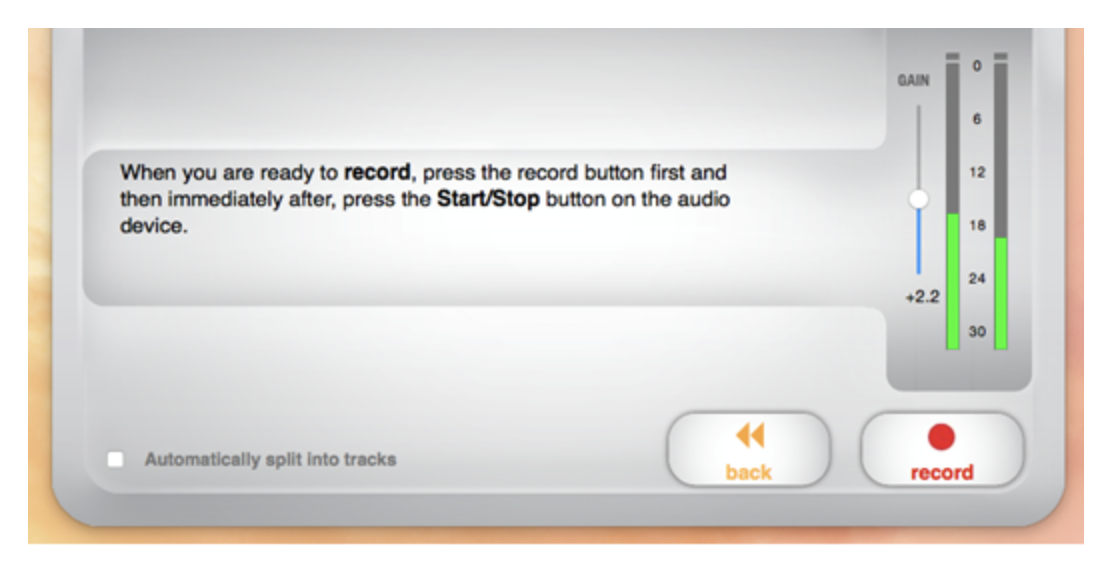
12. Press stop on the ION Tape Express to stop your tape and rewind your tape all the way again. Then, in the software, click “Record” to start your recording, and press play on the ION Tape Express to play the tape from the beginning.
13. While you are recording, you can click “New Track” during the silence between songs to manually specify different tracks, if you wish. If you do not specify new tracks, your tape will convert as one continuous file.

14. When your tape has finished playing, click “Next.”
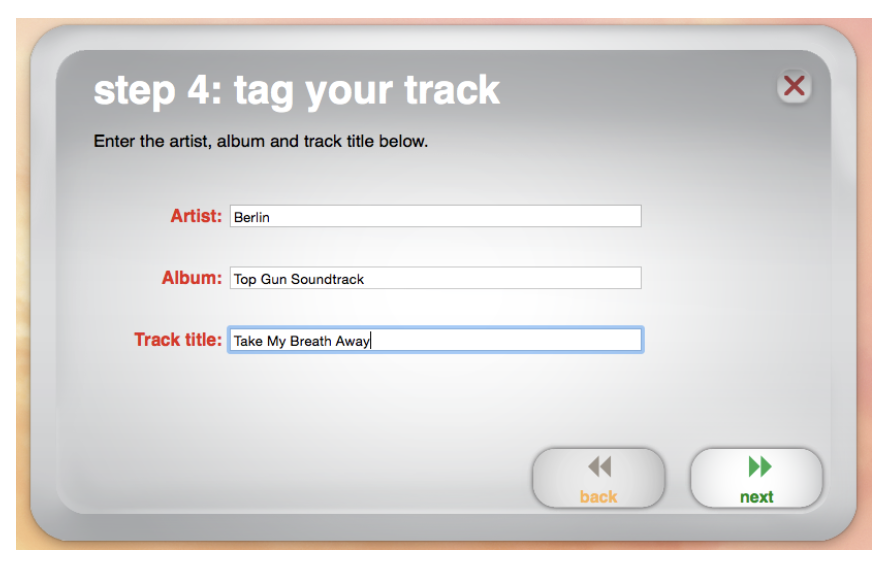
15. Enter the Artist, Album and Track Title. Artist and Album will be folders in which your file will be stored. Track Title will be your file’s name. If you recorded your whole tape as one track, you could write “Artist Name - Side 1” for Track Title. Once you’ve entered the information, click “Next.”
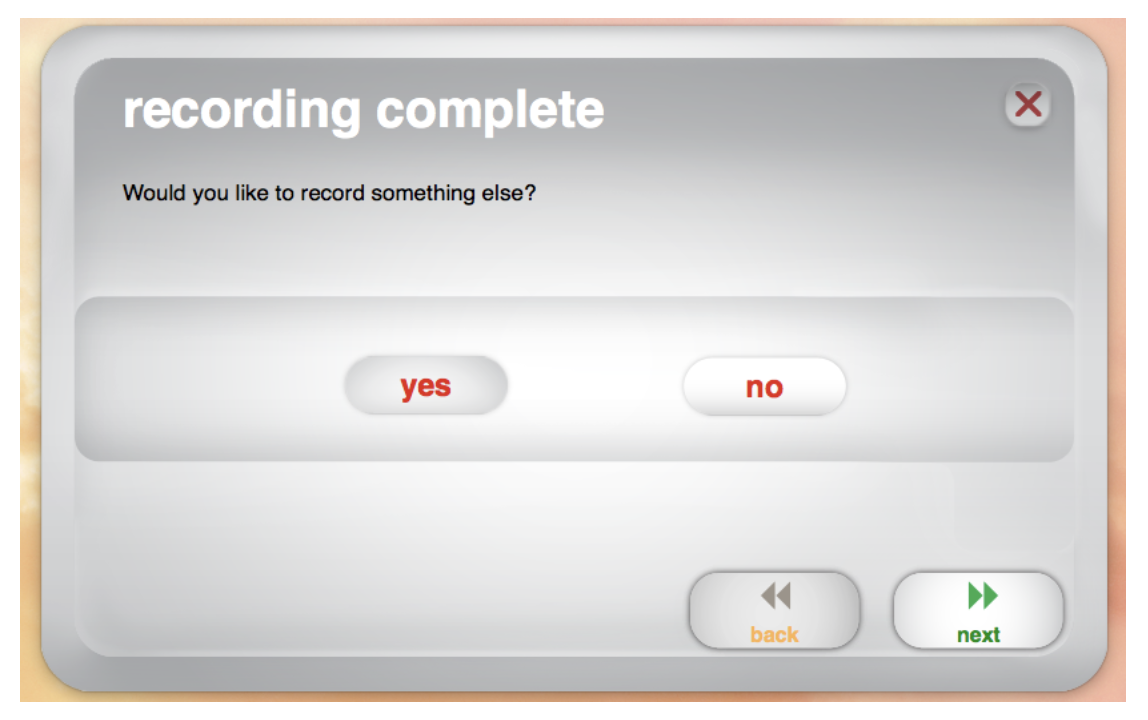
16. If you have nothing more to digitize, select “no” and click "next." The program will close.
- If you wish to digitize another tape, or the second side of your tape, select “yes” and click “next.” Flip over your tape or put a new tape in and repeat from step 12.
17. When you are finished you can find the digital file(s) you created from your tape in the computer's “Music” folder. If you use iTunes, look for a duplicate copy in your iTunes Media folder.
18. If you chose not to enter any info for the tape during the digitizing process, such as artist or album, the file will be called “Unknown Artist” or “Unknown Album.” You can right click to rename the file(s).
19. You’re done! Nice work!
Troubleshooting
Is the device not working the way you expected? Try these fixes!
- On the ION Tape Express, make sure the USB cable is firmly connected.
2. If the device playback sounds terrible, close the software, unplug the device from the computer, plug it in to a different USB port and start over again.
3. Try replacing the batteries.


Add a comment to: Digitizing an Audio Cassette Tape