Preserve memories with the
Kodak Slide N Scan Digital Film Scanner
Compatible with 50mm slides [135, 110, 126], color negative films [135, 110, 126] and b&w negative films [135, 110, 126]. Let's get started!
1. First and most important. You will need an SD card (no larger than 32GB) to use the KODAK SLIDE N SCAN. I typically use a 16GB card which allows me to scan and save hundreds of photos, possibly thousands depending on file size.

2. A quick heads-up on the film sizes noted above [135, 110, 126]. Since we often refer to film in mm's, such as 35mm, I'm including an image below that provides some information on how [135, 110, 126] convert to millimeters.

3. Also, what Kodak is calling a 50mm slide is more commonly referred to as the 35mm slide. However, just an FYI. The size of the 35mm slide including the cardboard sleeve it sits in is 50mm square.

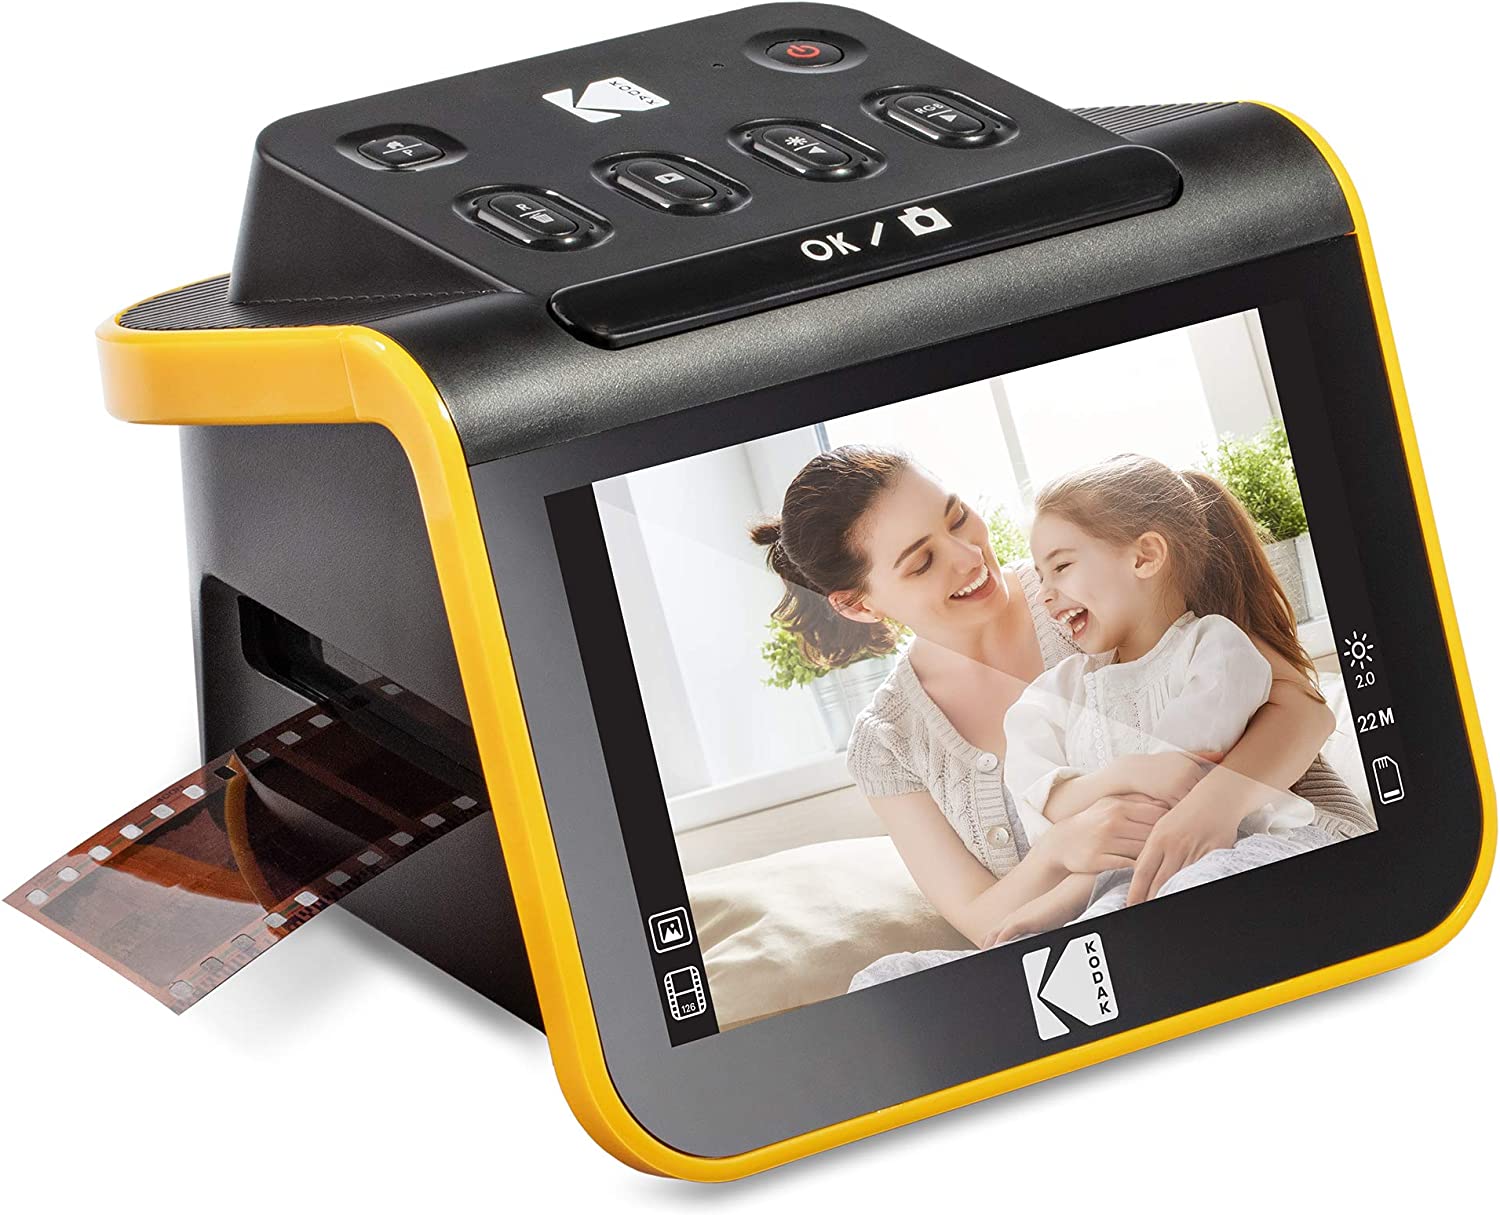
4. Let's take a quick look at the outside of the KODAK SLIDE N SCAN.


5. Insert your SD card in the SD card slot on the back of the KODAK SLIDE N SCAN.
6. Connect the USB cable from the USB port on the back of the KODAK SLIDE N SCAN to power. Power can come either from plugging into a computer's USB port or from an electrical outlet using a converter similar to the one pictured below.

7. Once you have connected the KODAK SLIDE N SCAN to power go ahead and turn it on. The image below shows the screen that will appear. Note: It is not a touchscreen.
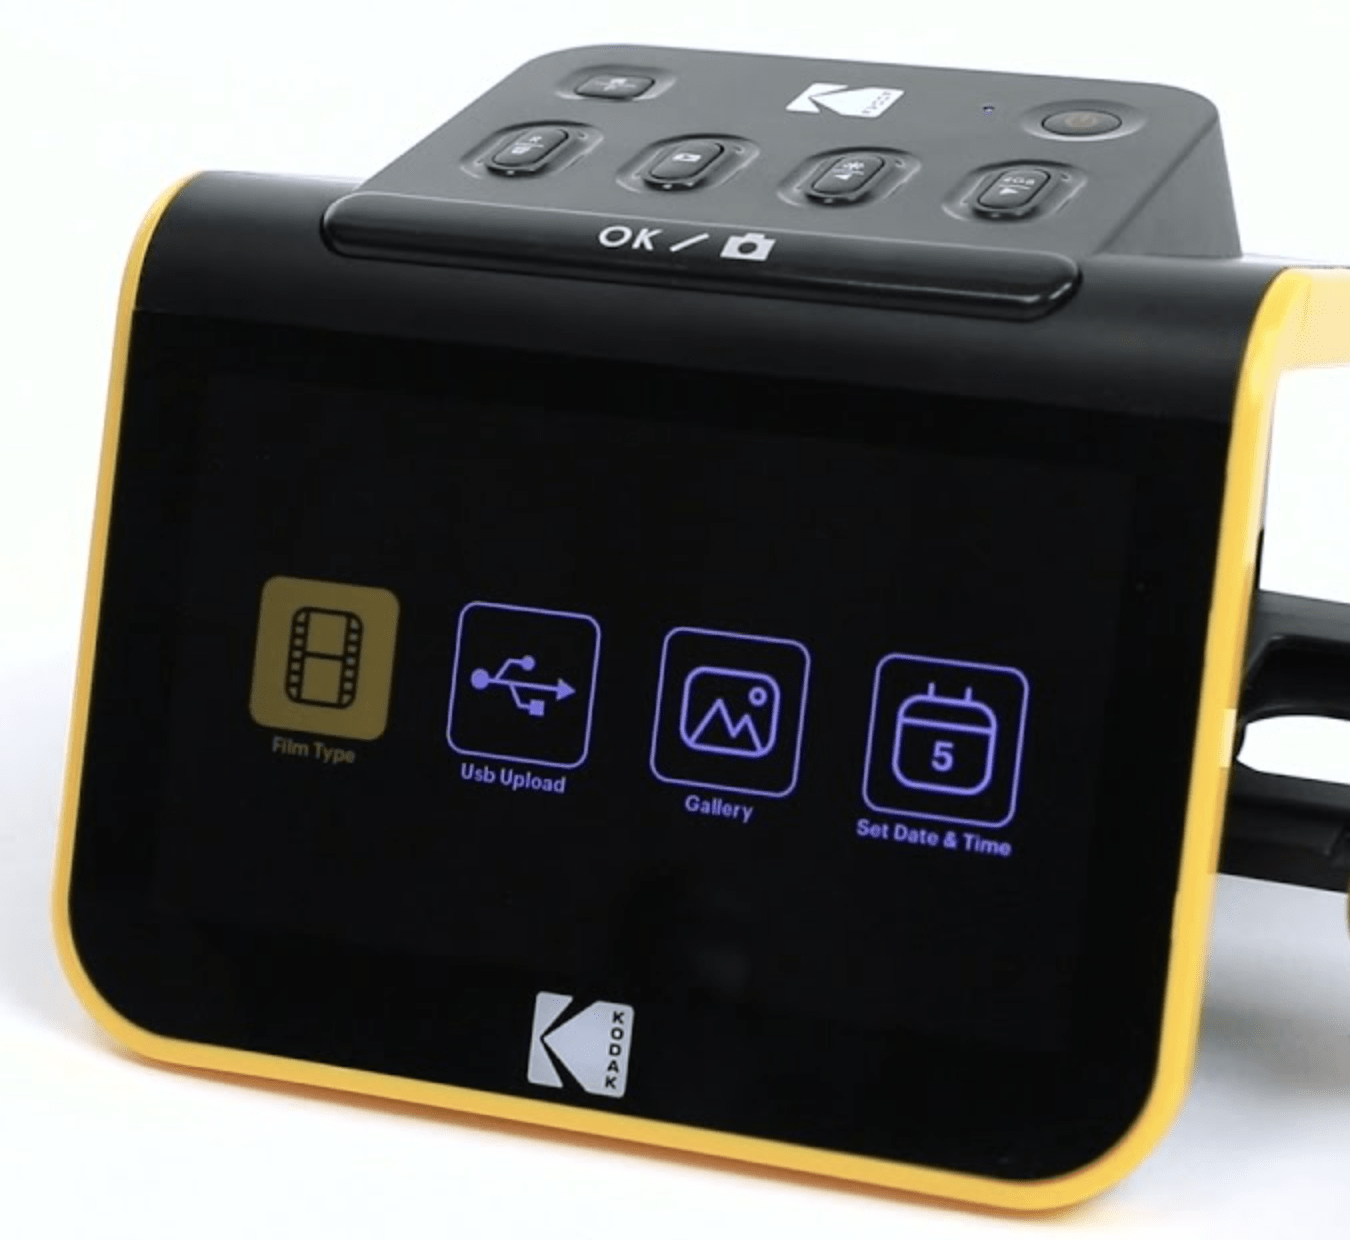
8. If you would like to set the date and time just use the left/right arrow buttons on the top to move the highlight over the date and time icon. Then click on "OK." Again, use the arrow and OK buttons to make changes. Use the "Home" button (the button with the little house on it) to return back to home.
9. I'll be scanning 35mm slides so I'll use the left/right buttons to get the yellow highlight back to the "Film Type" icon. Then press "OK."
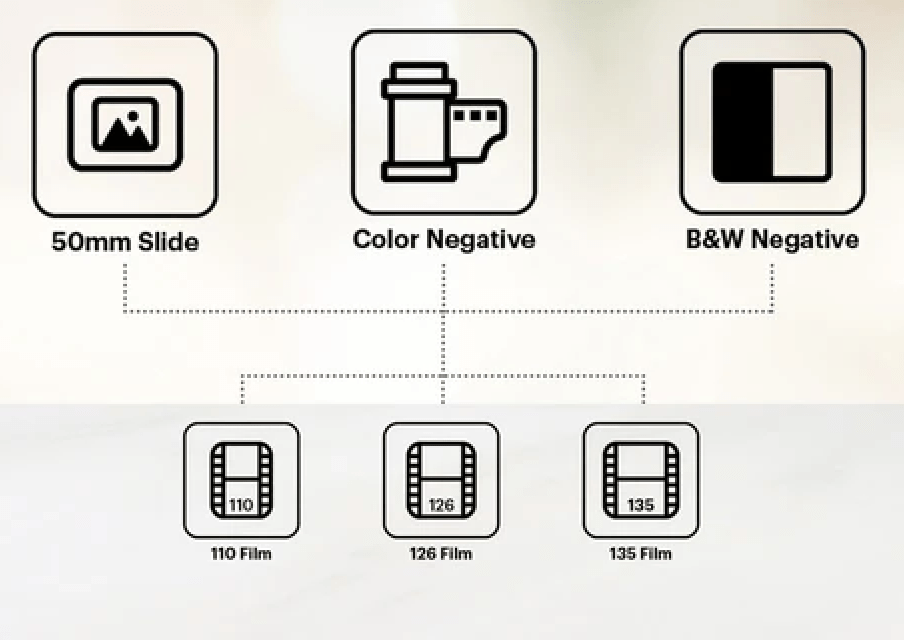
10. Here we get three slide type options. 50mm Slide [aka 35mm], Color negative, and B&W Negative. I'll be scanning color slides so I just click "OK' again. I then get three more slide size options. My slides are 35mm (or 135 as seen on the screen), so I'll just make sure the yellow highlight is over the "135 Film" and then push "OK."
12. The KODAK SLIDE N SCAN is almost ready for slides, but we first have to load the 50x50 Hinged Slide Holder. Hinged because it opens up. More on that later.
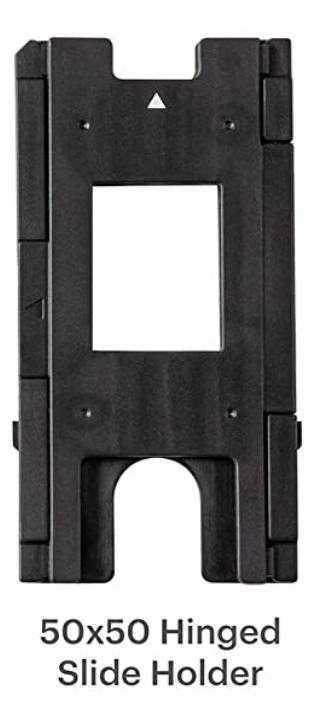
13. Insert the hinged slide holder into the KODAK SLIDE N SCAN. Line the white arrow on the hinged slide holder up with the white arrow on the side of the KODAK SLIDE N SCAN. Push the hinged slide holder through the slot until it stops.
14. Now we're ready for slides!
15. Begin inserting slides into the end of the hinged slide holder, from the side of the KODAK SLIDE N SCAN with the white arrow. You'll see the slide slightly appear on the screen. Use your second slide to push the first slide into view. Use the third slide to push the second into view, and so on.
16. When the slide is centered you can then push the "OK" button and the image will automatically be saved to the SD card. Repeat the process for each slide you wish to save.
17. Ok, but what if you are scanning film negatives, or film strips?
18. For film negatives, use the adapters (as seen below). These adapters fit into the 50x50 hinged slide holder. In the image below there are parallel raised ridge lines that are the width of various film types. So the 135 film adapter is for 35mm negative film strips. The 126 is for 35mm film as well, it's just positioned differently on the negative film strip. The 110 is for 16mm film strips. These film sizes are also covered in #2 of this tutorial.

19. You will notice that there are four tiny plastic columns on the back of the three adapters. These tiny columns line up with the tiny plastic holes that are in the hinged slide holder.
20. Locate the black arrow on the side of the hinged slide holder (it's on the same side that has the white arrow). Turn the slide holder over and look at the area where the black arrow is located. Note the two little plastic tabs holding the slide holder shut. Pull the two tabs back while lifting and the slide holder should open up.
21. With the slide holder open you will see the four tiny holes that are used with the adapters.
22. Select the adapter for your film negative type and place it into the slide holder ensuring the tiny posts fit into the tiny holes.
23. Now close the slide holder. You should hear the plastic tabs click into place.
24. Now follow #13 in this tutorial.
25. Now you're ready to start sliding your film strips through the KODAK SLIDE N SCAN. Follow the process in #15 and #16 in this tutorial.
That's all folks!
Tips from the KODAK SLIDE N SCAN User Manual
Uploading images to your computer:

Tips for best image quality:

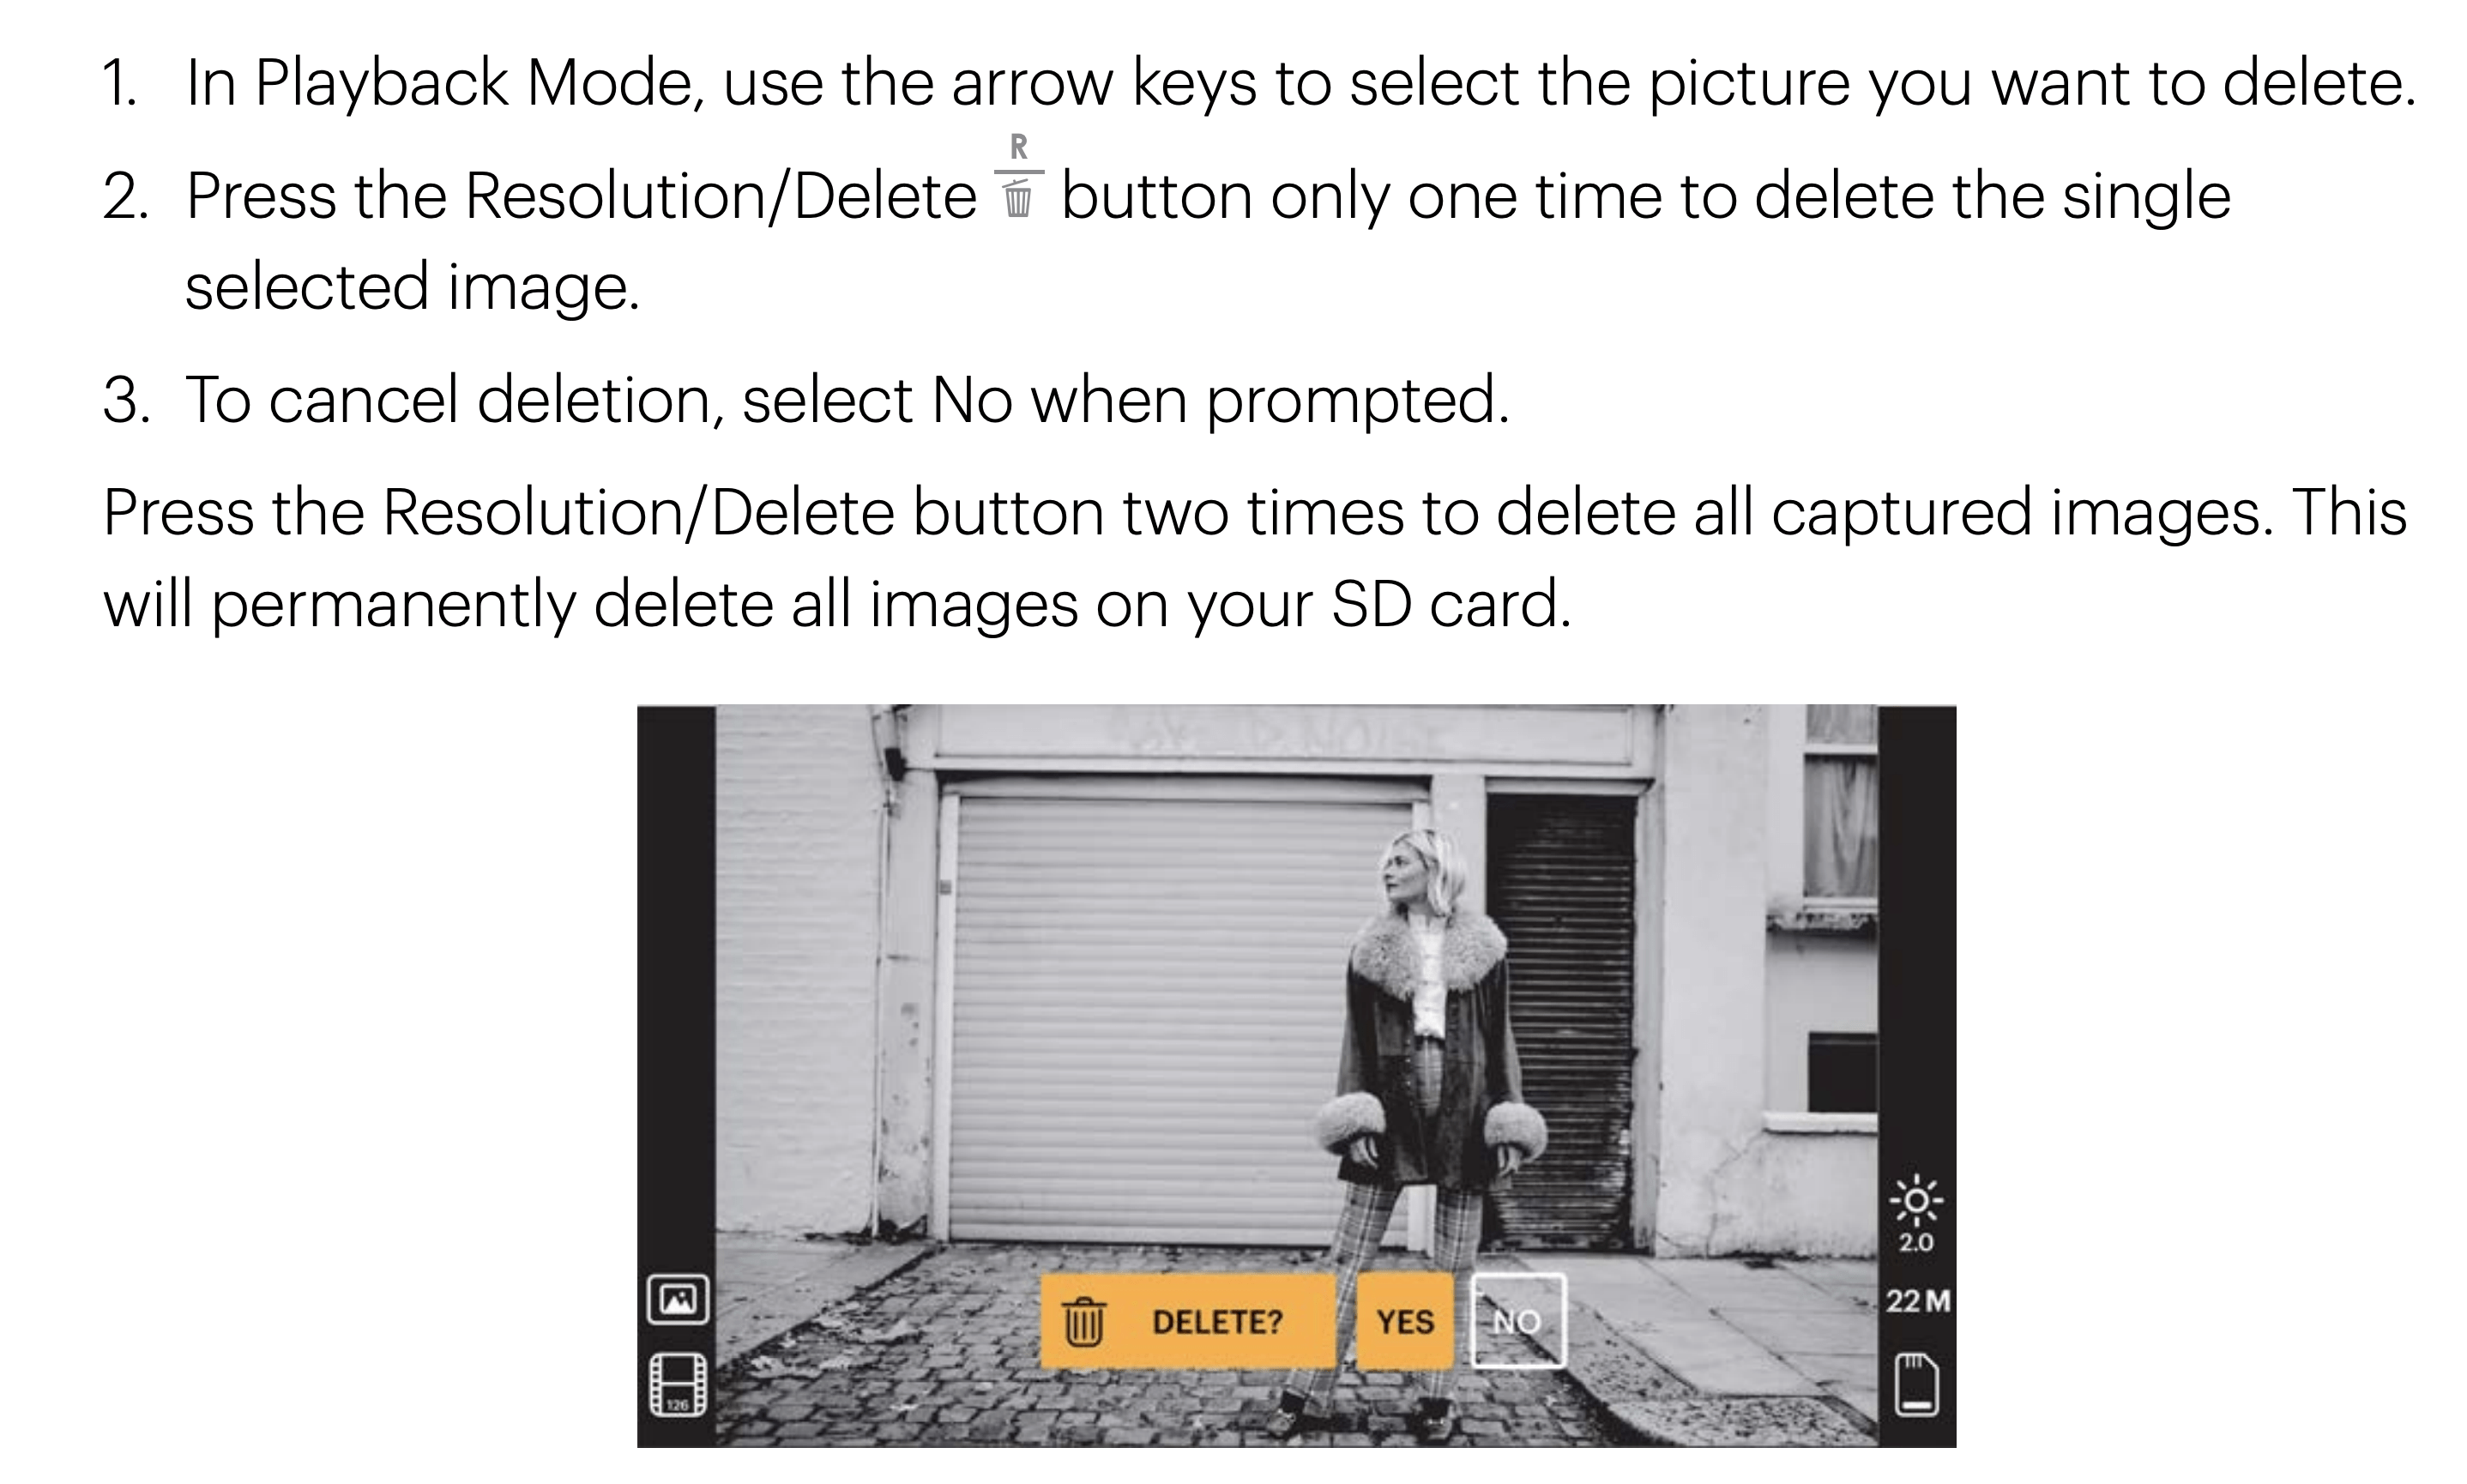
Deleting an image:
Preview Mode:

Adjusting image brightness and color:

To adjust brightness:


To adjust color:

Choosing image resolution:




Add a comment to: Kodak Slide N Scan – Digital Film Scanner